Goal: Start sending reminders from Upflow.
⏱️ Estimated time: 30–60 minutes
Before you flip the switch
Disable reminders in your other tools before going live. If your billing or ERP system is still sending dunning emails, your customers will receive duplicates. Turn those off first.
Actions
- Turn off dunning reminders in your billing or ERP system
- Run final tests
- Make sure every user who will send reminders has set up their email signature
- If you are sending invoices from Upflow, mark existing invoices as sent so customers don’t receive them again
- Exit test mode via the yellow banner and go live
Key decisions
- Will you automate immediately or start manual? We recommend starting with manual actions only for the first few days so you can have a smooth transition from your existing processes to your processes in Upflow
- Which segment goes first? Start with a small, low-risk segment before rolling out to everyone
Run your end-to-end test
Before exiting test mode, confirm everything works as expected:
Send
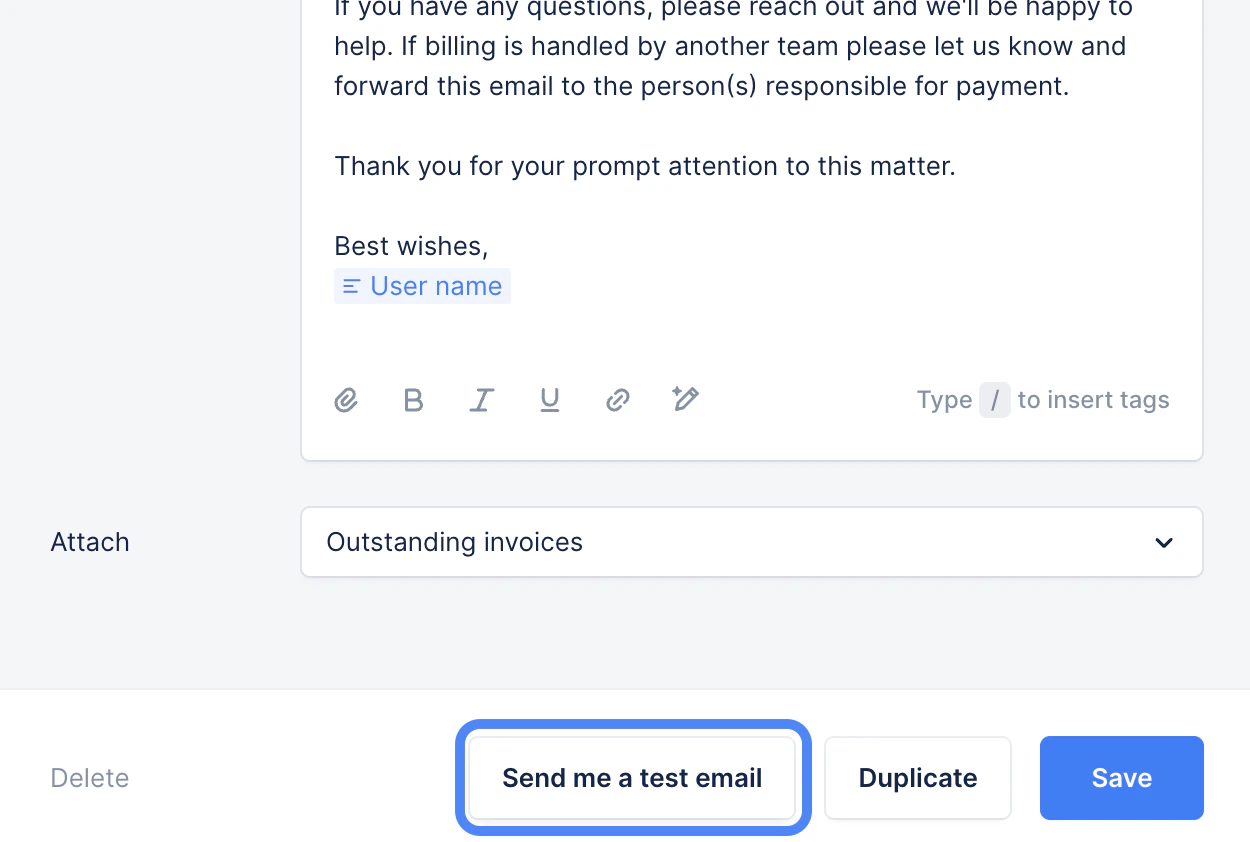
- Pick 1–2 internal or test customers
- Send a test email and confirm it lands in your inbox with the right formatting, and content
Receive
- Confirm that you are receiving emails sent from your customers to your inbox
Check
- Customer and invoice data looks accurate (contacts, due dates, amounts, etc.)
- The upcoming actions scheduled for your pilot customers look correct — you can check from Actions → ALL
Go live
Once your test passes, you’re ready to start sending reminders from Upflow.
Exit test mode
Click the yellow banner at the top of Upflow to exit Test Mode. From this point, real reminders can be sent to your customers.
Enable automatic actions
In your Collection settings, turn on automatic actions. This is the general setting that unlocks automation across Upflow and is required before you can send an action campaign.
This is different from the per-action automation set inside each workflow. Enabling automatic actions here is just a master switch — nothing will auto-fire if your individual workflow actions are still configured as manual.
Send your first action campaign
Send a mass email to notify your customers that you’re now using Upflow for invoicing communications. This proactive introduction reduces spam flags, support questions, and customer confusion as your A/R processes change and you introduce the customer portal.
Learn more: Action campaigns
Recommended rollout
Going live is a starting line, not a finish line. Here’s how most teams ramp up safely:
- Start small. Assign workflows to a small segment of customers first, with most workflow actions configured as manual. This keeps a human in the loop while patterns settle.
- Monitor for a few days. Watch deliverability, customer replies, and feedback from your team.
- Expand to your full customer base. Once you’re confident things are running smoothly, assign workflows to the rest of your customers.
- Automate gradually. Within each workflow, switch individual actions from manual to automatic as patterns become predictable. Standard email reminders are usually the first to automate; calls, escalations, and final notices often stay manual.
Critical checks before expanding
Before you expand from your pilot segment to your full customer base, confirm all of the following are true:
- No duplicate reminders running in other systems
- Emails deliver correctly — right sender, right “from” name, no formatting issues
- Customer data is accurate — contacts, invoices, due dates, and amounts
- End-to-end test passed and pilot customer feedback is positive
🎉 You’re live — what’s next?
Now that you’re up and running, here’s how to get more out of Upflow:
| What | Why |
|---|
| Automate individual workflow actions | Switch workflow actions from manual to automatic as patterns become predictable. This is the per-action setting inside each workflow — different from the general “Enable automatic actions” toggle. |
| Activate Smart Rules | Auto-assign customers to workflows or account managers |
| Optimize your workflows | Refine timing, templates, and ownership based on early results |
| Create custom dashboards | Track what matters to your team |
| Connect Slack | Receive Upflow notifications in Slack |
Exit test mode
Click the yellow banner at the top of Upflow to exit Test Mode. From this point, real reminders can be sent to your customers.
Enable automatic actions
In your Collection settings, turn on automatic actions. This is the general setting that unlocks automation across Upflow and is required before you can send an action campaign.
This is different from the per-action automation set inside each workflow. Enabling automatic actions here is just a master switch — nothing will auto-fire if your individual workflow actions are still configured as manual.
Send your first action campaign
Send a mass email to notify your customers that you’re now using Upflow for invoicing communications. This proactive introduction reduces spam flags, support questions, and customer confusion as your A/R processes change and you introduce the customer portal.
Learn more: Action campaigns
Recommended rollout
Going live is a starting line, not a finish line. Here’s how most teams ramp up safely:
- Start small. Assign workflows to a small segment of customers first, with most workflow actions configured as manual. This keeps a human in the loop while patterns settle.
- Monitor for a few days. Watch deliverability, customer replies, and feedback from your team.
- Expand to your full customer base. Once you’re confident things are running smoothly, assign workflows to the rest of your customers.
- Automate gradually. Within each workflow, switch individual actions from manual to automatic as patterns become predictable. Standard email reminders are usually the first to automate; calls, escalations, and final notices often stay manual.
Critical checks before expanding
Before you expand from your pilot segment to your full customer base, confirm all of the following are true:
- No duplicate reminders running in other systems
- Emails deliver correctly — right sender, right “from” name, no formatting issues
- Customer data is accurate — contacts, invoices, due dates, and amounts
- End-to-end test passed and pilot customer feedback is positive