Before you start
Upflow starts in Test Mode. Test Mode is a safe onboarding state that prevents anything from being sent to your customers while you’re still setting everything up. Manual actions are blocked, automation can’t be enabled, and a banner stays visible so it’s always clear you’re in a safe state. You’ll exit Test Mode in Step 6 when you’re ready to go live.
Actions
- Sign up and connect your integration
- Validate that your data has synced correctly
- (Optional) Connect Salesforce
Connect your integration
Head to the sign up page and select your integration. Follow the setup guide for your system: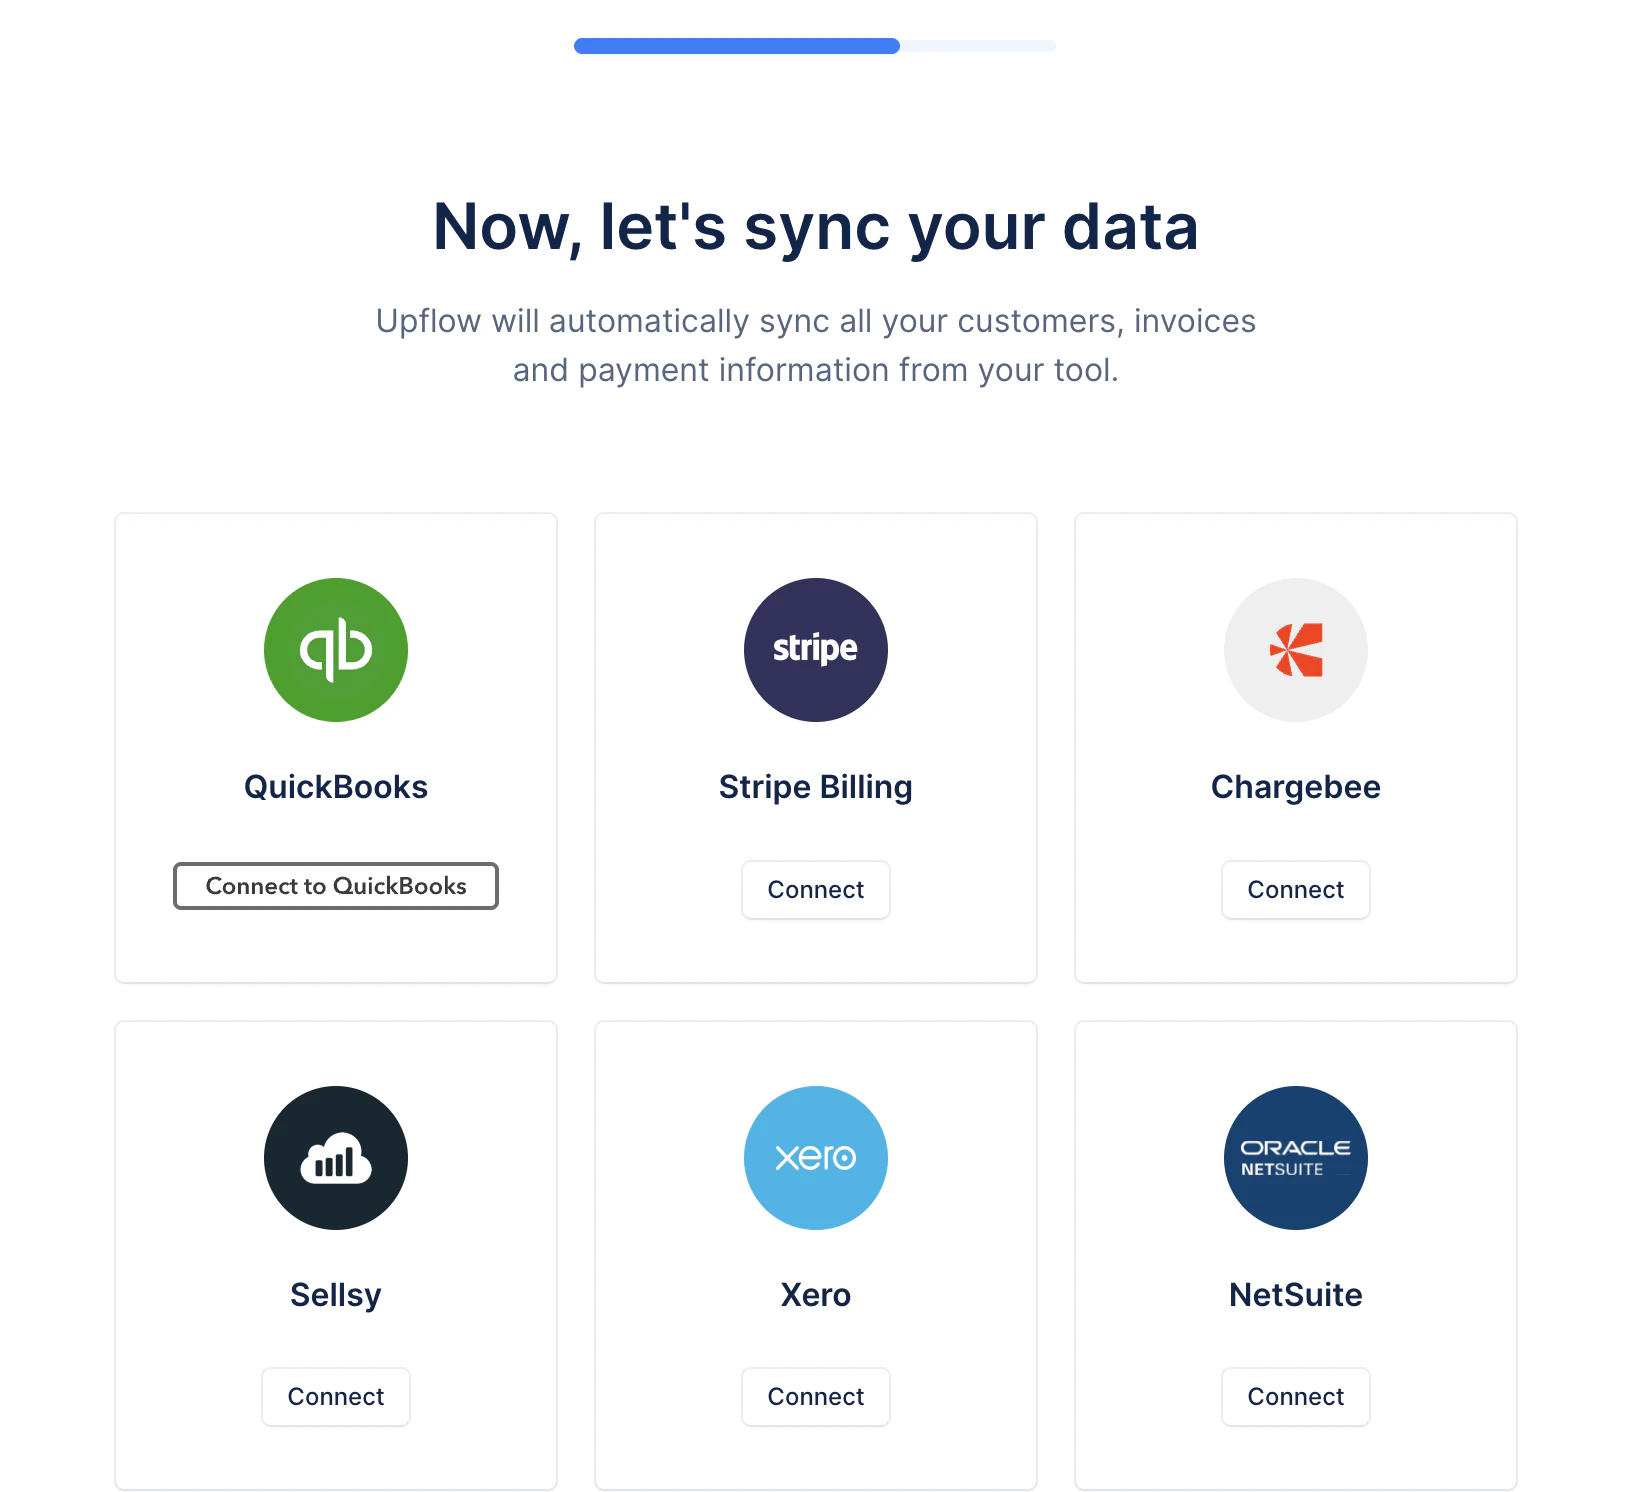
Connect Salesforce (Optional)
Salesforce can be connected to both import data into Upflow (contacts, account owners, custom fields) and export collections data back to Salesforce for wider team visibility. See the full setup guide: Connecting Salesforce to Upflow Using a different CRM? Reach out to our team to explore your options.Validation — Required to continue
Once your integration is connected, confirm the following before moving on:- Customers, invoices, and contacts are visible in Upflow
- Data is syncing correctly
- No major gaps or inconsistencies in amounts, due dates, or contact details