How to set up a campaign?
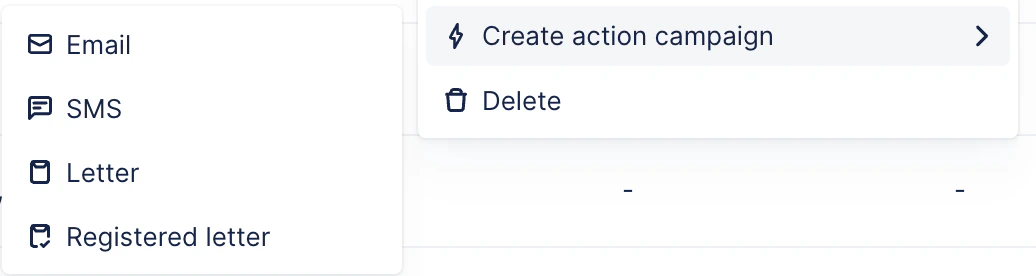
Unlike usual collection reminders, the campaigns are not handled from the Workflows list view. Head to your Customers list view, and select your customers. You can select them all, select them based on applied filters or search for customers sharing a keyword in their name (such as groups). If you need to select more than 50 customers, tick the customers column, then click the blue link at the top right of the list to select all related customers.Now, click the Actions button at the top right of the list, and select “Create action campaign”, then the type you wish to send (email/sms/letters):
We recommend renaming your campaign first, to not forget!

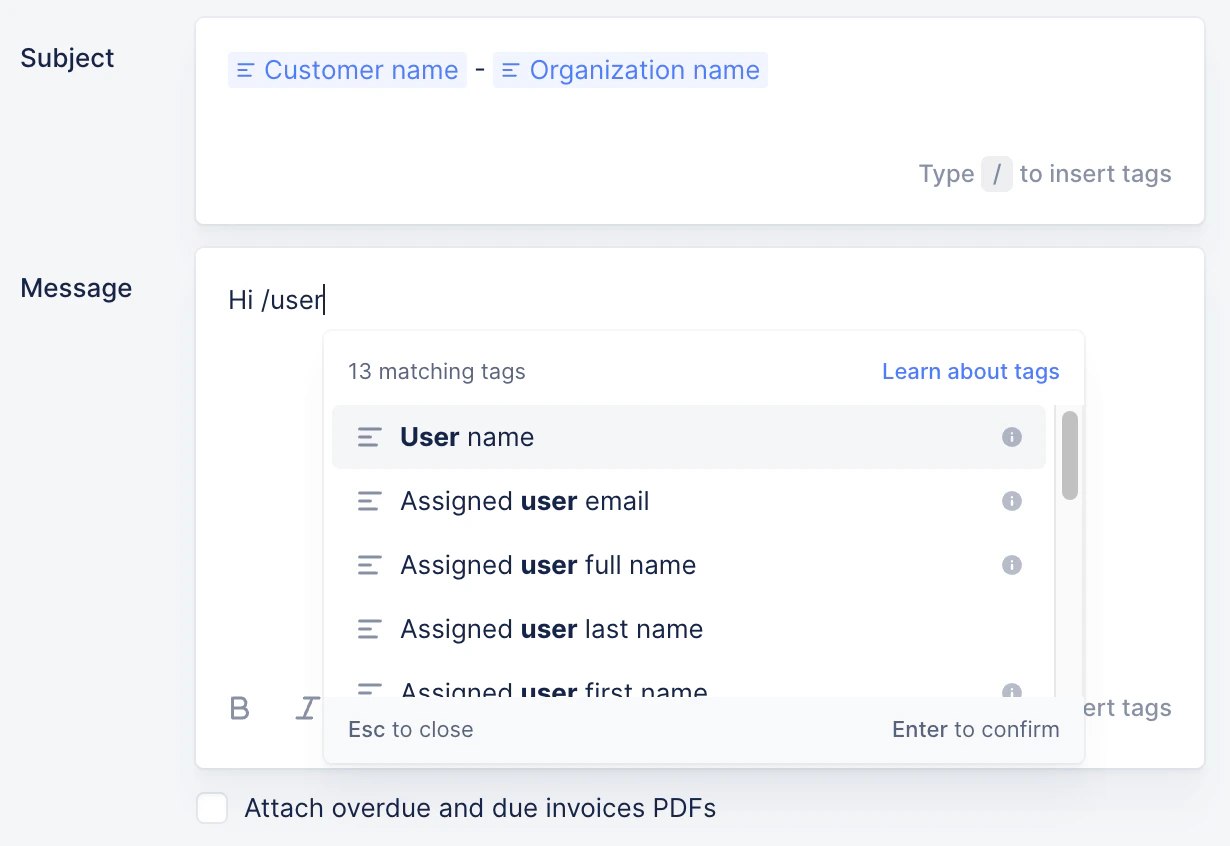
Fill in the necessary fields and write your content:

Once you’re satisfied with your campaign, you can click the Send button.
How to check my sent campaigns?
The campaign actions are sent within 10 minutes after hitting the Send button.Notifications
Once the campaign has been executed, the person who created it* will receive a notification with the number of actions sent and the actions that couldn’t be sent. If there is any issue with sending the action, e.g., a missing contact, those actions become manual, and the person who created the campaign will see them in their Actions To Do section. From there, they can either send the action or ignore it.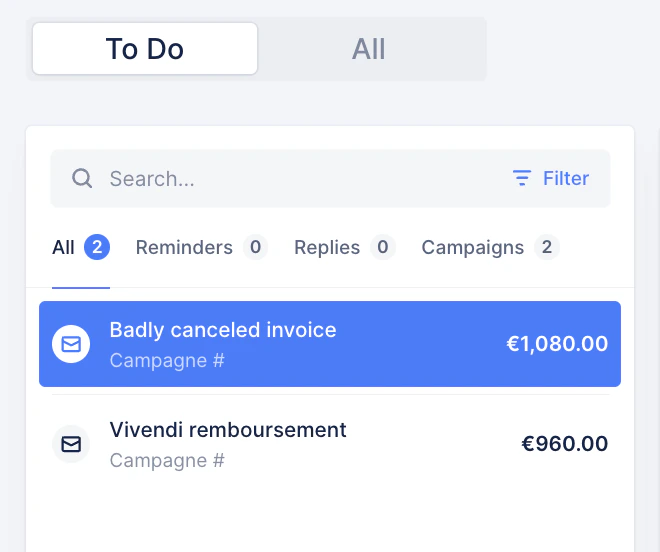
| Campaign fully successful! | Campaign partially successful | Campaign failed |
|---|---|---|
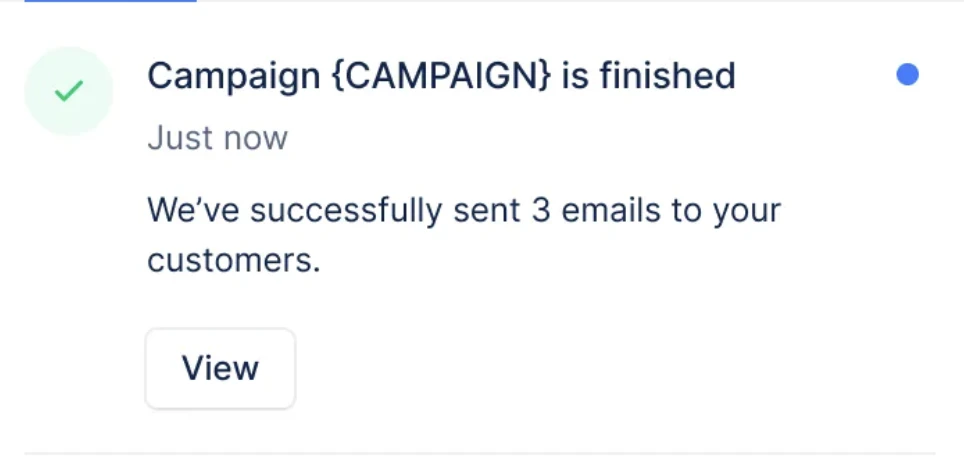 | 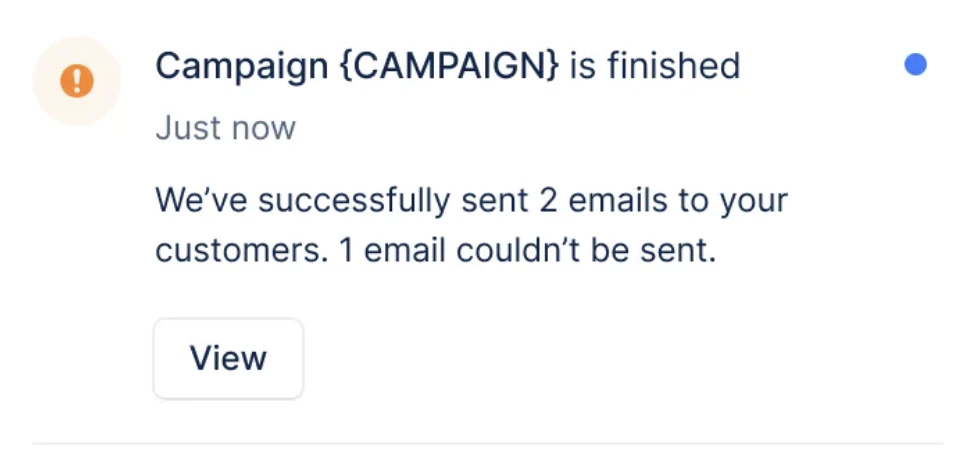 | 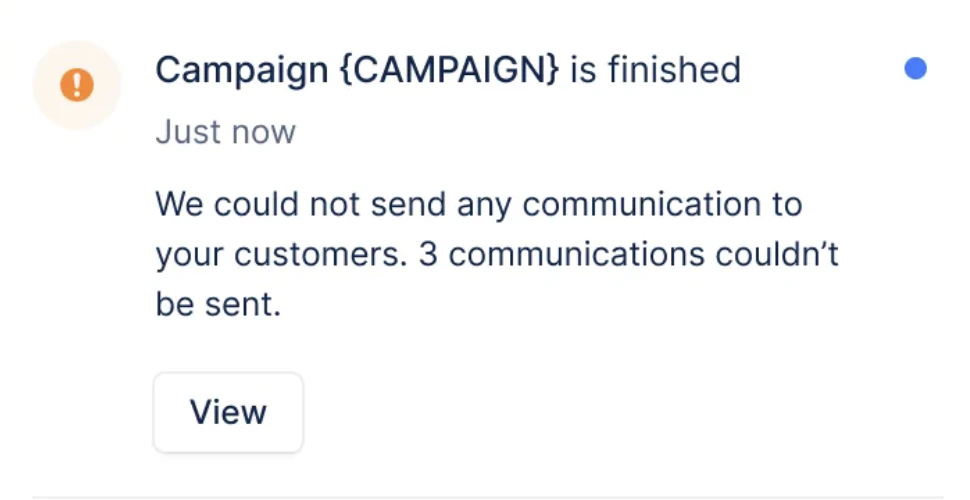 |
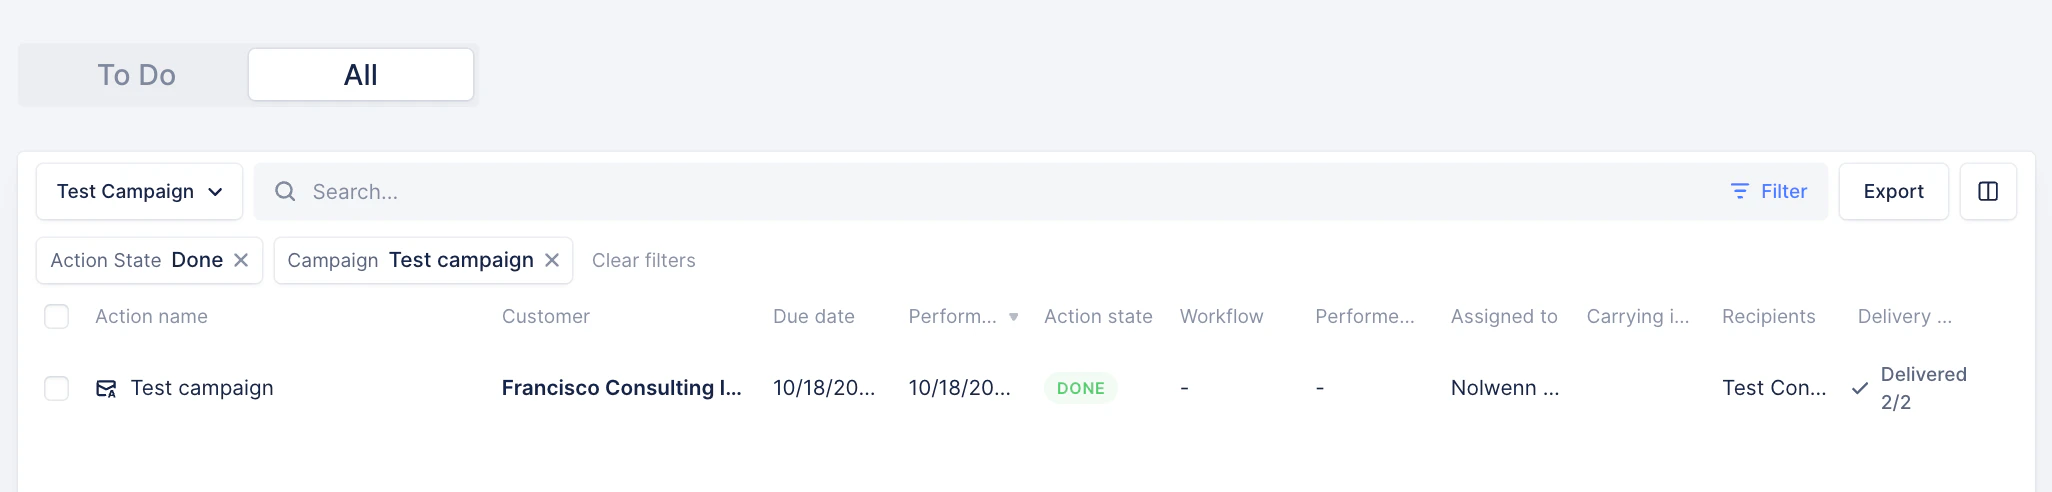
Actions list view
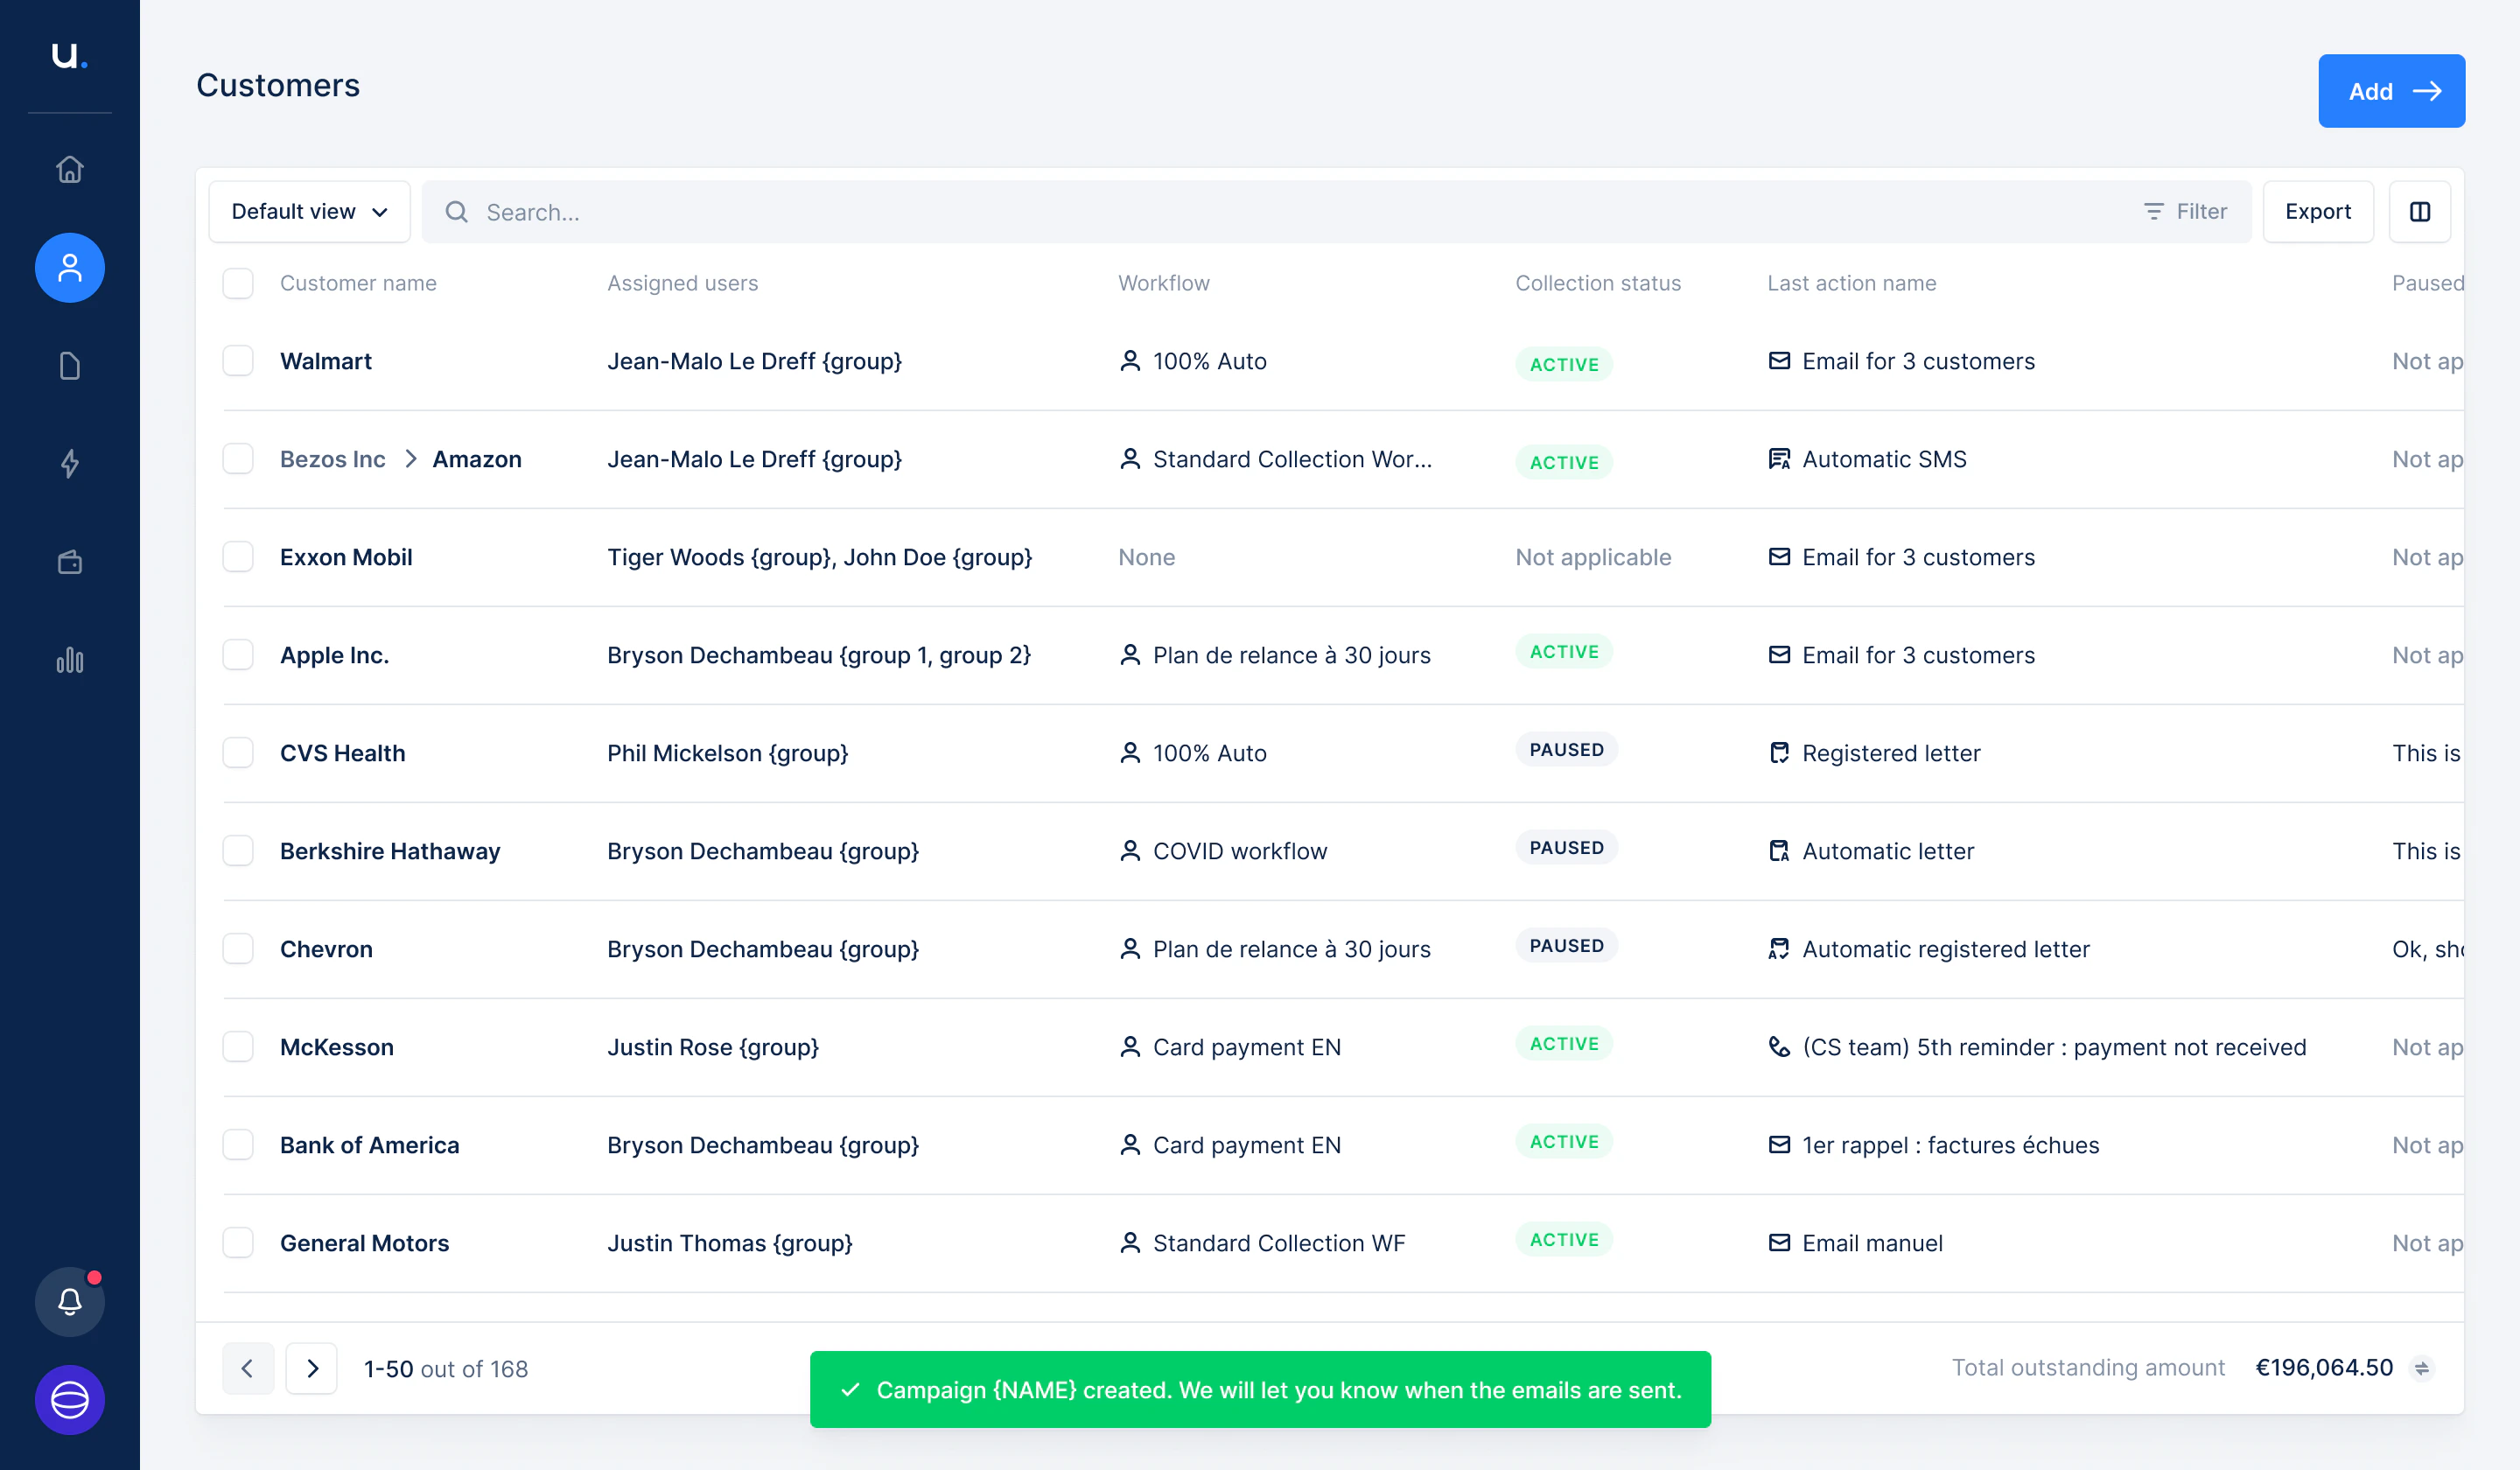
Once they’re sent, you’ll be able to see them in your Actions list view. Use the filter “Campaign” and select the one(s) you want to check: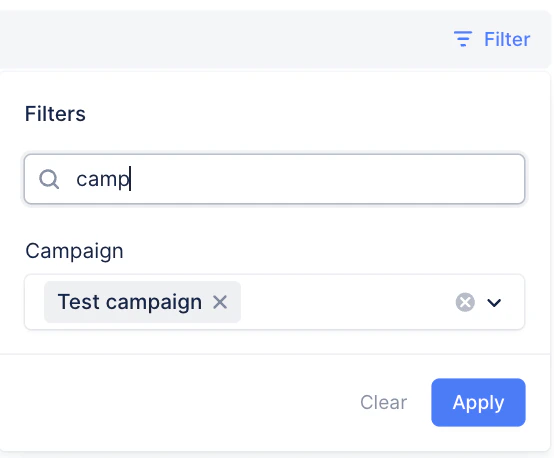
Customer replies to the campaign
When a customer replies to a campaign email, the reply will go to the email address selected in the From field, regardless of the user who clicked “Send”. For example, if you create and send a campaign from your profile, but select an alias in the From field, then the replies will be redirected to the alias. Same if you select another user in that field. What happens if I select a user who’s Member/Account manager? You can send a campaign using any user or alias in the From field. However, the above-mentioned combination is the most limited in Upflow (read more). A member/account manager can only see the customers they’re assigned to and their dedicated reminders/reply actions. In that case, the replies from the customers this user is not assigned to will fall in the To Do section of the user who created the campaign. Note that if the user who sends the campaign has this combination, they will be able to send it only to the customers they’re assigned to.Conclusion
- Campaigns are available at the Customer level.
- Actions generated are sent automatically within 10 minutes.
- If the email can’t be sent (i.e. contact issue), the email becomes manual.
- Campaign emails are visible in the Actions list view > All section.
- They have no impact on workflows.
- They are accounted for in the Analytics.