Before kicking off the configuration of the integration, please confirm you have:
- admin rights on NetSuite
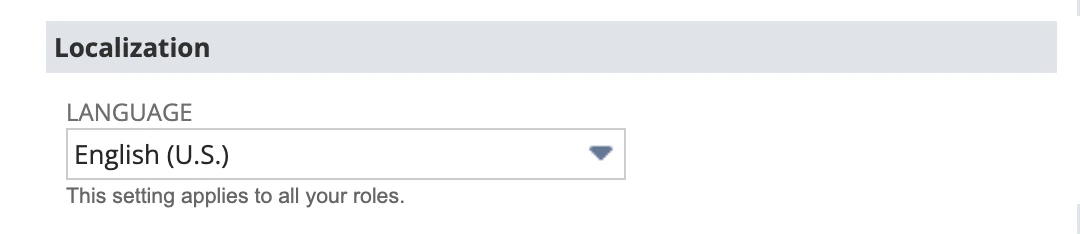
- your user profile is English US
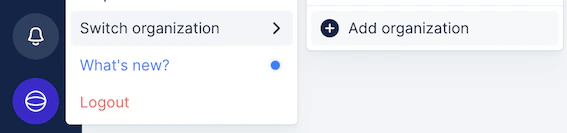
- created an Organization on Upflow
Ensure my NetSuite setup is compliant
Before connecting NetSuite to Upflow, a few features need to be enabled in your NetSuite account. You can follow the steps below or use the interactive guide.

| Section | Feature |
|---|---|
| SuiteScript | Client SuiteScript |
Server SuiteScript 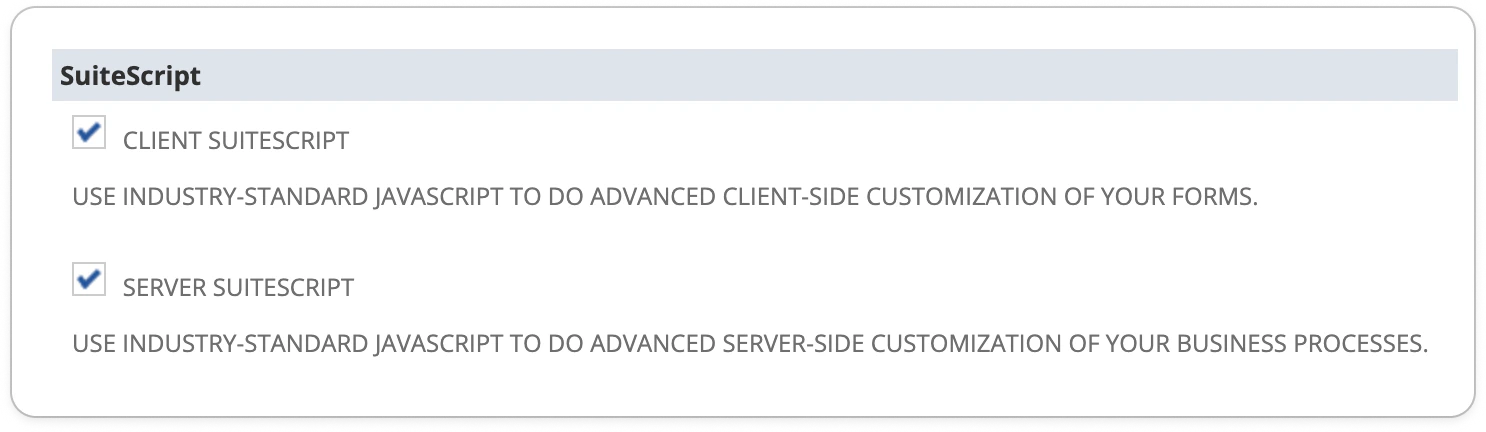 | |
| SuiteTalk (WebServices) | SOAP Webservices |
REST Webservices 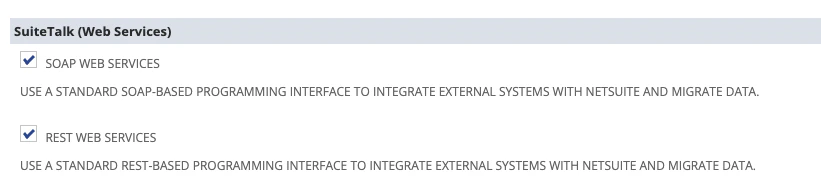 | |
| Manage authentication | Token-Based Authentication  |
| Section | Feature |
|---|---|
| SuiteAnalytics Workbook | SuiteAnalytics Workbook  |
💡 You can use shortcuts to speed up the search for a feature: Windows (ctrl+f) or macOS (cmd+f).
Install Upflow SuiteApp
You are about to grant Upflow access to the information to be displayed across your organization and used for your cash collection (trigger your workflows, reach out to the right parties, etc).…and click on SuiteCloud (in the features menu):
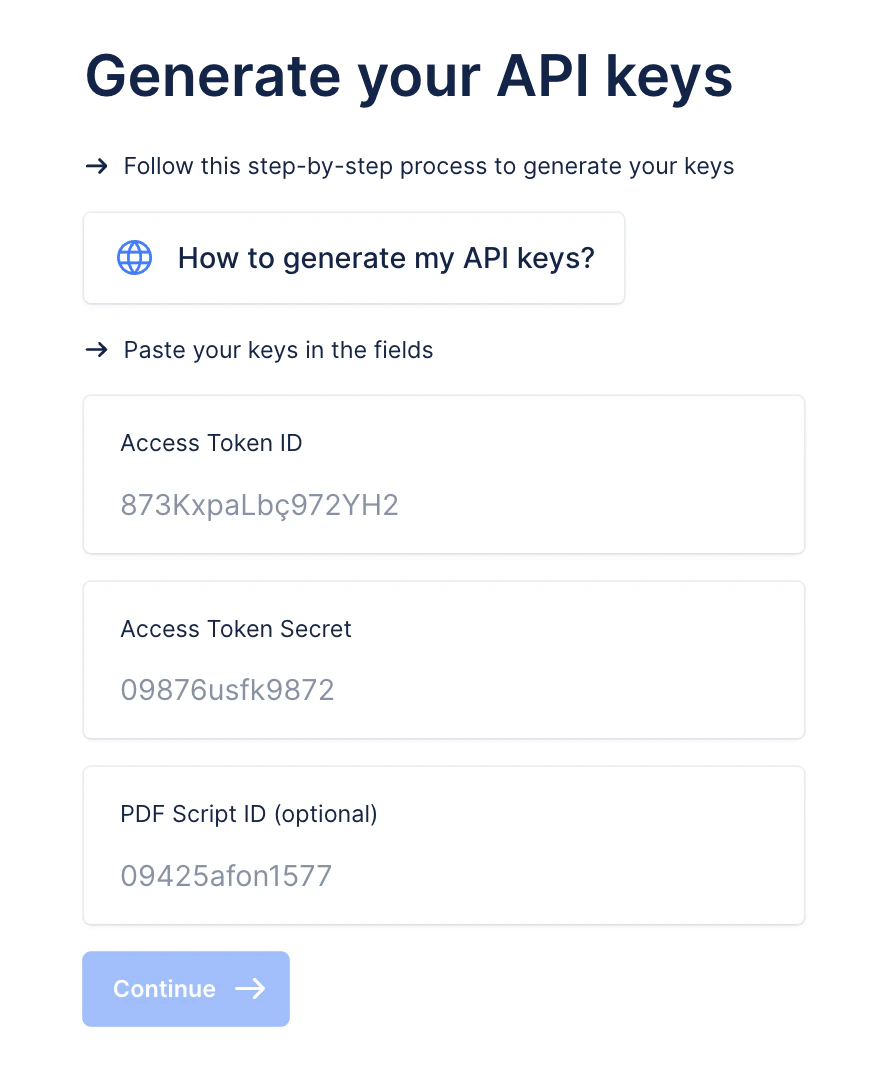
Search Upflow in your NetSuite Suiteapp marketplace (or access this link).
Click Install to launch the process, and follow the guidelines until its completion (confirmed by a green checkbox displayed on the right hand of your screen).

Configure your integration
Step 1 — Assign the Upflow Basic role Assign the Upflow Basic role to the teammate of your choice.- This user must be Admin in NetSuite
- Their language settings must be set to English US on NetSuite. Otherwise, sync issues may occur as a result.
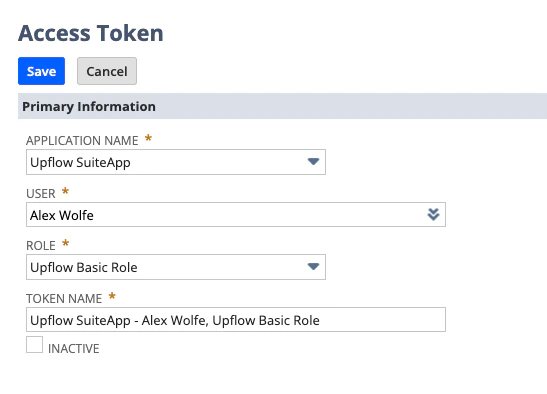
- Application name: Pick Upflow SuiteApp

- User: Select the user you just assigned Upflow Basic Role.
- Role: Upflow Basic Role (this option will not be available before you pick the user).
- Token name: Write one that suits you.
Almost there
Include your subsidiaries
To make the most of the features available to you in Upflow, you should configure Upflow following the 1:1 rule, i.e. 1 Subsidiary = 1 Organization. This means that if you have 3 subsidiaries in NetSuite, you should create 3 Organizations in Upflow. We also recommend creating a consolidated parent organization in Upflow for reporting purposes. Perform the same NetSuite setup for each organization in Upflow, selecting the corresponding subsidiary when presented with the page above. You will manage your workflows and actions across your separated Upflow organizations. Follow the steps outlined above to create multiple organizations. To add a new organization follow the steps outlined here.