- How to connect Salesforce with Upflow and the three available options
- Additional features such as:
- Importing account owners, contacts, custom fields
- Exporting the Upflow customer portal link to Salesforce
- FAQ
How to connect Salesforce with Upflow
Salesforce specificities
Before we start, please take into account that:- The user doing the integration must be Admin* in Salesforce and Upflow
- A single Salesforce user can only connect up to 5 Upflow organizations, due to a Salesforce limitation. If you have more than 5 Upflow organizations you need to connect to Salesforce, you must use a different admin user for each batch of 5 orgs.
*Specific permissions
If your company doesn’t allow for Admin rights/permissions for integrations/apps, then you can setup specific permissions in Salesforce for Upflow. Please refer to the attached PDF at the bottom of this article.Step 1: Select your Salesforce domain and authorize access
- Specify the domain of the Salesforce instance you wish to connect to.
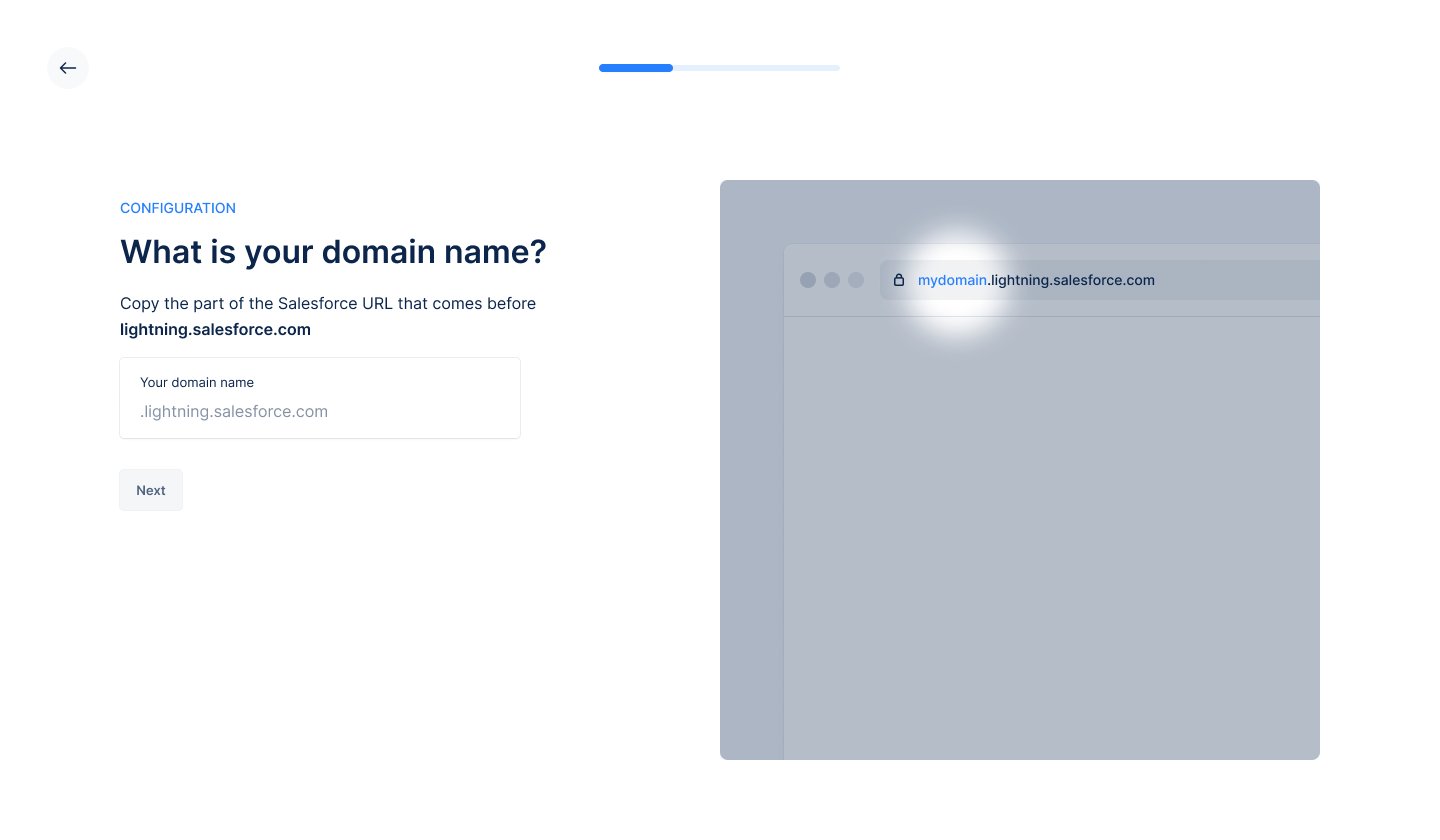
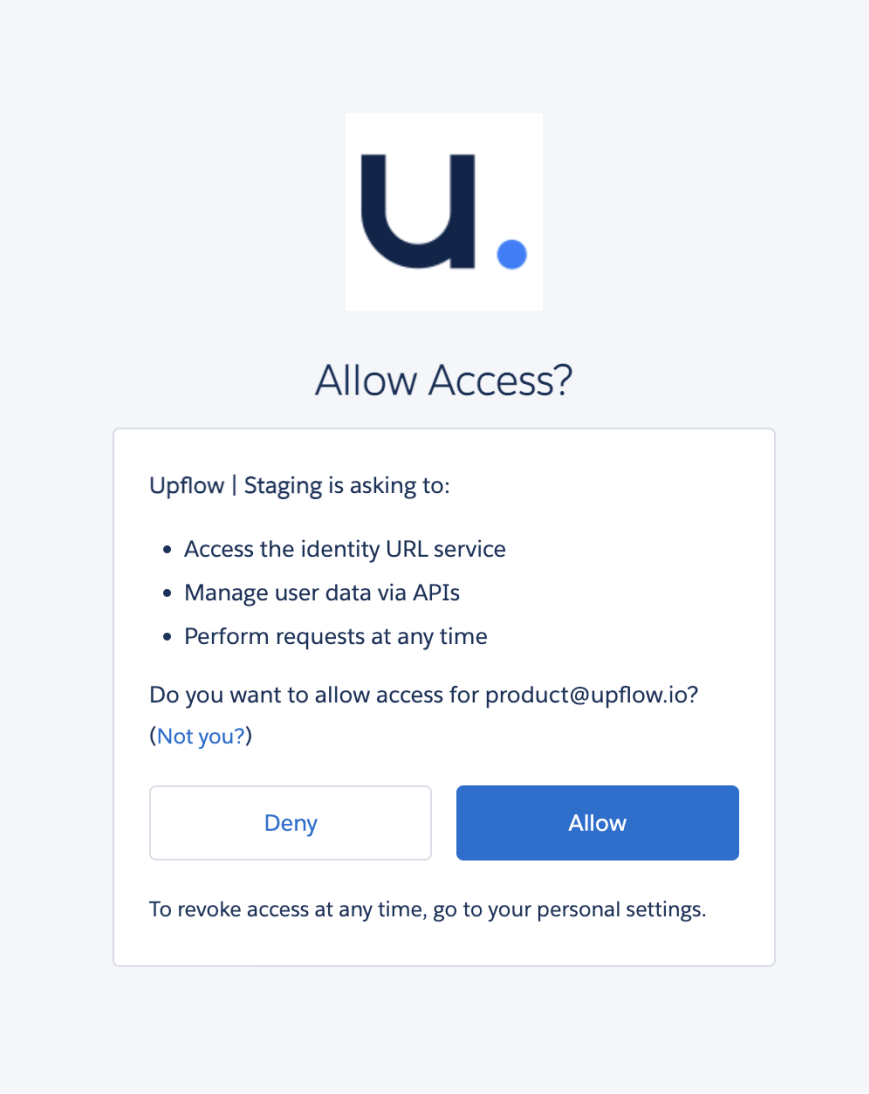
- Authorize Upflow to access your Salesforce data. This ensures secure data sharing between the platforms.
Setting up a shared identifier
For seamless synchronization, Upflow requires a shared identifier for your customers across Salesforce, Upflow, and your accounting/billing system (e.g., NetSuite, QuickBooks, Chargebee, Stripe Billing, Xero, Sellsy, Zuora). This ensures accurate data mapping. A 1 <> 1 mapping is required between your accounting/billing customers and the Salesforce accounts. Please note we only support ‘textarea’, ‘string’, ‘reference’ SFDC custom field types for the initial connection/integration between Upflow and Salesforce. We do not yet support number type salesforce fields for this step.Common identifier scenarios
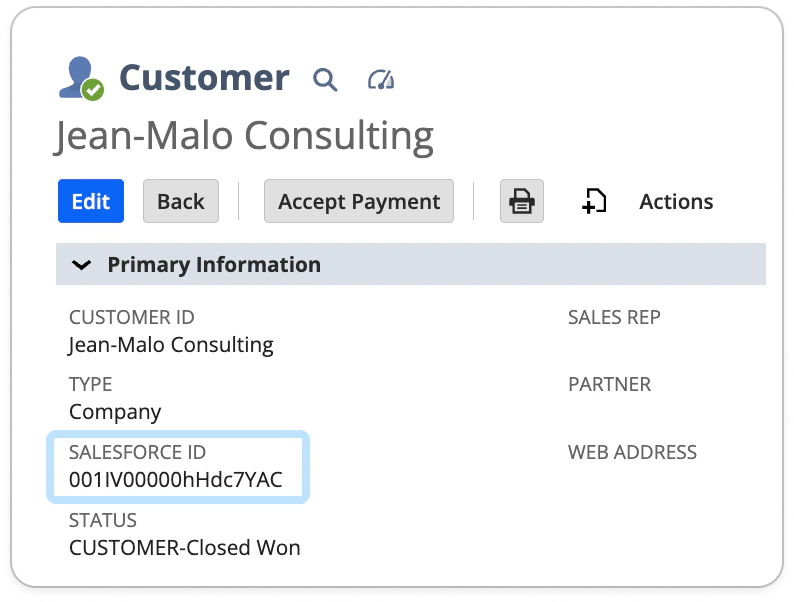
Option 1: Using the Salesforce identifier (Account Id)
Here, your Salesforce account is synchronized into NetSuite.
- The
Account Idis unique to each customer in Salesforce and follows a format like “001IV00000hHdc7YAC.” - Locate the
Account Idin the URL of a customer page in Salesforce.
- Ensure it exists in:
| Your accounting system as a custom field. | Upflow as a customer custom field (import it if necessary through the custom fields section). |
|---|---|
 | 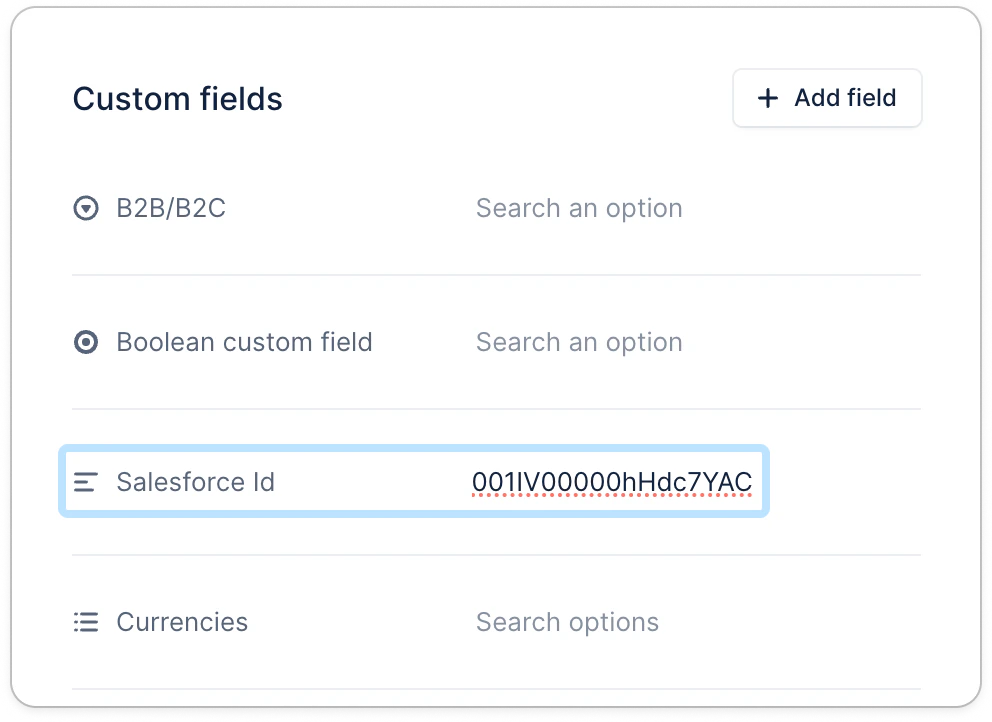 |
- Field Mapping Example: Select the corresponding fields in Upflow for mapping, such as
Account Idin Salesforce and the respective field in your accounting software.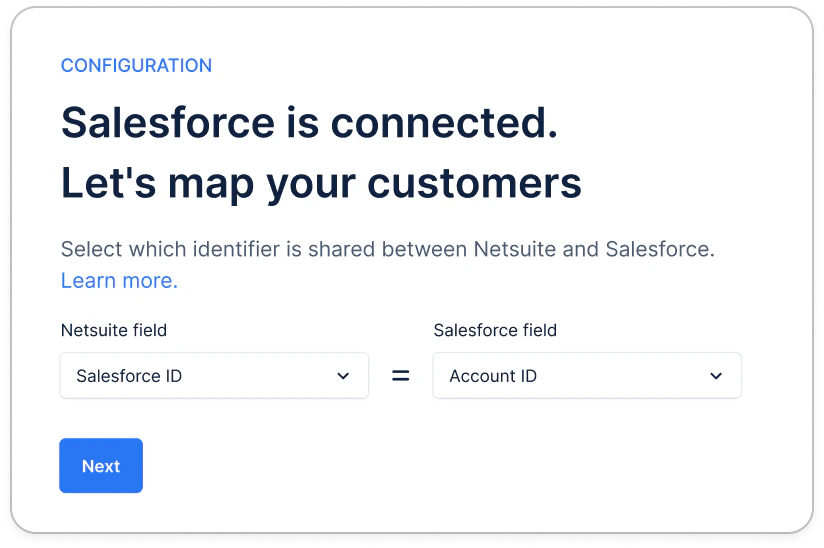
Option 2: Using the _NetSuite*_ identifier (NetSuite Id) -* or any other billing tool
Here, your NetSuite account is synchronized into Salesforce.
- The
NetSuite Idis unique to each customer in NetSuite, formatted like “285.” - Locate it in the URL of a customer page in NetSuite.

- Ensure it exists in:
| Salesforce as a custom field. | Upflow’s customer details section. |
|---|---|
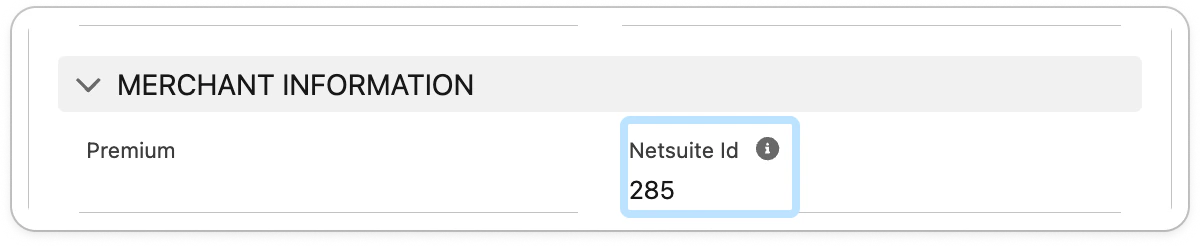 |  |
- Field Mapping Example: Select
NetSuite Idas the shared identifier for mapping across platforms.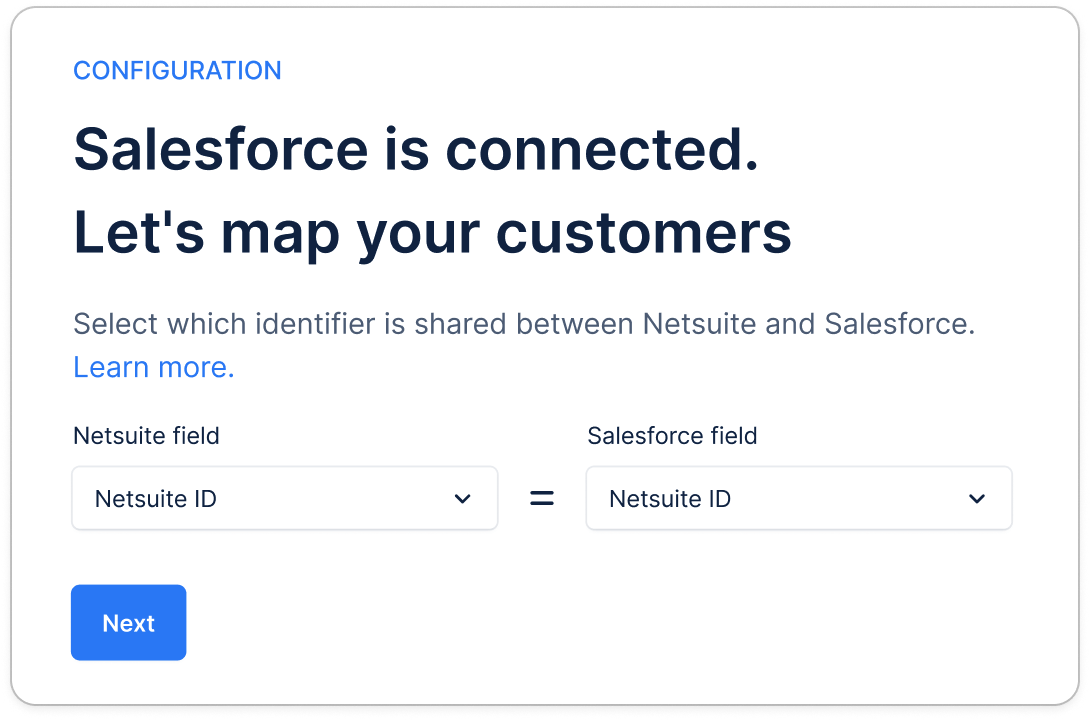
Option 3: Using another identifier
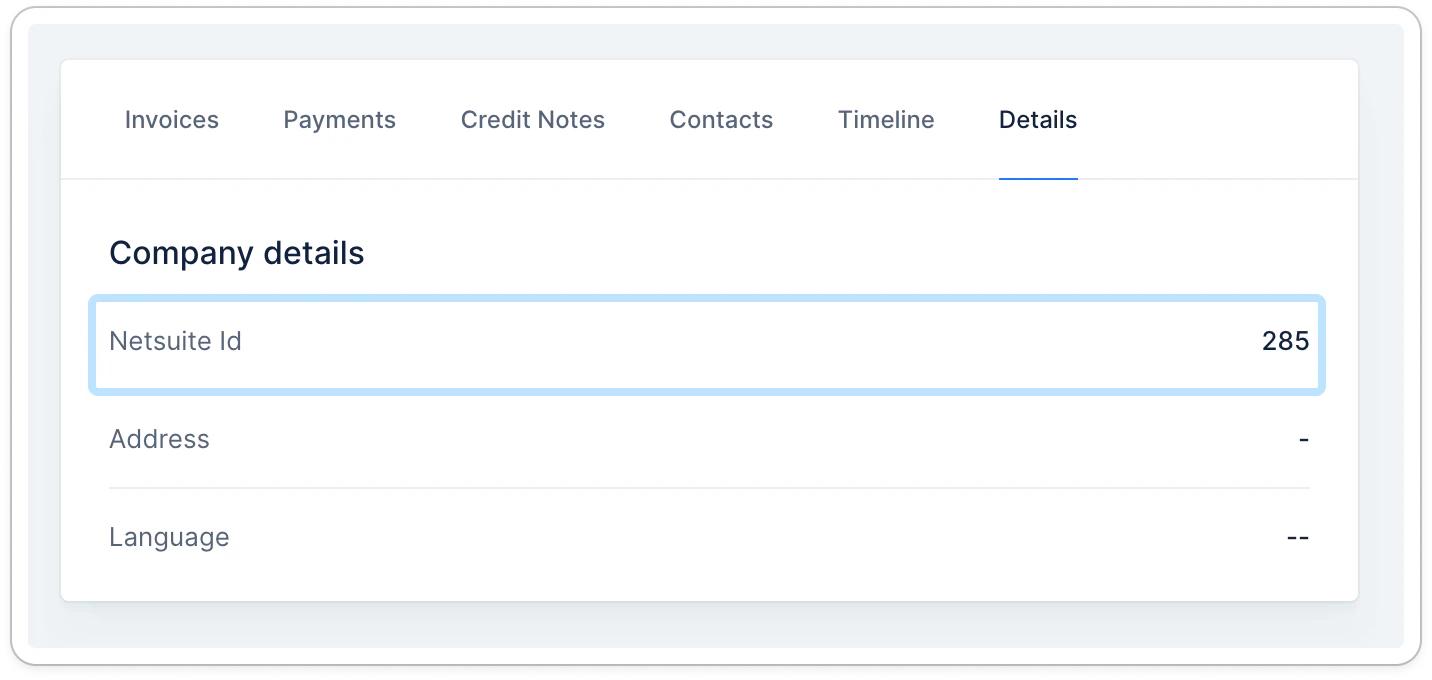
Here, your billing tool and Salesforce account are not synchronized together. You will need to choose or create a dedicated shared identifier (e.g., app-specific Id, company registration number), ensure it is available in both Salesforce and your billing tool, and imported to Upflow. Below an example with NetSuite as billing tool: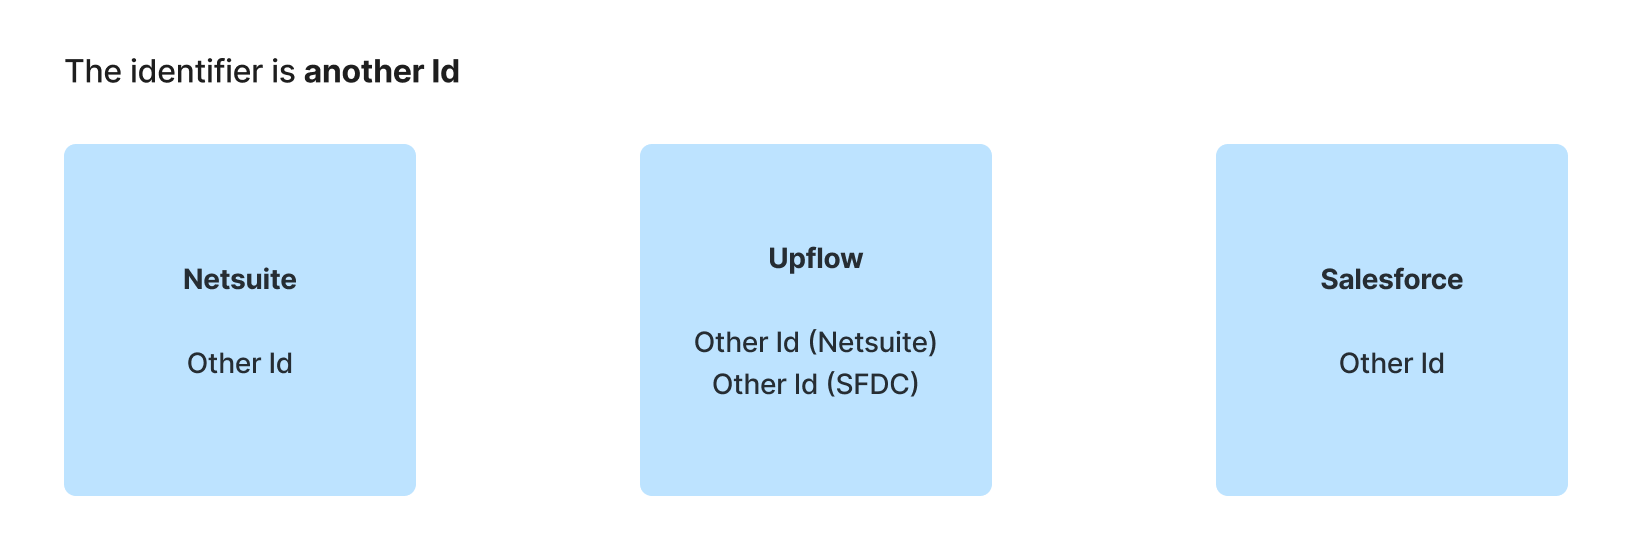
- Field Mapping Example: Choose the custom identifier field across all systems for accurate data synchronization:
| In NetSuite | In Salesforce | In Upflow |
|---|---|---|
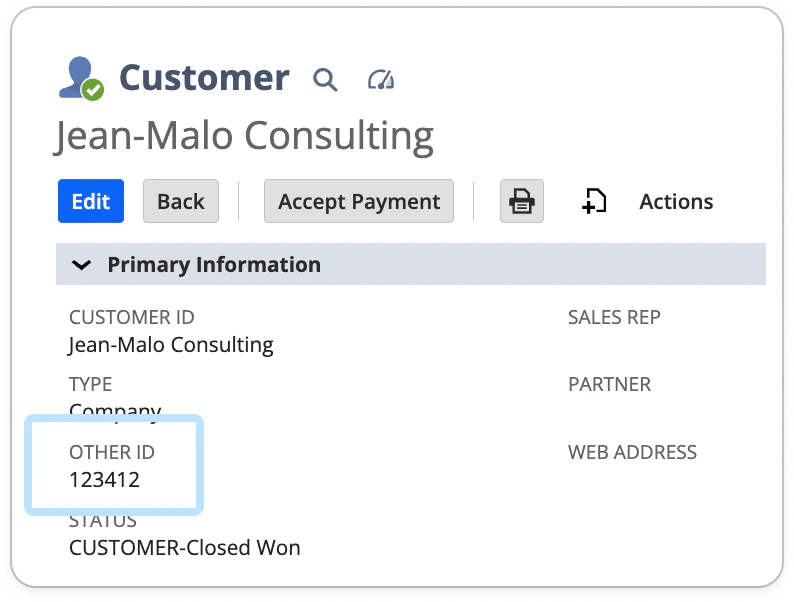 | 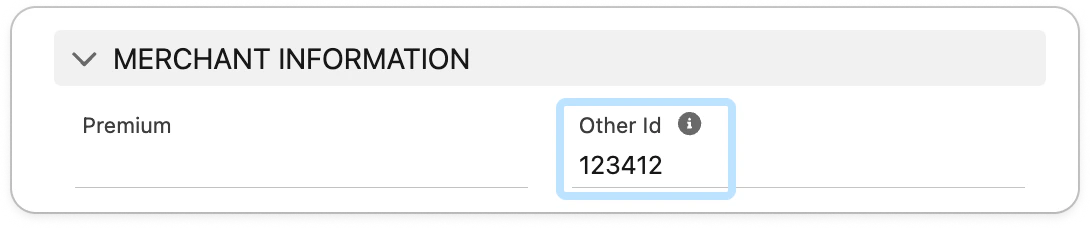 |  |
Here’s more insights
Step 1: Choose the identifier
Pick one identifier that is:- The same value for the same customer in both systems
- Unique (no duplicates)
- Stable over time
Step 2: Add the field in Salesforce and in your billing tool
- In Salesforce (Account level): create or select a field (Text is usually best), e.g. Other ID.
- In your billing tool (Customer): create or select the equivalent field.
Step 3: Fill the identifier in both systems
You can populate and maintain it using any of these methods:- Manual updates (small volumes)
- API / automation (recommended at scale for long-term consistency)
Step 4: Make sure the identifier is available in Upflow
In Upflow, you should be able to sync both fields in your Settings > Custom fields, at the customer level.Step 5: Map the fields in the Salesforce setup
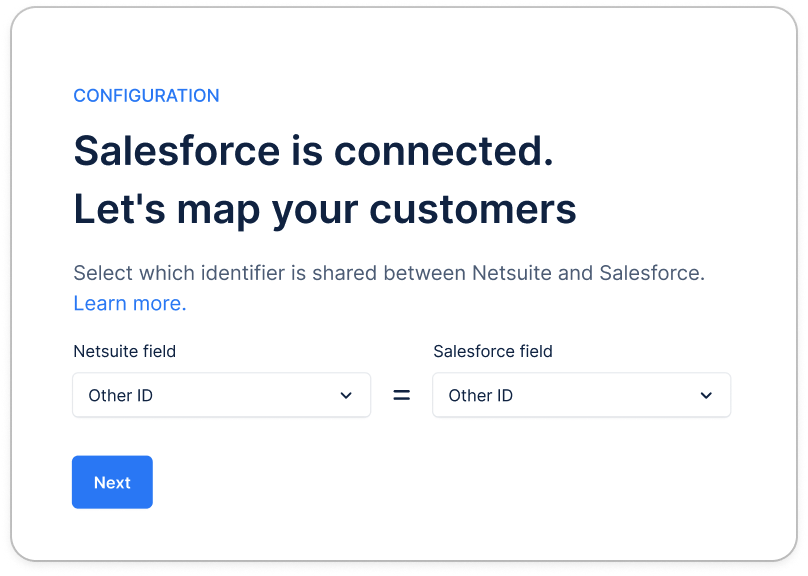
When connecting Salesforce for the first time in Upflow, our system asks you to “map your customers”:- Select the identifier field on the billing tool side
- Select the matching identifier field on the Salesforce side
- Other ID (Billing tool) = Other ID (Salesforce)
- Missing values in one or both systems → no match
- Duplicates → ambiguous match
- Formatting differences (spaces, leading zeros, casing) → mismatch/no match
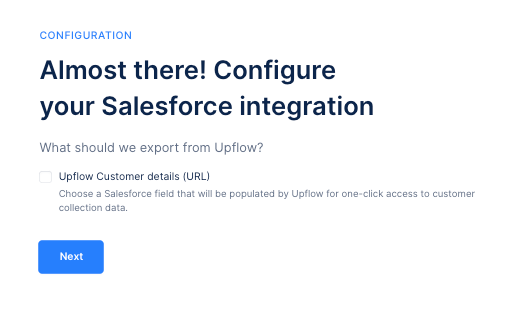
Configuring additional features
Upflow’s Salesforce integration offers several customizable features to streamline your workflow.Import information from Salesforce

Exporting information to Salesforce
Frequently asked questions
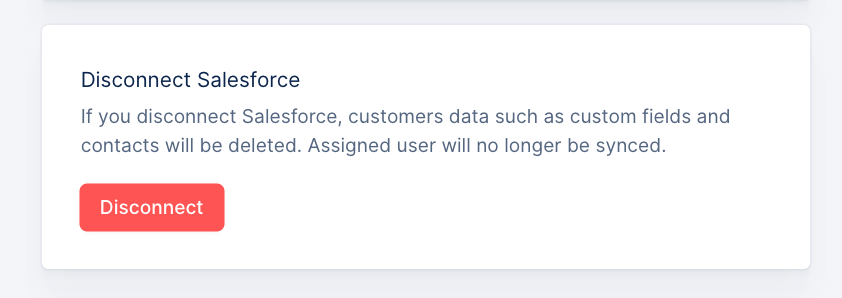
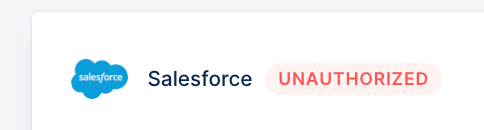
Salesforce is disconnected from Upflow
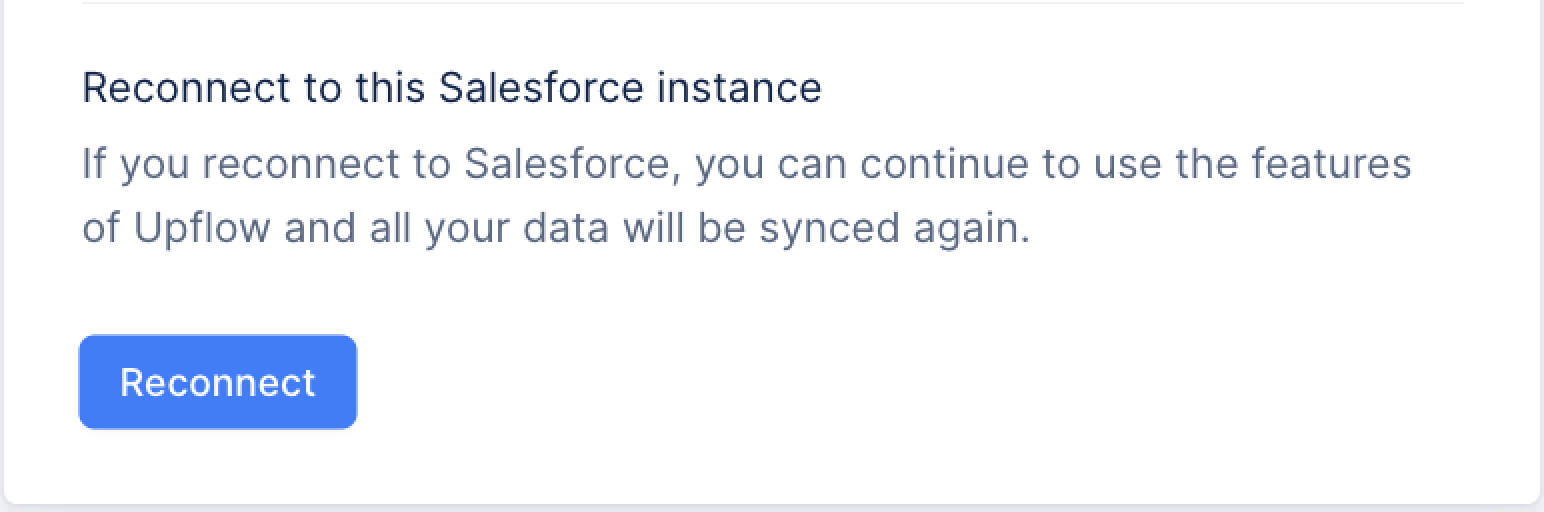
If you face any error when attempting to reconnect:
- Ensure you’re Admin in Salesforce and have no restriction there
- Click Disconnect and restart the connection process from scratch (a few minutes)