Step 1: Authorize Upflow’s Sender ID to use the Web Services
As a first step, you need to give Upflow’s Sender ID permission to use Web Services in Sage Intacct.- Go to Company > Admin tab > Subscriptions
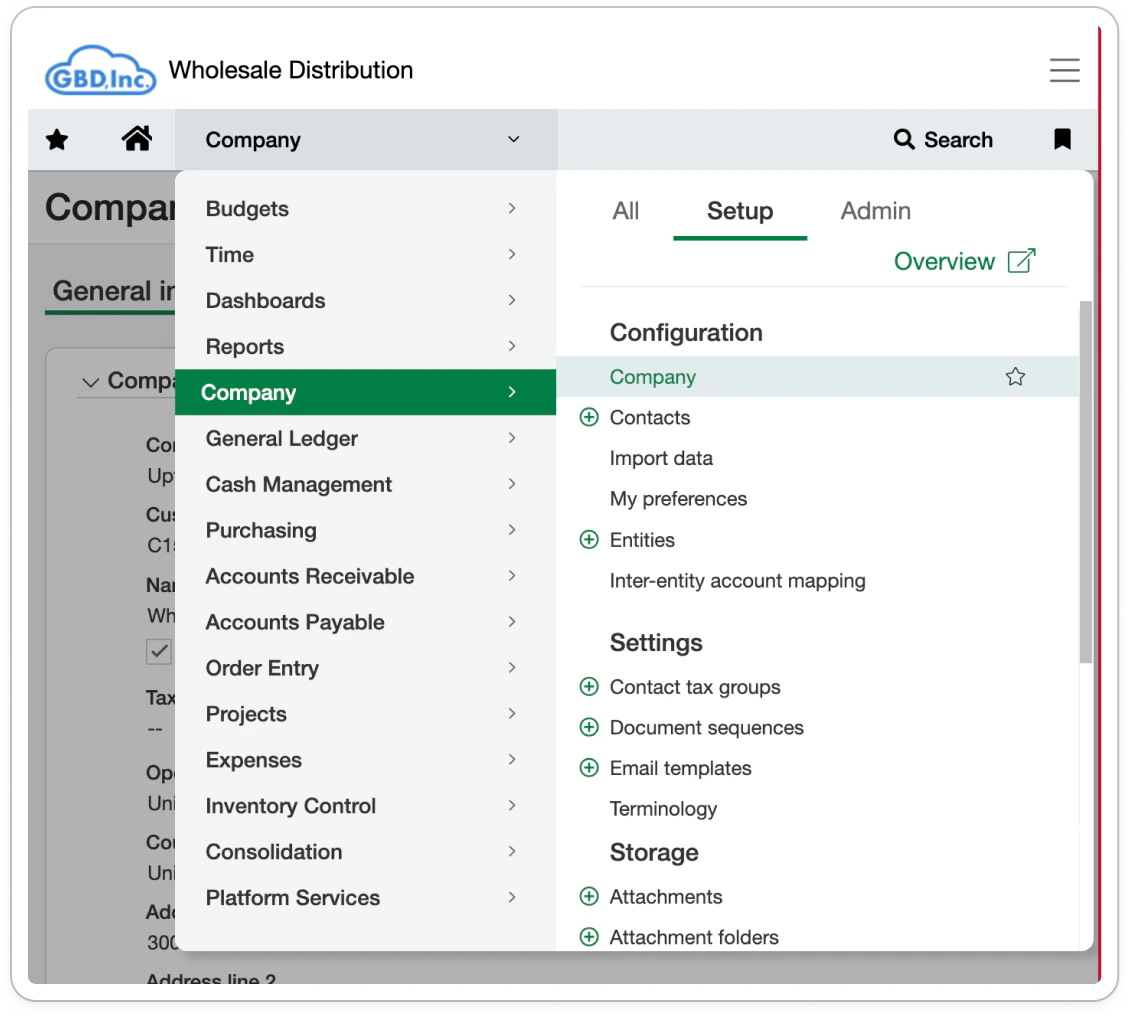
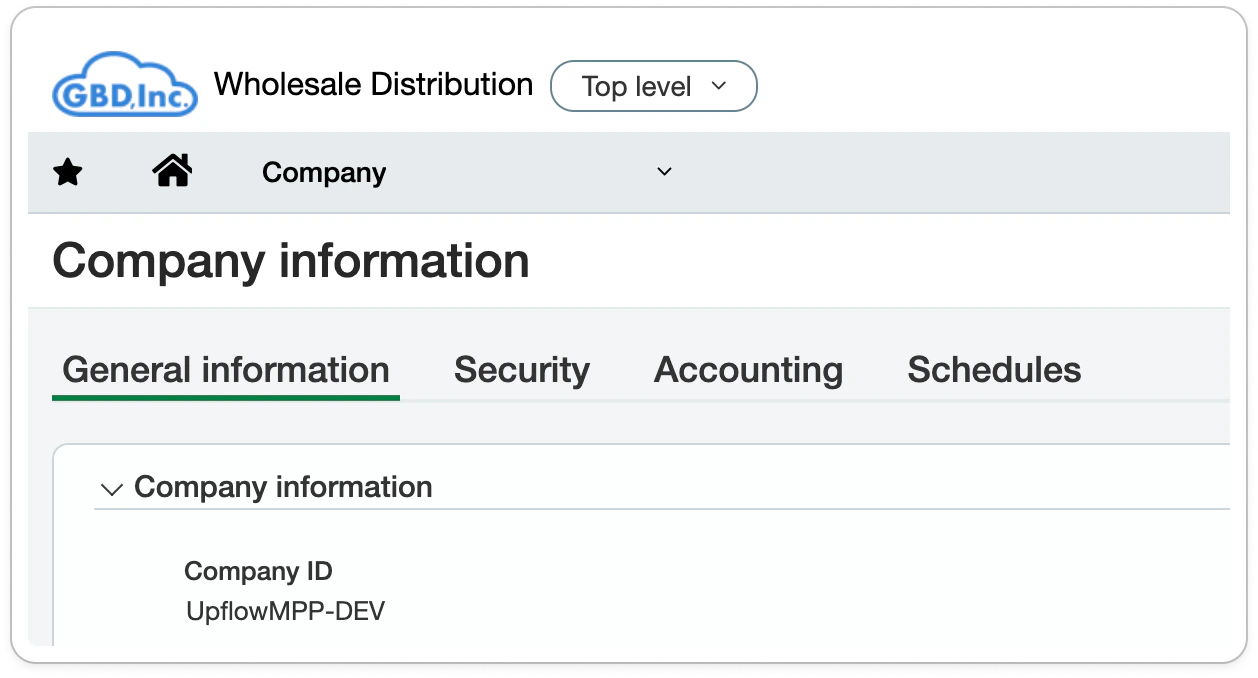
- Go to Company > Setup tab > Company to access the Company information
- Click Edit in the top right corner
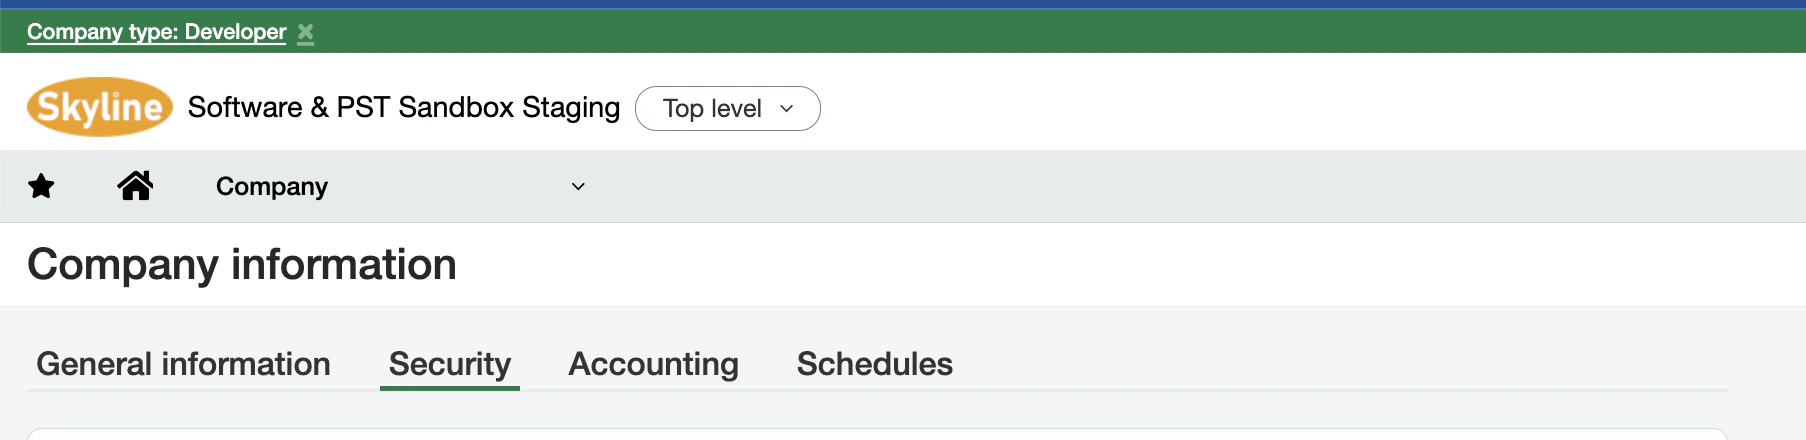
- Go to the Security section
- Scroll down to the Web Services authorizations section
- Click Add and enter a Sender ID for Upflow (UpflowMPP).
- Save the Sender ID.
Step 2: Create a Web Services user
Next, you must create a Web Services user in Sage Intacct since the Web Services user ID and password are needed to connect Sage Intacct and Upflow. This Web Services user is used solely for integration purposes. It exchanges information programmatically with Sage Intacct via Web Services API calls. It isn’t allowed to log into the user interface.- Create a new role with the required permissions
- Create a new Web Services user and link it with that role

1. Create a new role and assign permissions
To create a new role:- Go to Company > Admin tab > Roles
- Add a new role and give it a name; for example: Web Services user – Upflow.
- Save the role.
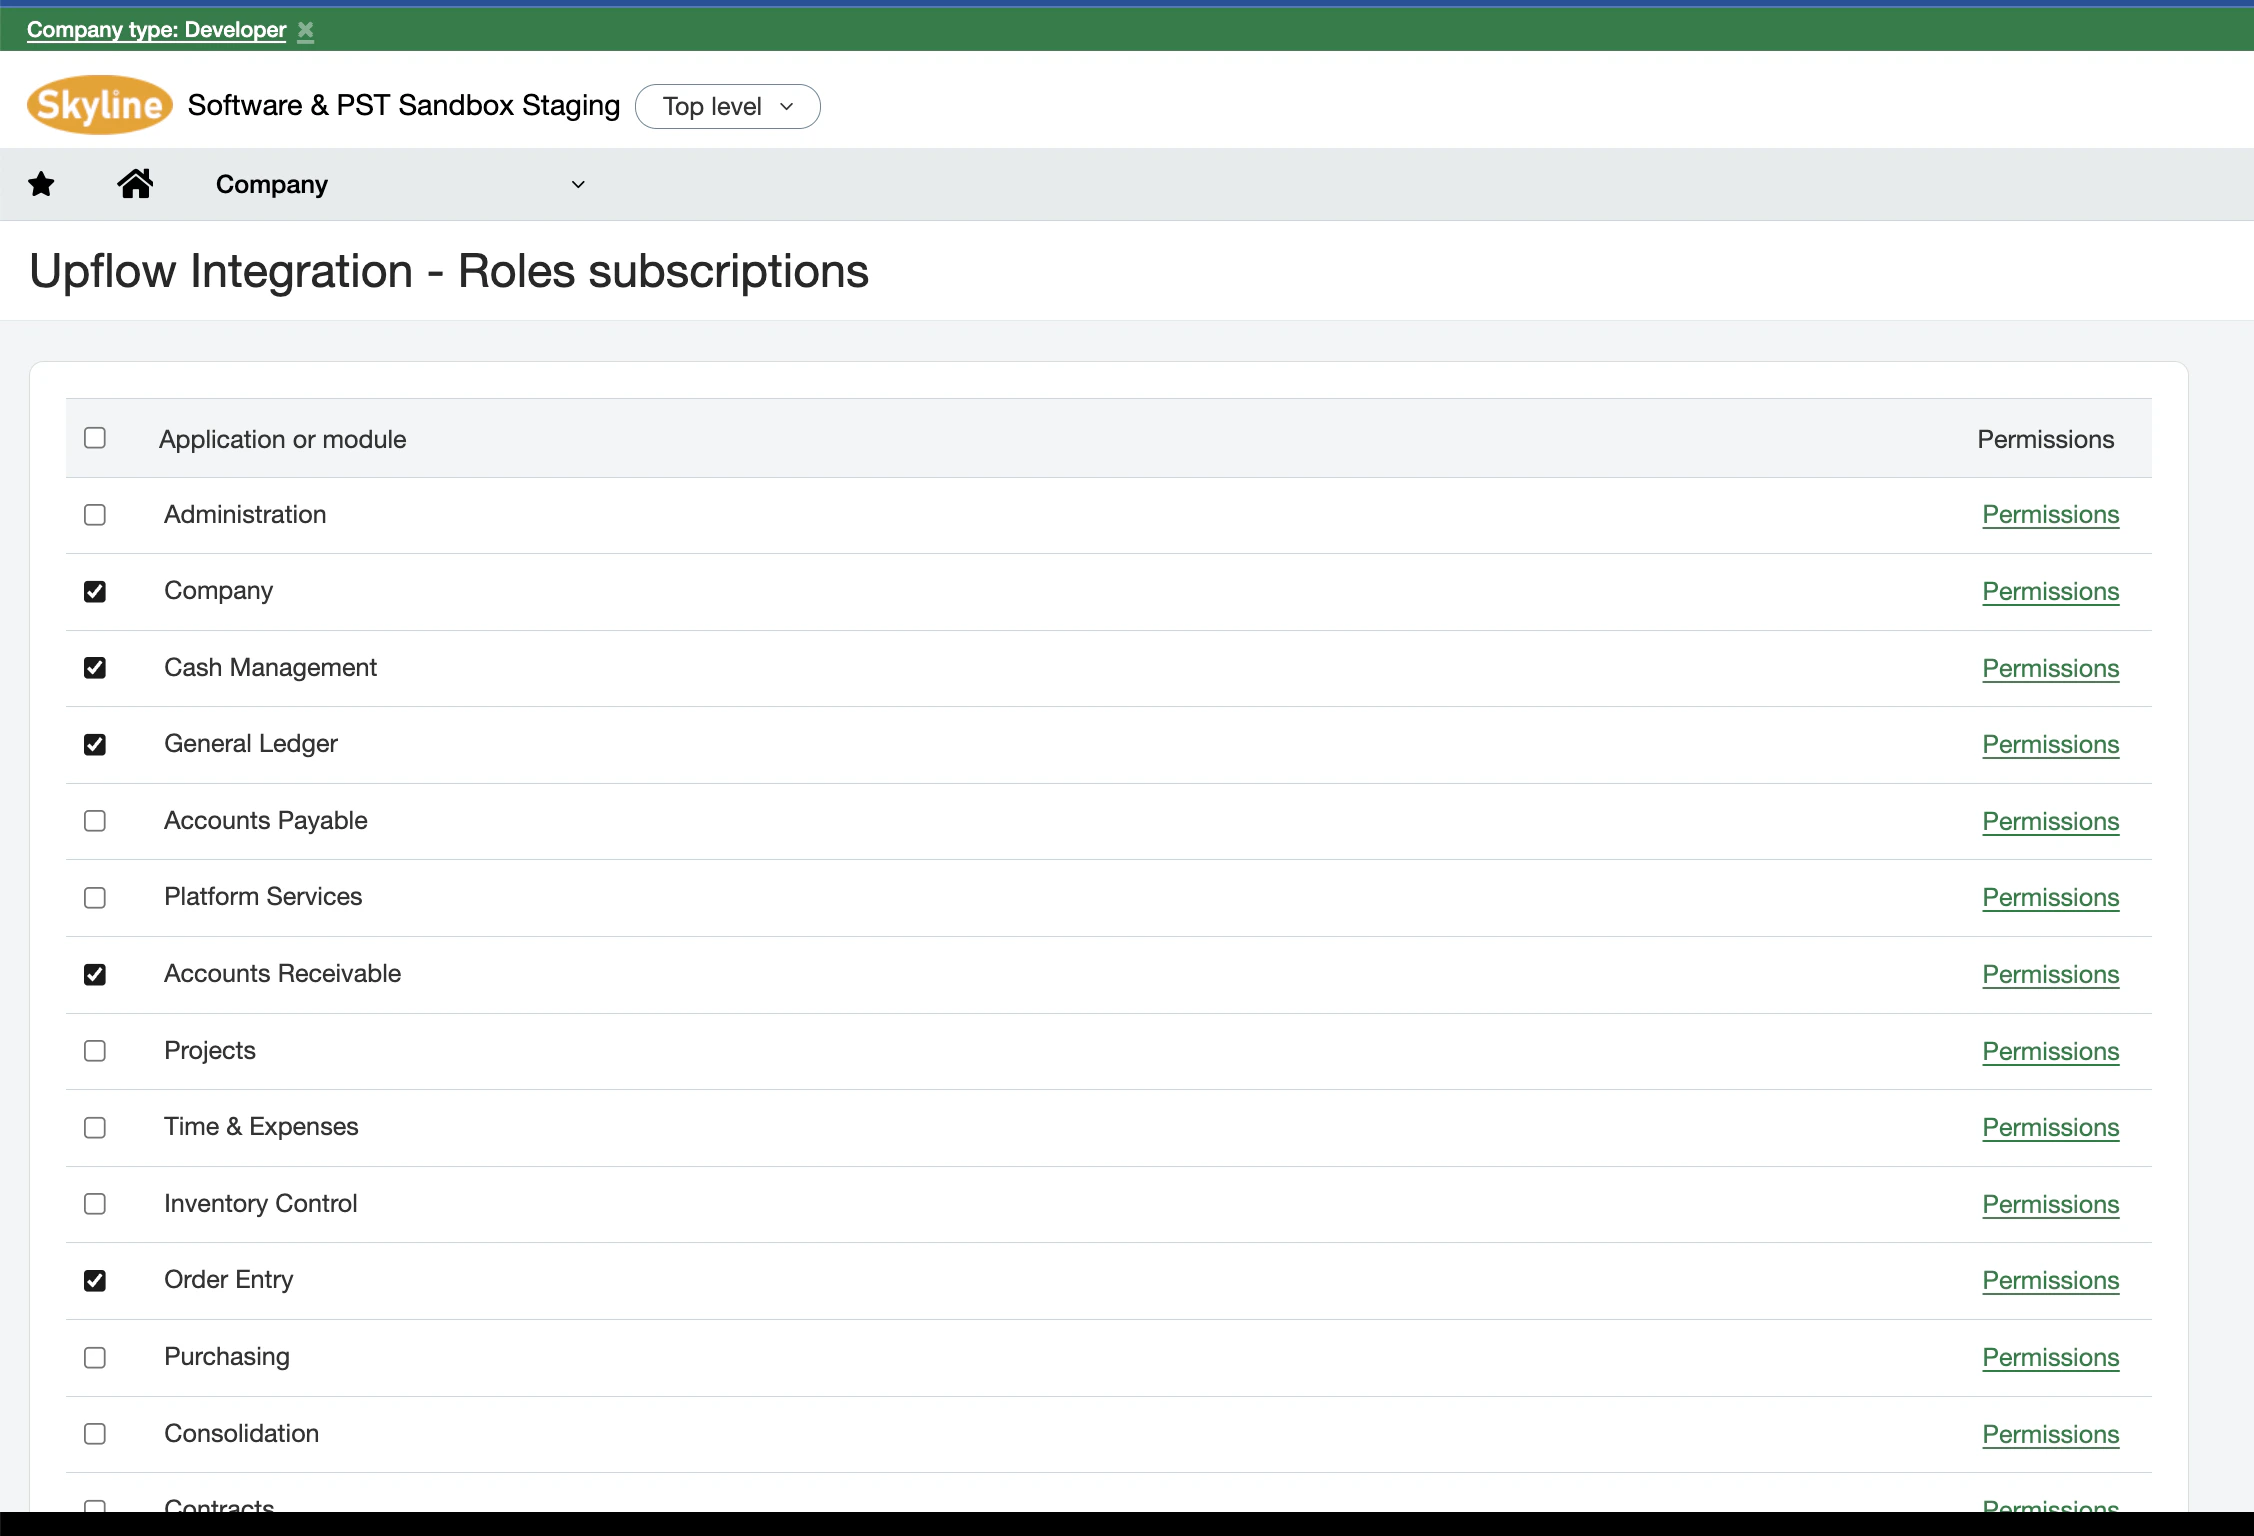
Permissions
The following permissions are essential to ensure that Upflow can access the correct information in your Sage Intacct account.- Company - Read only or All
- General Ledger - All
- Accounts Payable - All
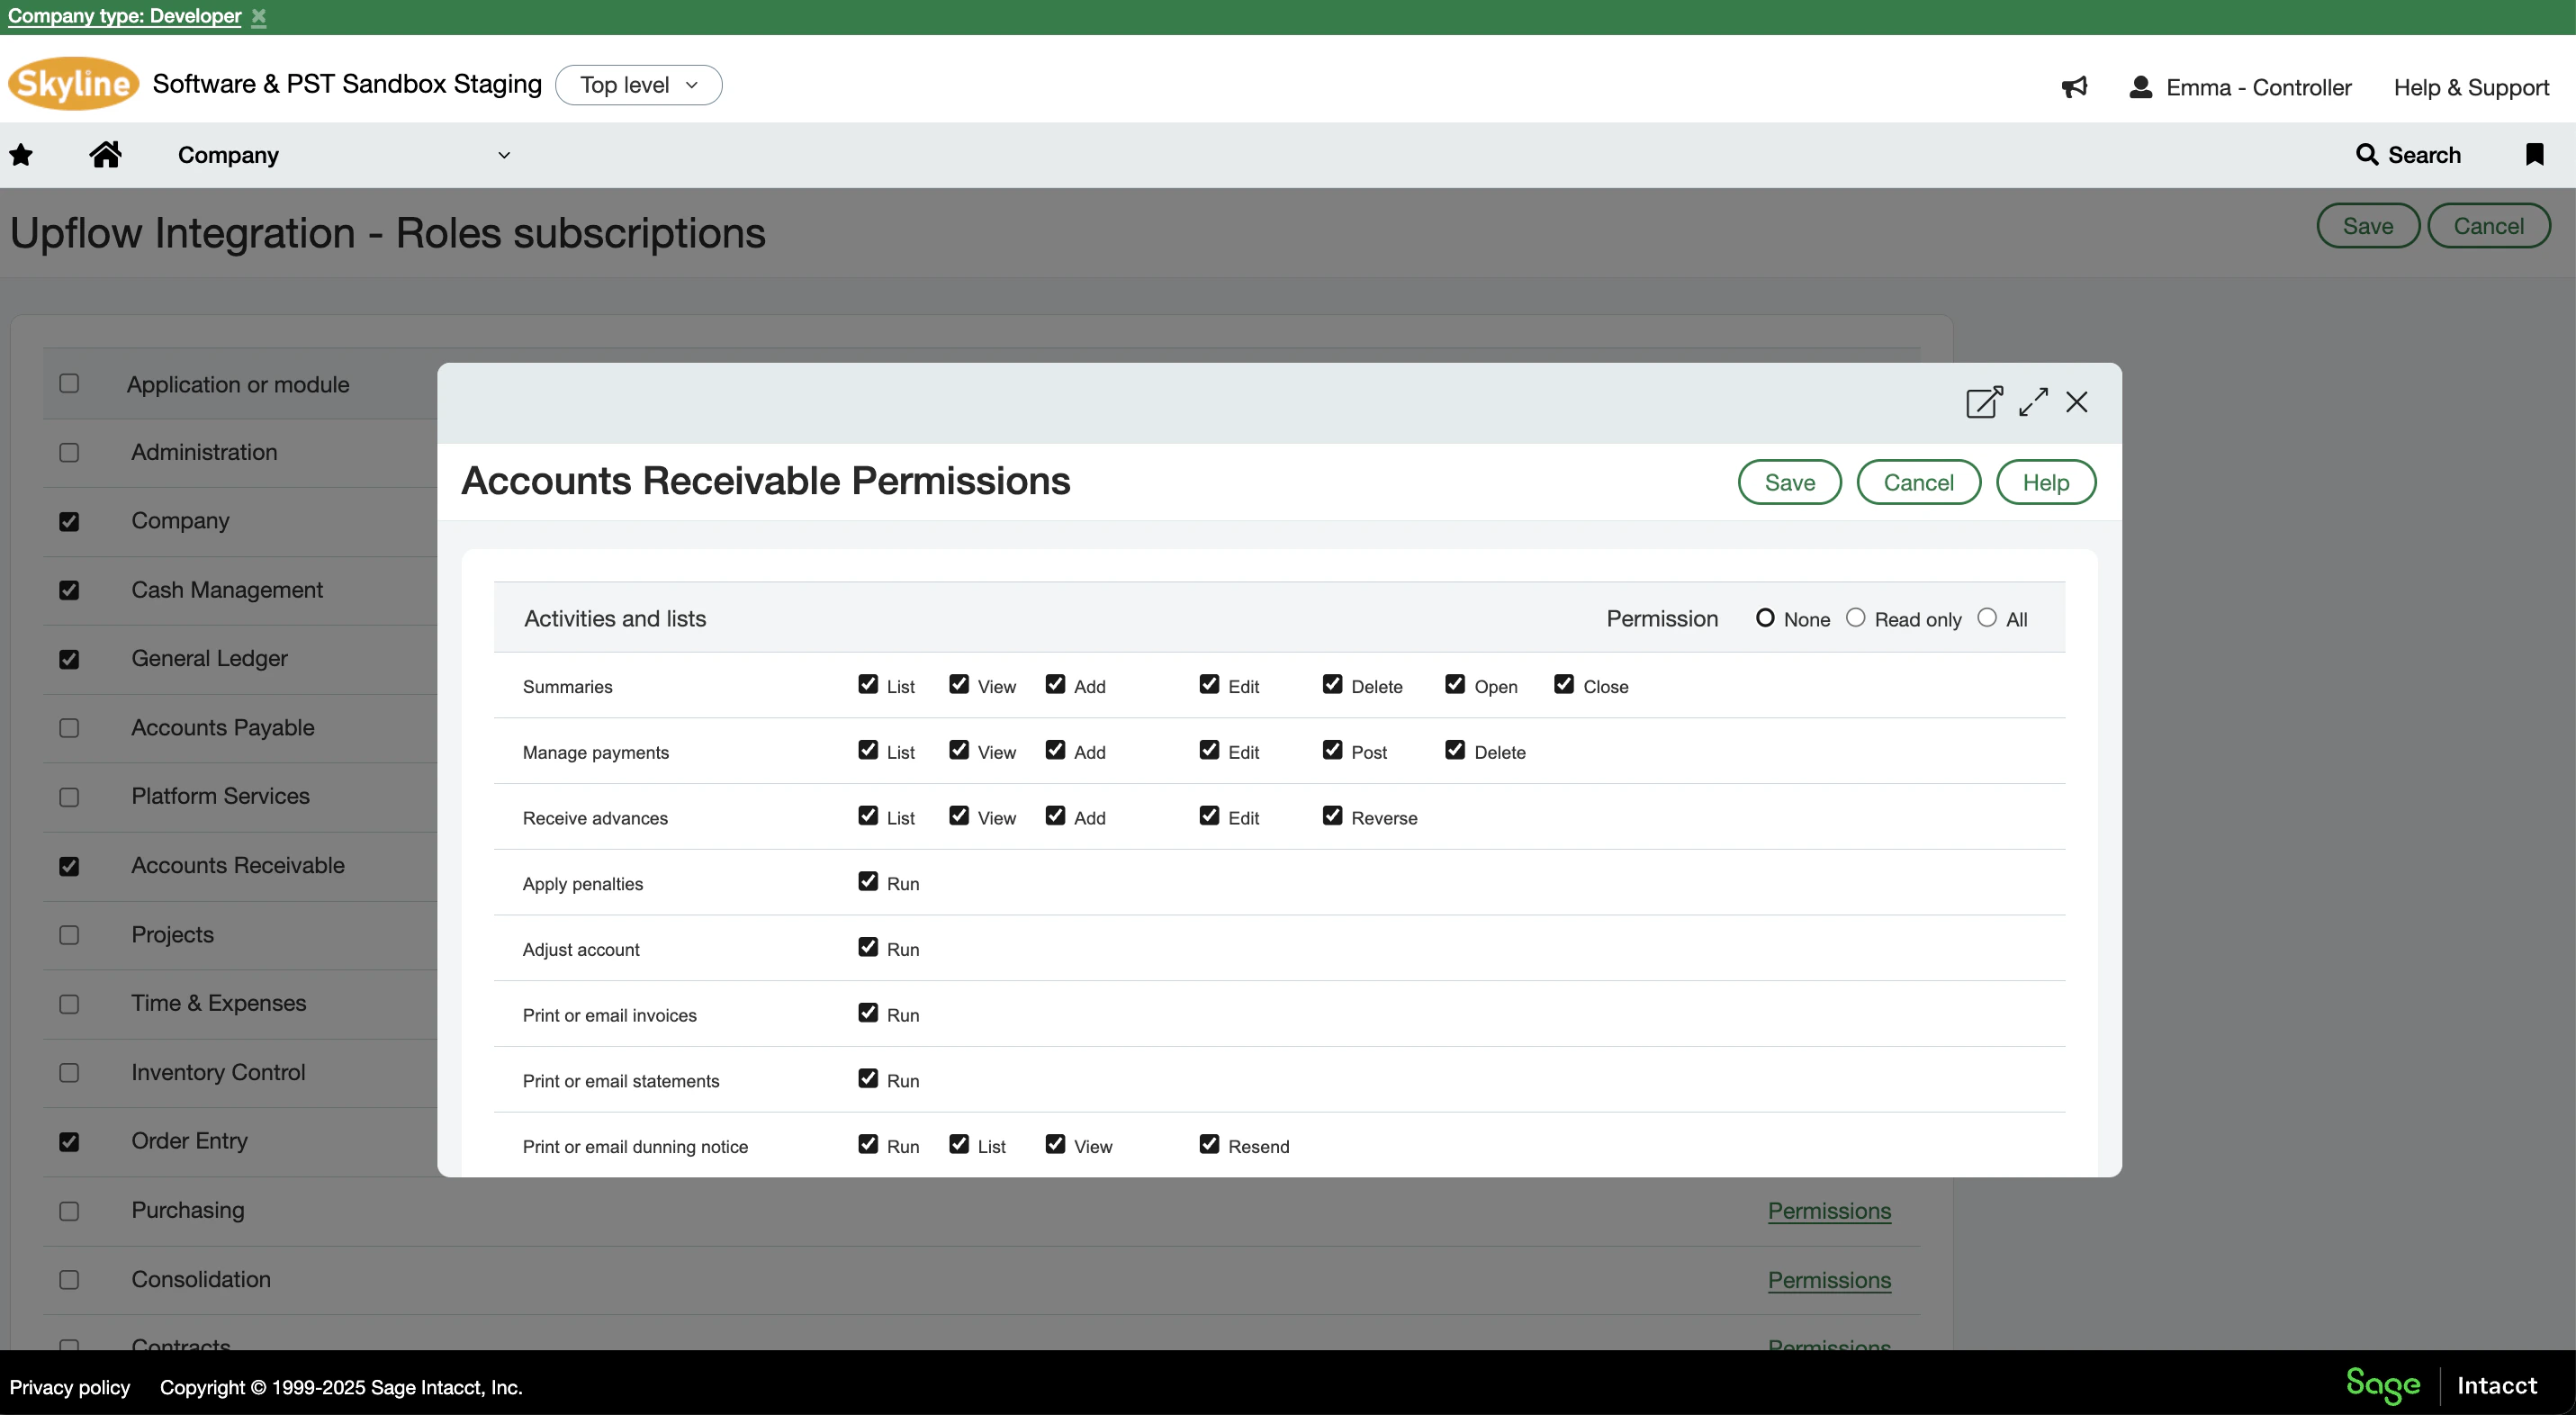
- Accounts Receivable - All
- Reports - All (be sure to scroll down to select this permission under Accounts Receivable - it’s easy to miss!)
- Cash Management - All
- Order Entry - All
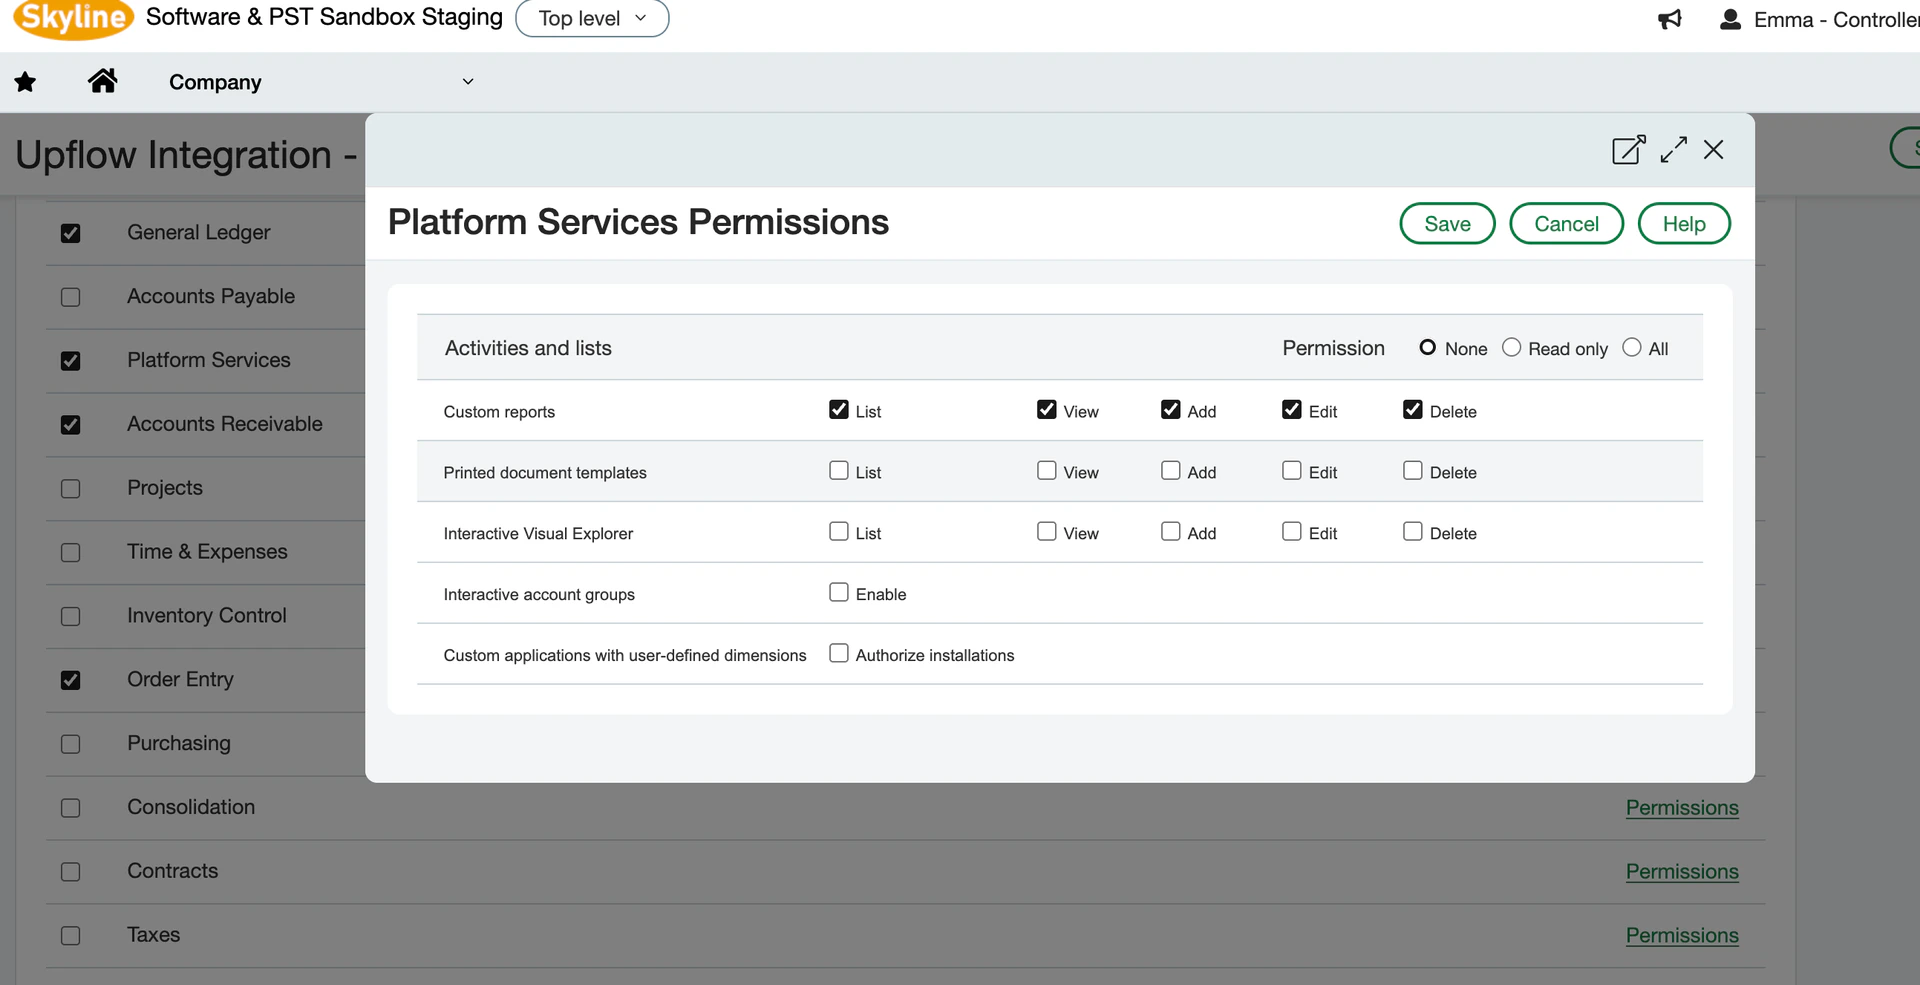
- Platform Services: Custom Reports - List, View
2. Create a new Web Services user
Next, you will need to create a new Web Services user and assign it to the role you’ve created.- Go to Company > Admin tab > Web Services Users.
- Add a new user and fill in the following fields:
- User ID
- Last name
- First name
- Email address
- User type: Business
- Admin privileges: Limited
- Click on the Roles information tab and select the role you created in the previous step.
- Save the changes.
- Password
- Sage Intacct Company ID
- User ID
Step 3: Create your Upflow organization
Initiate your organization creation process by following the steps outlined in Upflow. Name your organization, click on the Connect button on the Sage Intacct integration icon, and let us guide you through the integration process.