Why import your customer replies in Upflow?
- Get all the information you need before sending a reminder from Upflow, your team, and your customer.
- Don’t spend your time looking for a potential reply to your last email reminder, and avoid context-switching.
Technically speaking
An Upflow email address is automatically generated with each of your organizations.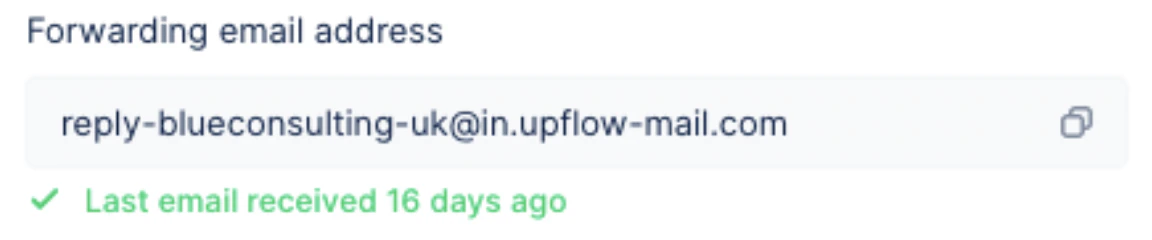
- We check if the email is in reply to a reminder sent via Upflow. If that’s the case, then we import the email and link it to that customer. If it’s not linked to a reminder…
- We check if the sender of the email is a customer contact in Upflow; if the contact belongs to only one customer, we match it to that customer.
- Otherwise, we ignore the email. We would rather show less than more.
Replies attachments
💡 Attachments within the following limitations are imported- Formats: PDF, DOCX, XLSX, ODT, ODS
- Size per file: 26214400 bytes / 25 MB per file.
- Number of files: 500
Limitations
Today, images can be visible in imported replies, only if:- In the email body when the email is sent from Outlook (not as attachment).
- As attachment if the email is sent from Gmail (not if in the email body).
Setting up the import
To import your customers’ replies, we invite you to create filters + forwards in your Gmail settings and Rules in your Outlook settings. You can create as many as needed. We recommend configuring the filter with words you use in your email templates’ subjects. If the wording differs from one template to the other, create multiple filters. The filters must be created for each user sending email reminders from Upflow, including your alias if you use any. If replies are sent to an email group, add your Upflow forwarding email address to the group members.Create filters in Gmail
Before proceeding with the below recommendations, we advise to check our Gmail integration documentation, which provides more reliable and easier email imports into Upflow.Forwarding address
Start by adding the Upflow forwarding address to your Gmail Settings. Copy it from your Upflow Settings > Replies. Then head to your Gmail Settings > Forwarding… Add the address and follow the suggested process. Once you get to the verification step below,
Filters
From your Gmail Settings, head to your Filters and blocked addresses :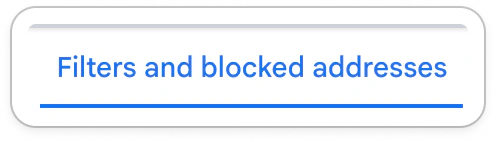
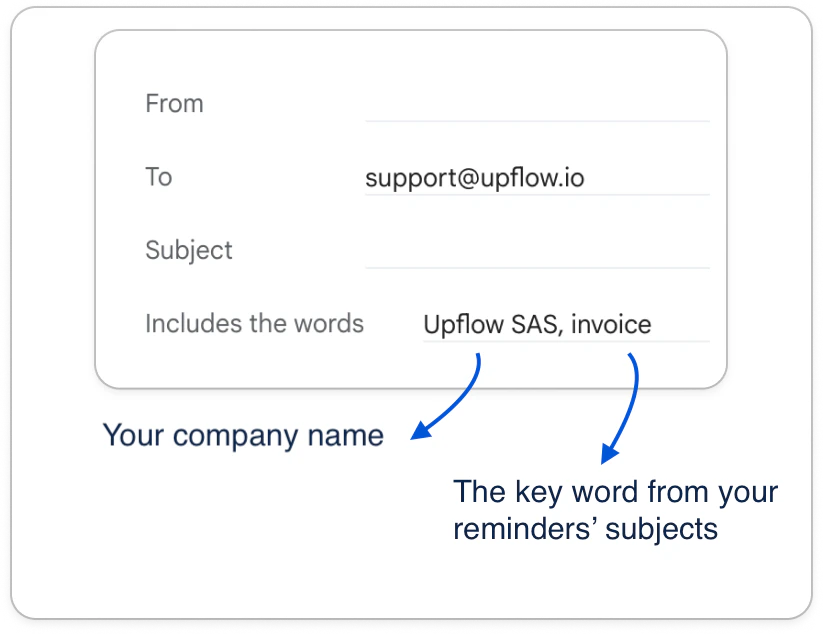
- To: your email address (or the one you’re configuring, a generic address or alias address).
- Contains the words: add the most recurring word you use in your email reminders subjects, such as “invoice” for example. You can also add your company’s name if it’s mentioned in your template subject under the tag “Company name”.
- Click Create filter
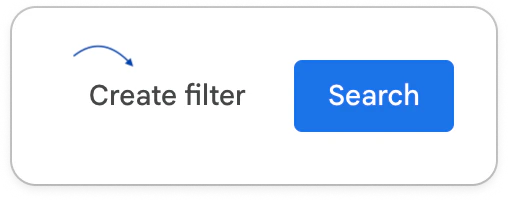
- Configure the right behaviour
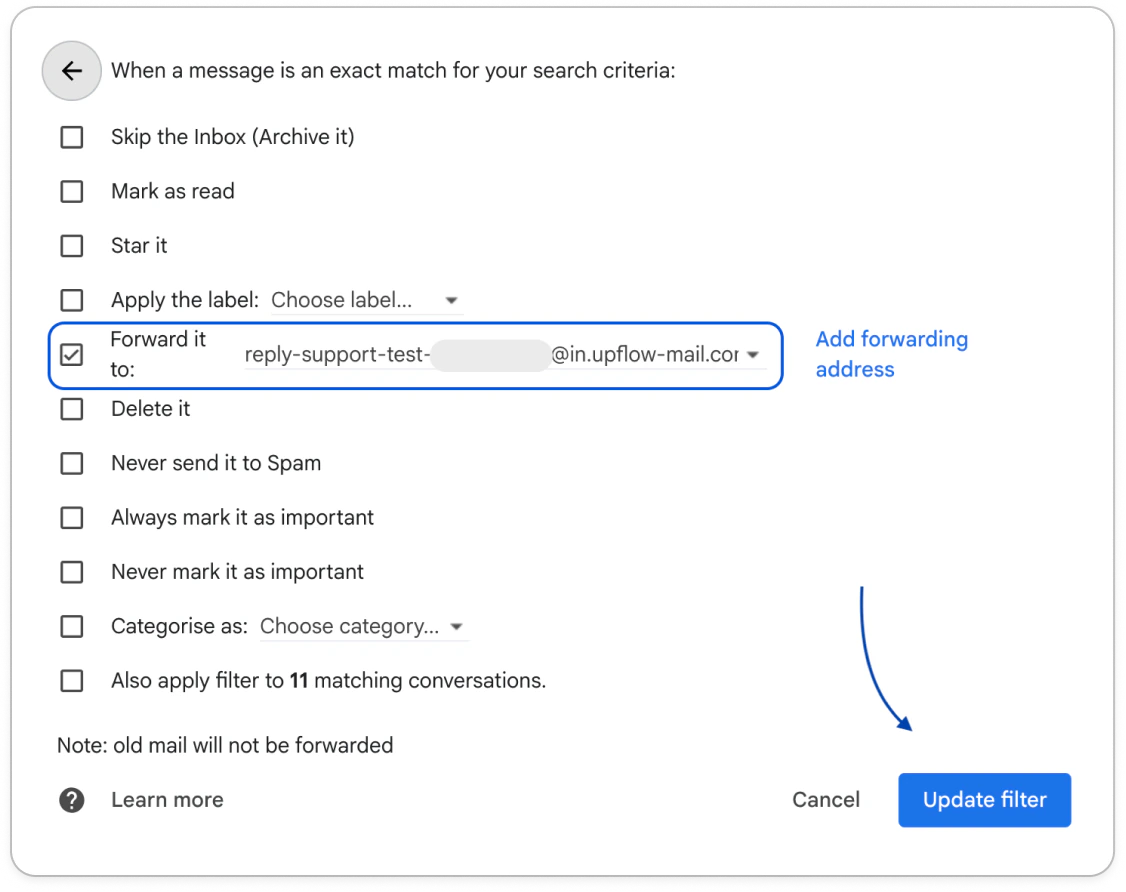
- Check the Forward it to option and select the dedicated forwarding address, which you’ll find in your Upflow Settings > Replies. Click Add forwarding address if it’s not yet known by your Gmail settings.
- Update the filter!
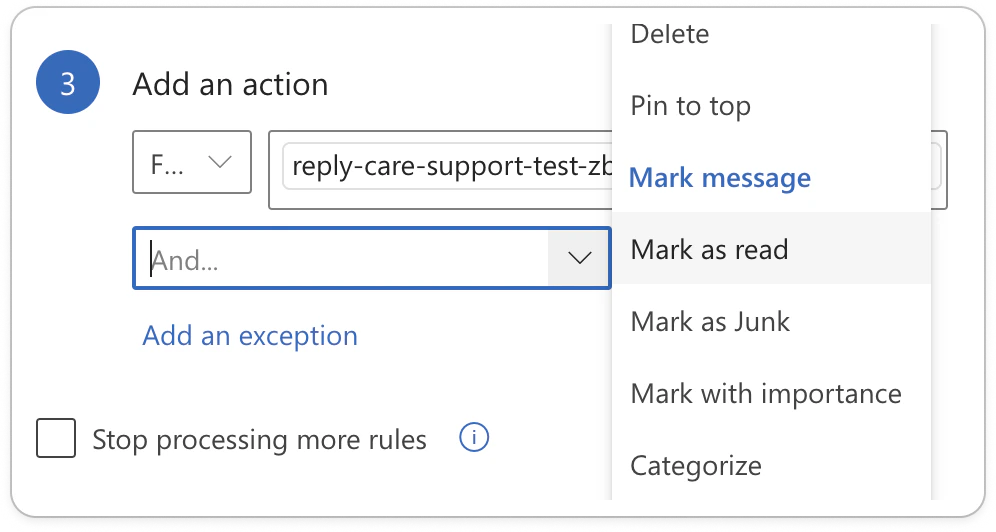
Create rules in Outlook
Head to your Outlook settings, and click Rules > Add new rule. Name it, then add the two following essential conditions:- To: your email address (or the one you’re configuring)
- Subject includes: add the wording used in each of your templates (or the one you’re configuring - if more, create a filter per wording).
Google Groups
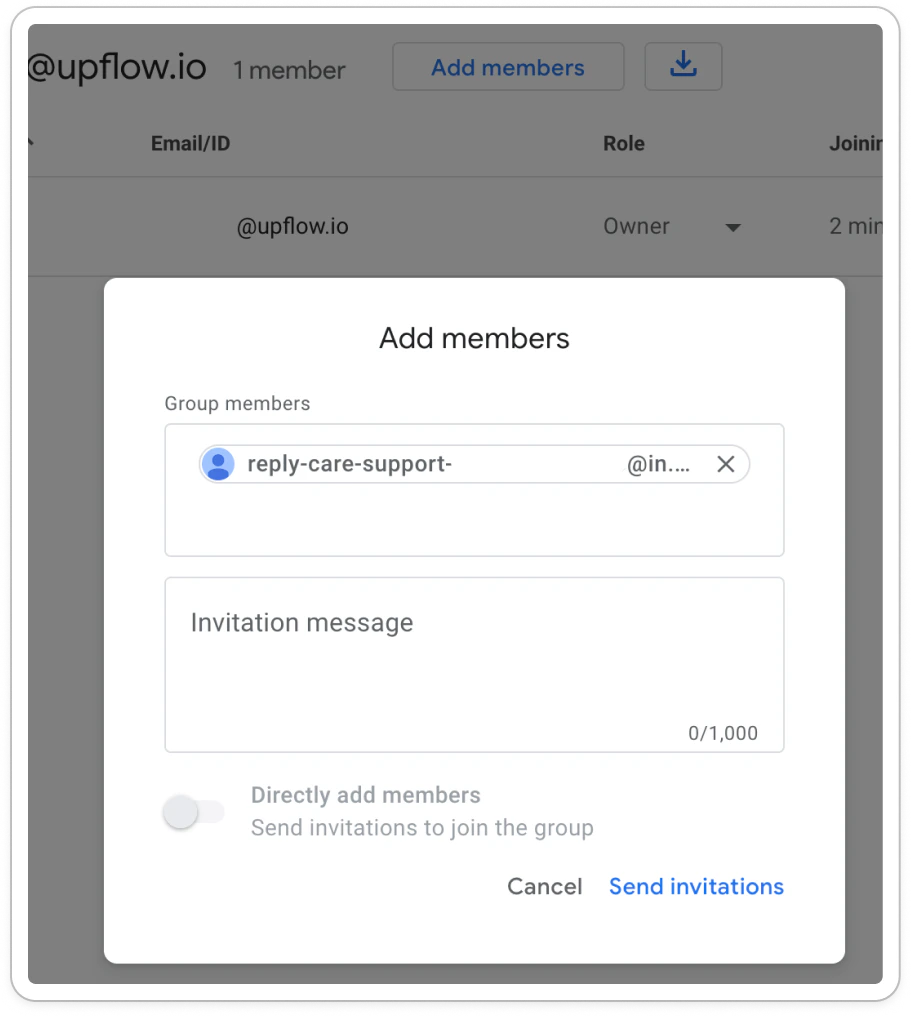
For Google Group addresses, add your Upflow dedicated forwarding address as a member. Follow these steps from Google: Add people to your group directly. From your Google Account, access your Groups: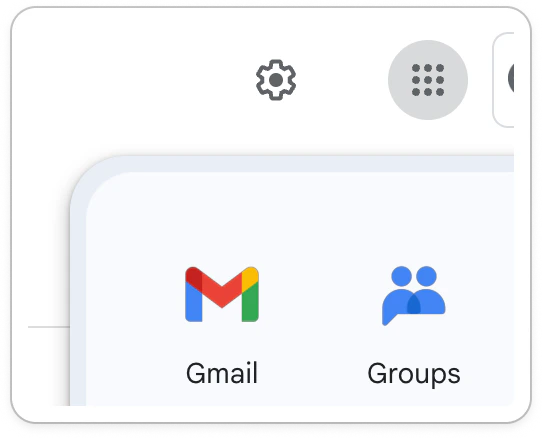
Edge case: customer’s group address
If your customer’s contact is a group address, let say billing@acme.co. When you send email reminders to this contact, other people from this group might reply to it, let’s say john@acme.co. But John isn’t a known contact in Upflow. His reply might not be imported to the customer’s timeline, if he doesn’t add billing@ to the loop. To prevent this issue, you have two solutions:- Ensure all known contacts for a customer exist in Upflow (you can add them to your source system or directly to Upflow - Your Upflow contacts).
- Enable the Import all replies feature. This option will ensure the reply is imported even if our system can’t link it directly to the dedicated customer. It will generate a temporary customer, that can then be merged with the original one. (Learn more in Manage your customers replies in Upflow).
Multiple organizations
Each organization has its forwarding email address. If you manage several organizations and want to import replies to all of them, follow the same steps as above. But make sure to have:- One filter per organization (at least)
- To refer to your “Company name” in your email subjects and to add the exact same name in your filter.
- And to ensure the forwarding address you use is for the right organization. Each Upflow organization has its own.
Combining the import with the Reply-to feature
When configuring a workflow, you indicate who receives your actions’ replies: their sender or a custom address.