Update/Deletion of existing contacts
Any existing contact in Upflow can be edited or deleted depending on their source:- If created in Upflow (manually, or CSV), you can edit all fields, or delete the contact.
- If synced from your accounting tool, you’ll only be able to update their position. Any other field or their deletion must be done from your tool.
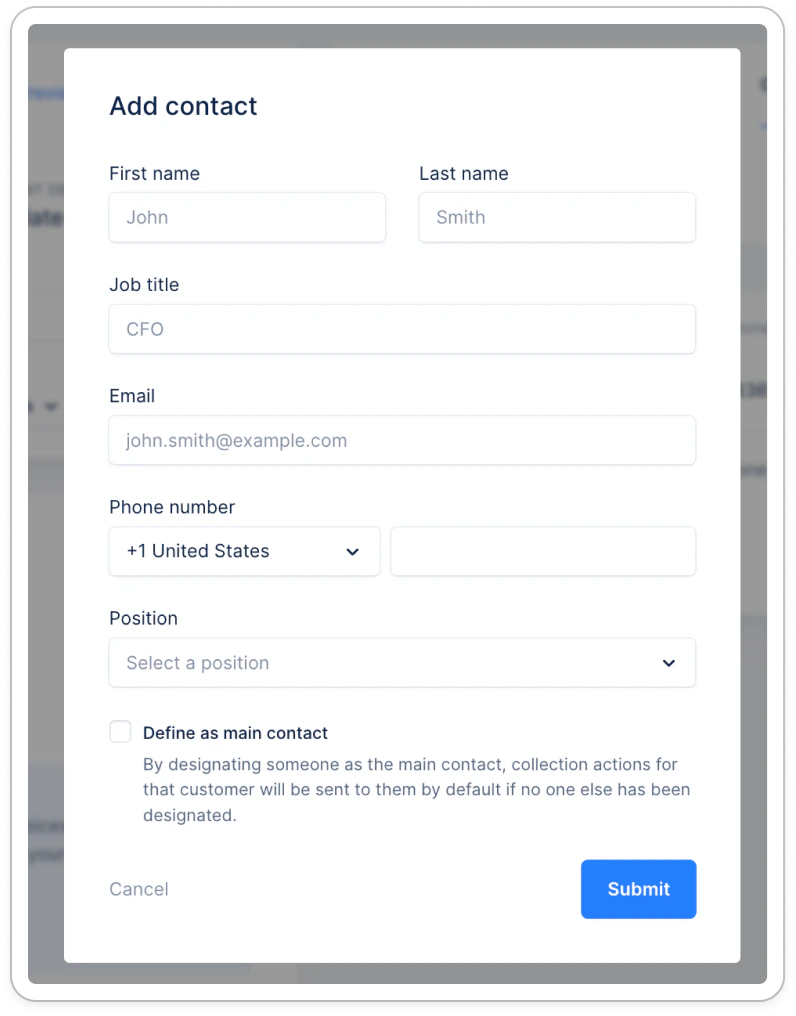
Create a contact in Upflow
Whether you use one of our native integrations or not, you can create a contact on the go in Upflow. From your Customer’s detail page, Contacts section, click the “Add” button: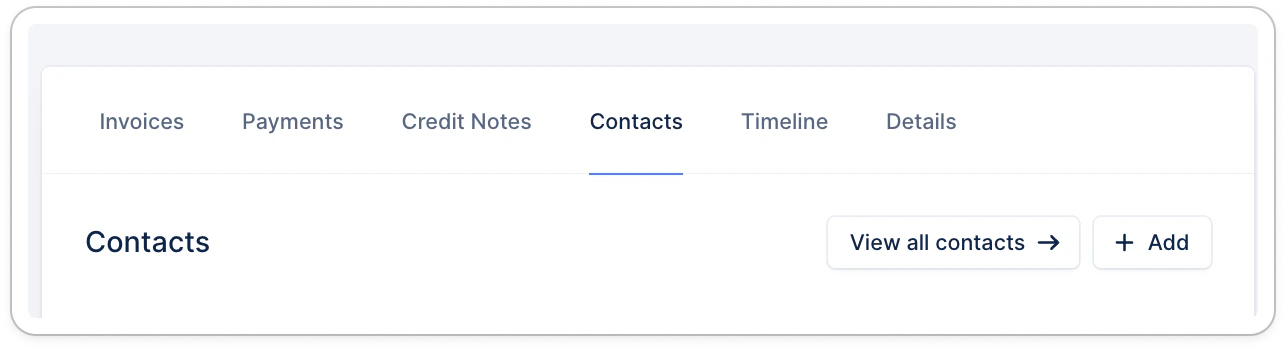
Positions
By default, your contacts are continuously imported and updated from your billing or accounting tool, except for their position. You can alternatively connect your CRM (1) to Upflow and pull both your contacts and Account managers from there, or even go with manual updates. (1) We offer a direct integration with Salesforce, which you can connect through your Settings > CRM. For any other CRM, you can rely on an API integration. Your contacts are by default imported without a position.
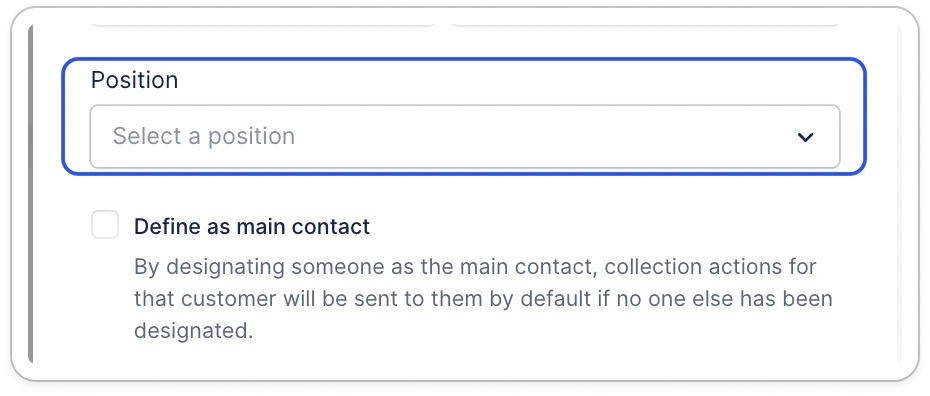
Create and update contact positions
From your Settings > Contact Management section, you will see four default positions: Accountant, Payer, Purchaser, and Sales.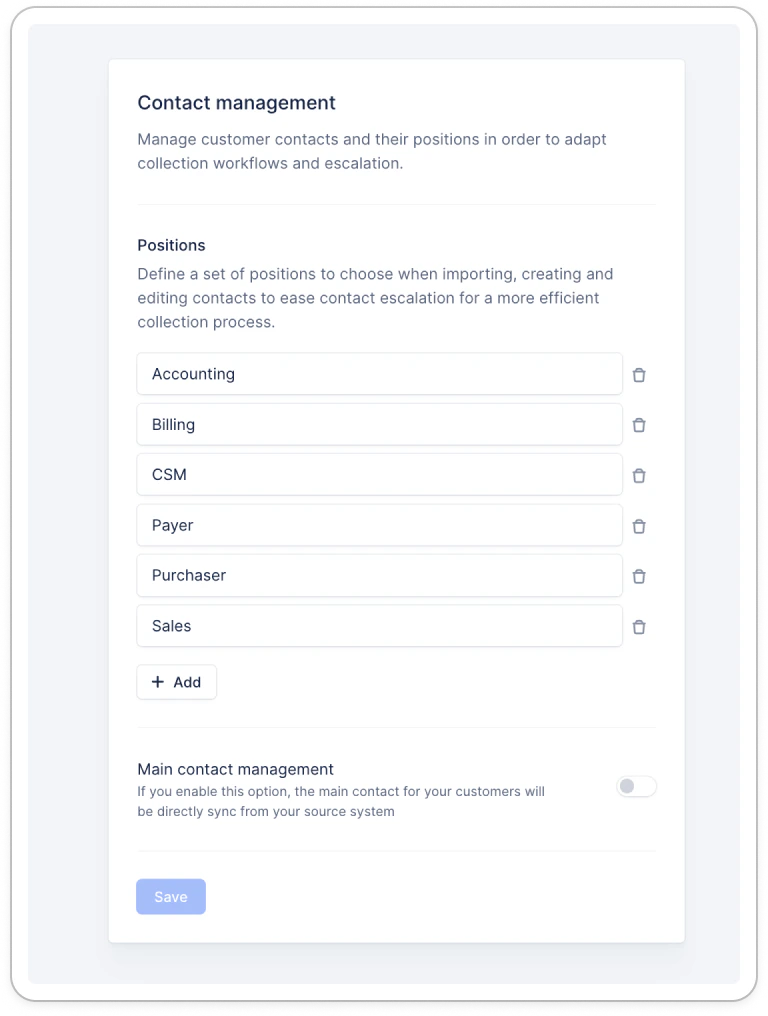
Manage your contacts positions
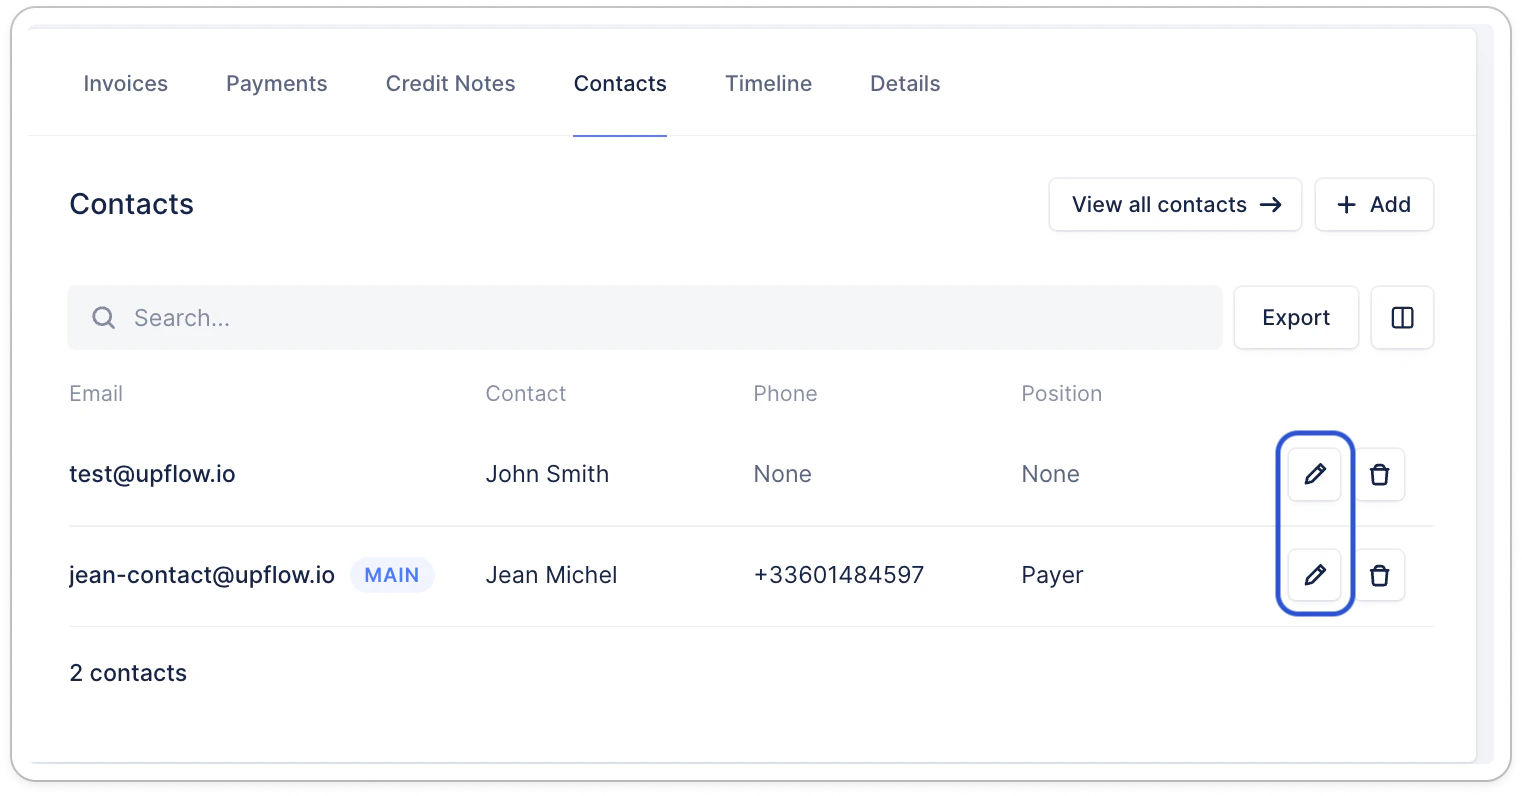
You can define it for each in-app*, via CSV import, or API. Or use contact custom fields for Salesforce or NetSuite.- At the contact level, from the customer detail page or the Contacts list view, click the Pen icon:
Main contact
Main contact management source
The main contact varies depending on its source, especially for our native integrations (NetSuite, QuickBooks, etc.). Please refer to our Integrations section to find the dedicated documentation for your contacts management. You can also enable the Main contact management option from your Settings > Contact management.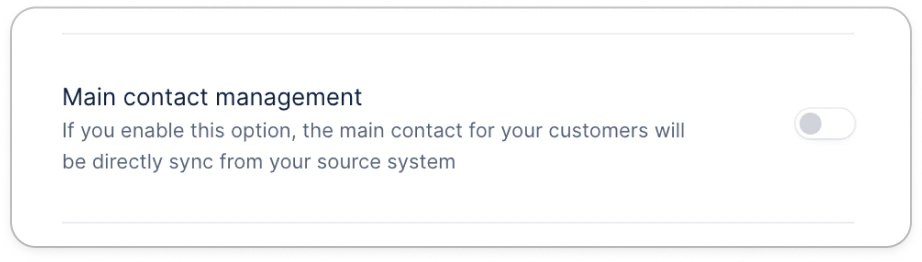
Main contact - manual update
You can decide in Upflow, if a contact should be the main one. To do so, access the contact (from the Contacts list view or the customer’s Contact section). Click the pen icon next to the contact, then tick the following option and Submit: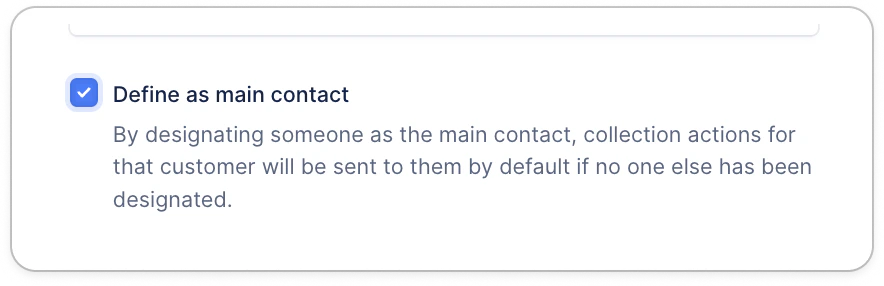
Invalid contacts
Be notified
Be alerted if one of your actions fails to be delivered. You can receive notifications via your preferred channel (in-app, via email, and/or on Slack) and enable/disable them from your profile (i.e., Customize my Profile Notifications). This notification will be triggered each time one of your customers’ actions fail: emails, letters, sms.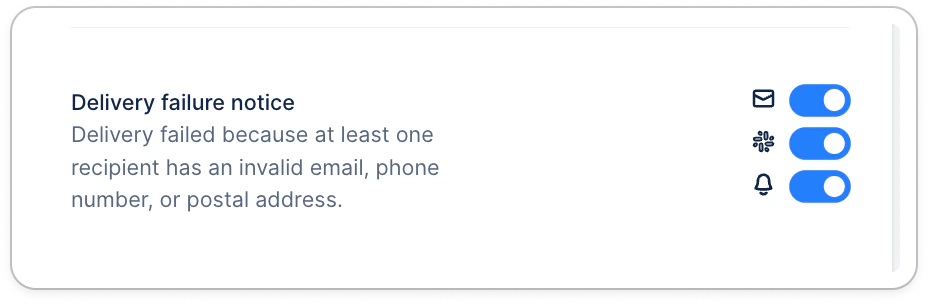
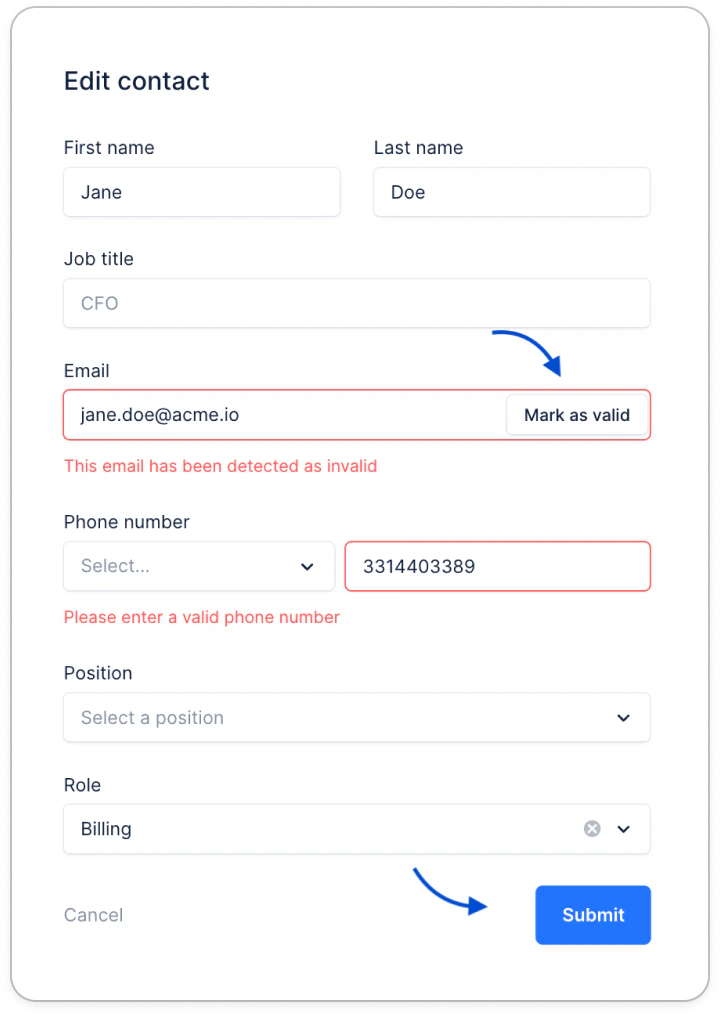
Identify and correct your contacts
As soon as an email or an SMS action’s delivery fails, the concerned contact’s email address or phone number will be marked as invalid.Calls and SMS
Ensure your contacts have a phone number in Upflow. If they are synced from your accounting tool or Salesforce, ensure to update the phone number there. If the contact was created in Upflow, you can update their phone number manually or via CSV. Ensure your customers contacts have a valid phone number, with the accurate country/area code (+33 for France, +44 for the UK, etc.). The phone format can contain hyphens, dashes, spaces, or none, as long as the +/country/code area are there.Emails
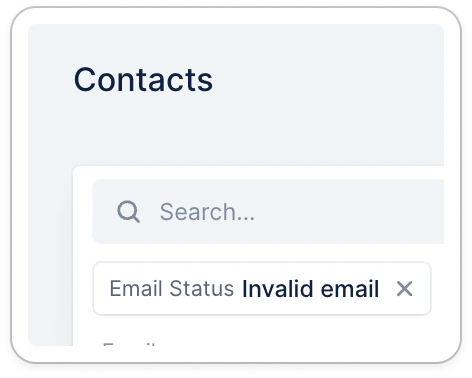
You can check an invalid contact from the Customer detail page (Contacts section) or from the Contacts list view filtered on “Email status = Invalid email”.