| Your source system | Contacts main information | Contacts Positions | Is main |
|---|---|---|---|
| Native integration | ❌ | ✅ | ✅ |
| API* | ✅ | ✅ | ✅ |
| Salesforce + native integration | ❌ | ✅ | ✅ |
| Salesforce + API* | ❌ | ✅* | ✅ |
File content
Start with creating a compliant spreadsheet with the information you want to update. You can create it from scratch, or export your contacts from Upflow and update this file. Save it as a CSV file. You can apply ”;” (semicolons), ”,” (commas) and ”|” (vertical bars) separators. Create one line per contact, even if you have multiple contacts for one customer, with columns as fields you want to update. We strongly recommend naming them (however you want) to ease the mapping. Duplicate the lines of accounts with multiple contacts (you only need to copy and paste the customers’ ID and/or name). 💡 Mandatory fields are listed below (🚩)
| Columns | Details |
|---|---|
| 🚩 Customer name | As displayed in Upflow. |
| 🚩 Client ID (External Id) | Your customer’s ID in your accounting tool. |
| 🚩 Contact email address | One per line. |
| First name | Optional, but recommended. |
| Family name | Optional, but recommended. |
| Phone number | Optional, except if you wish to use SMS and/or call reminders. |
| Position | Highly recommended to define your reminders’ recipients. |
| Main contact | Add a “1” in this column on the contact’s line to designate it as your main contact. You can only have one main contact per customer. The latest update overwrites your existing configuration.* |
Import process and information
This feature is not available by default. Submit a Support request if you haven’t used this feature before, so we can enable it for you. Click Add customers in the top-right corner of your Customers list view and select the Assign customers option (if you’re fully integrated with API or our legacy integration, you will see the option “Import customers”).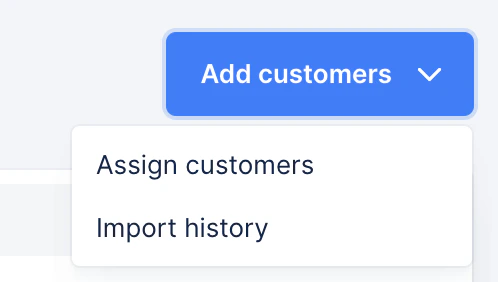
Map your file’s columns with the matching Upflow Customer fields. 💡 Mandatory fields are marked as Required.
Submit the document and wait for the completion of the import. You can be notified in-app, via mail and/or Slack, per your Profile > Notifications.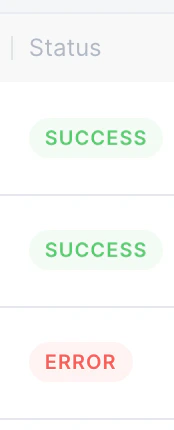
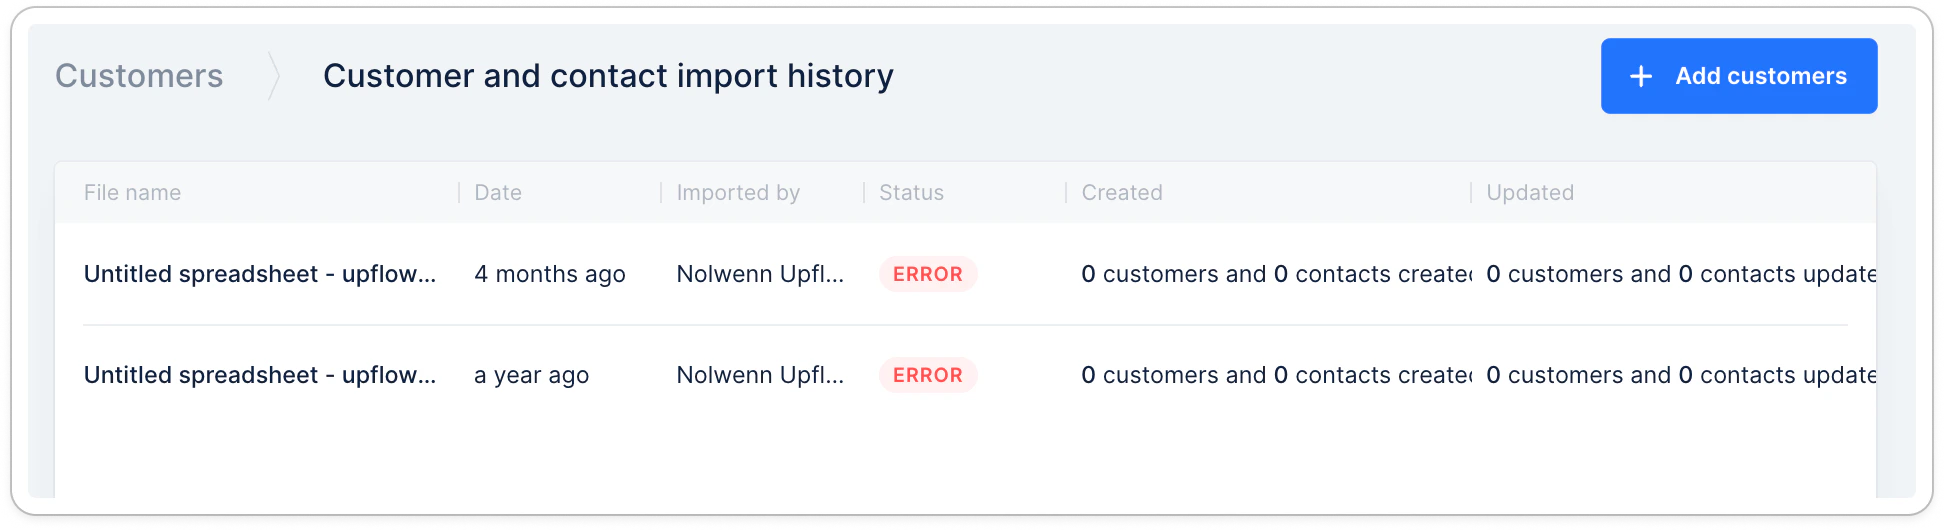
Import errors
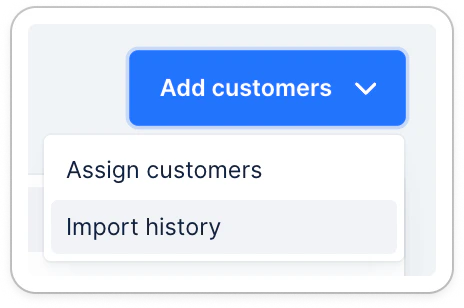
After importing your file, you will see an in-app notification at the bottom left. You can click it, or head directly to your Customers list view > Add customers > Import history.