Managing your alias
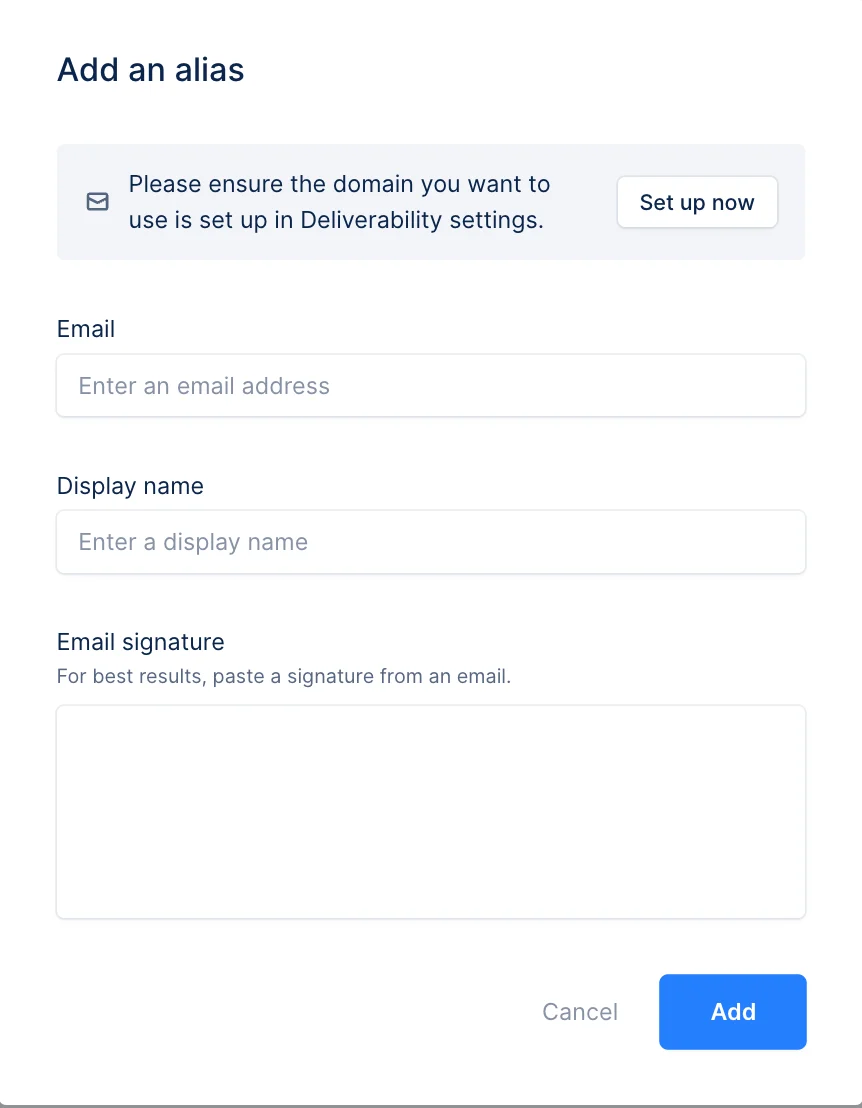
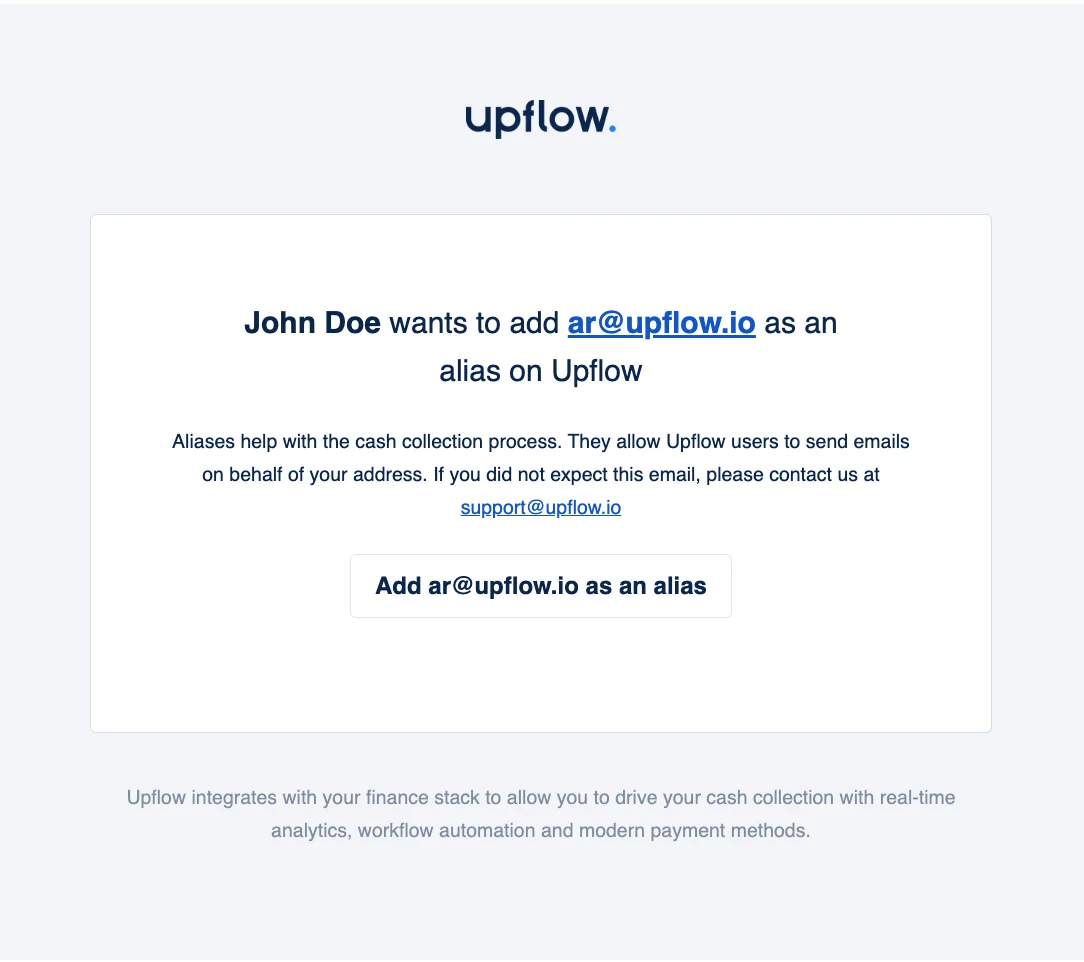
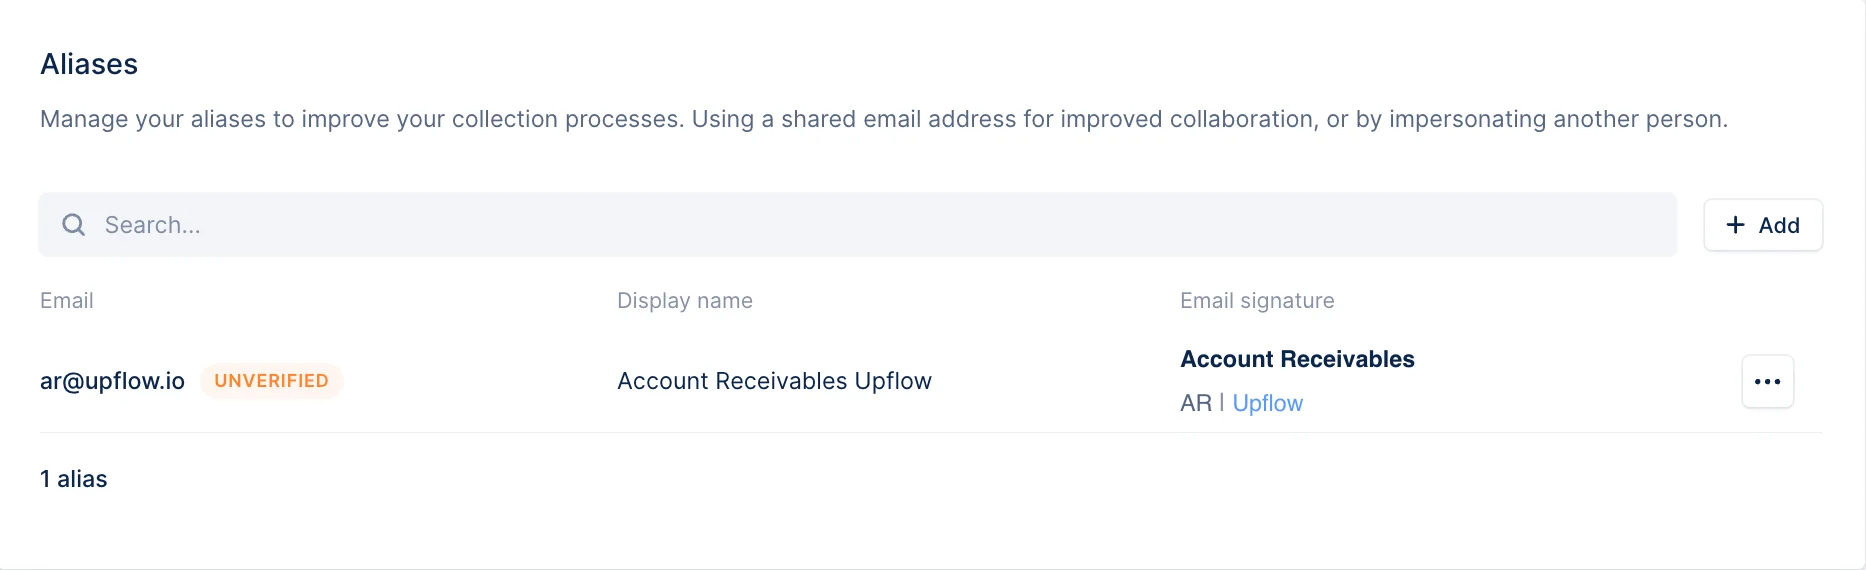
Creating an alias
To create an alias, head over to your Settings > Aliases section.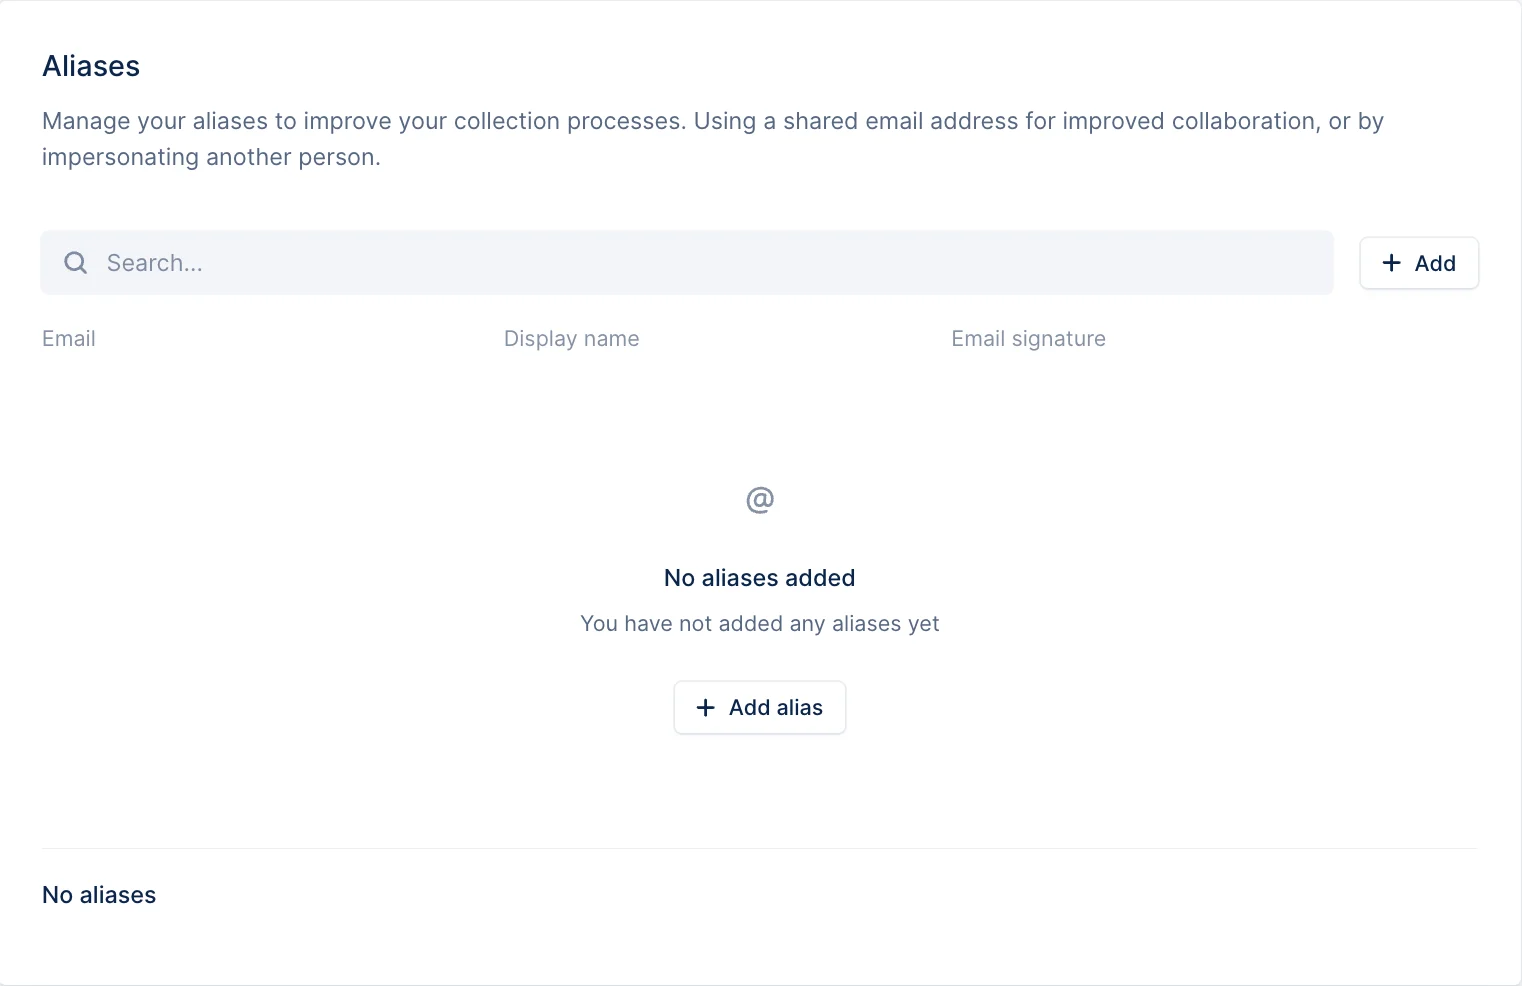
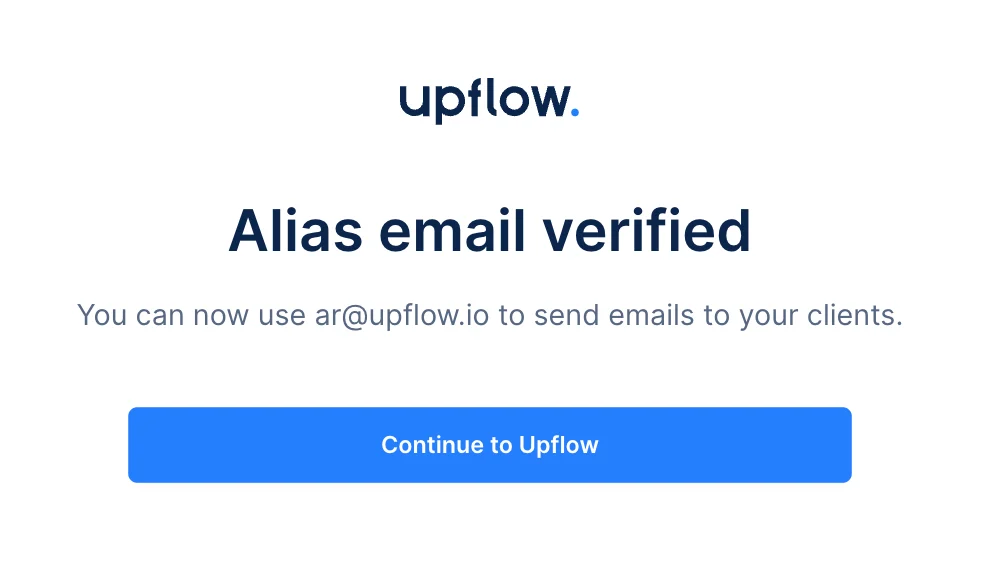
Verified alias
Once redirected from the email to Upflow, your alias is verified, and you can start to use it.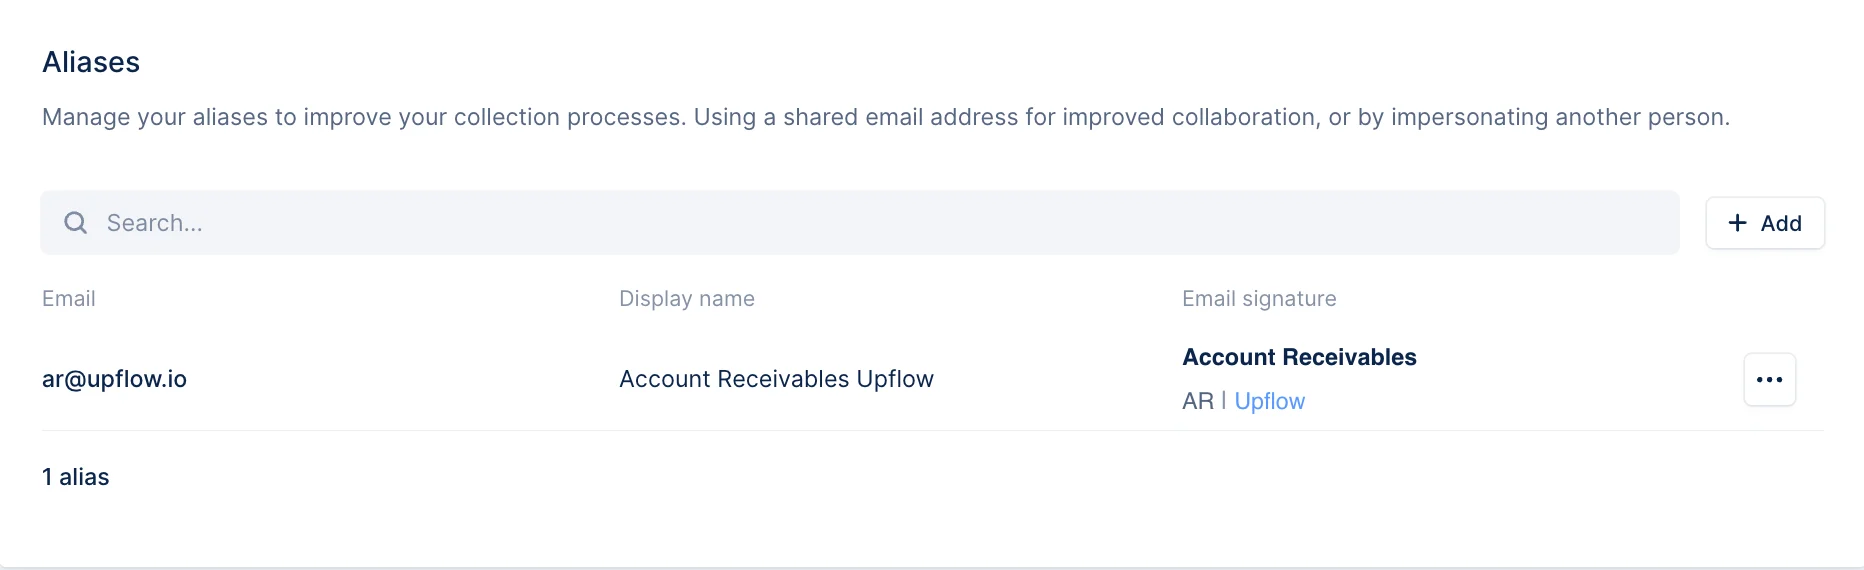
Editing an alias
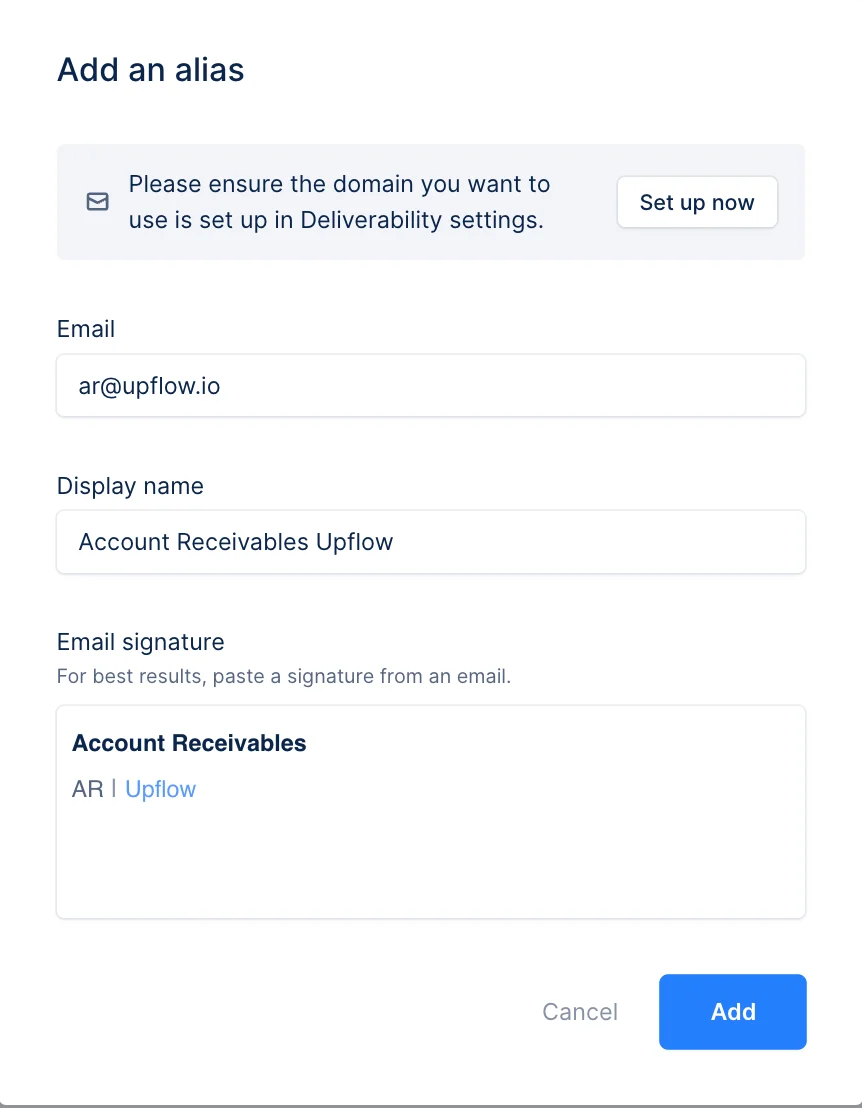
Only the display name and email signature can be updated once an alias has been created.Deleting an alias
You can delete an alias, but if it’s used on the payment receipt, you will need to use another alias before deleting it.Use an alias for your email reminders
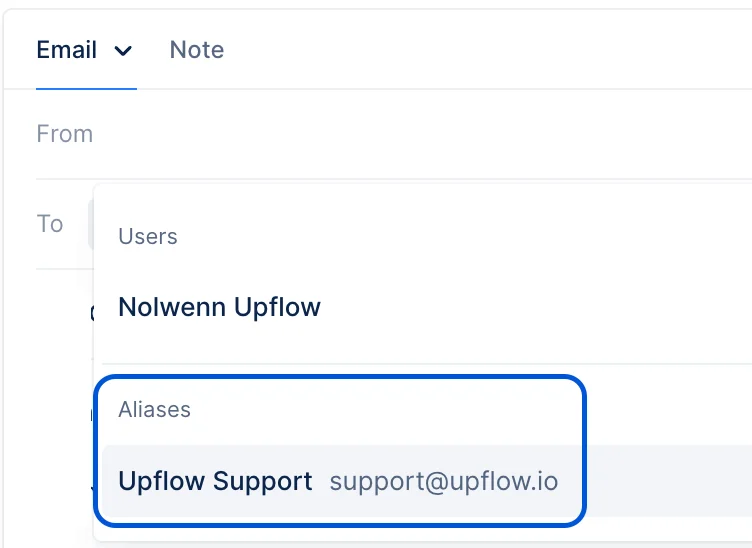
Please note that aliases are by default suggested in the “From” field (sender), but not in the To fields (main recipients, cc/bcc). You can however manually enter the email address, and press enter. Then save your email template.Automatic emails
Once an alias is verified, you can use it to send automated email reminders. Go to your workflows and select the alias as the sender of an automated action: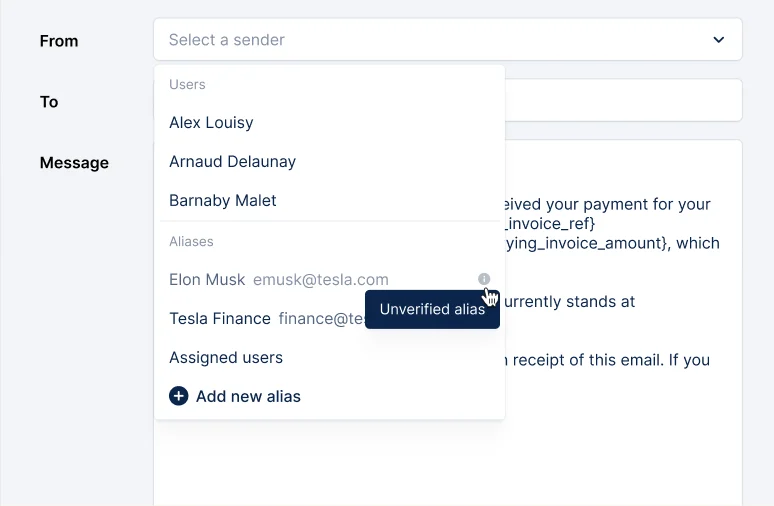
Manual emails
Like for automatic emails, you can select the alias as the sender directly from your workflows. When accessing the pending manual email from your Actions list view or when selecting the template, the sender will be automatically set up on the alias. You can change it if needed. As you send a manual email, you can also select which alias to use as the Sender: