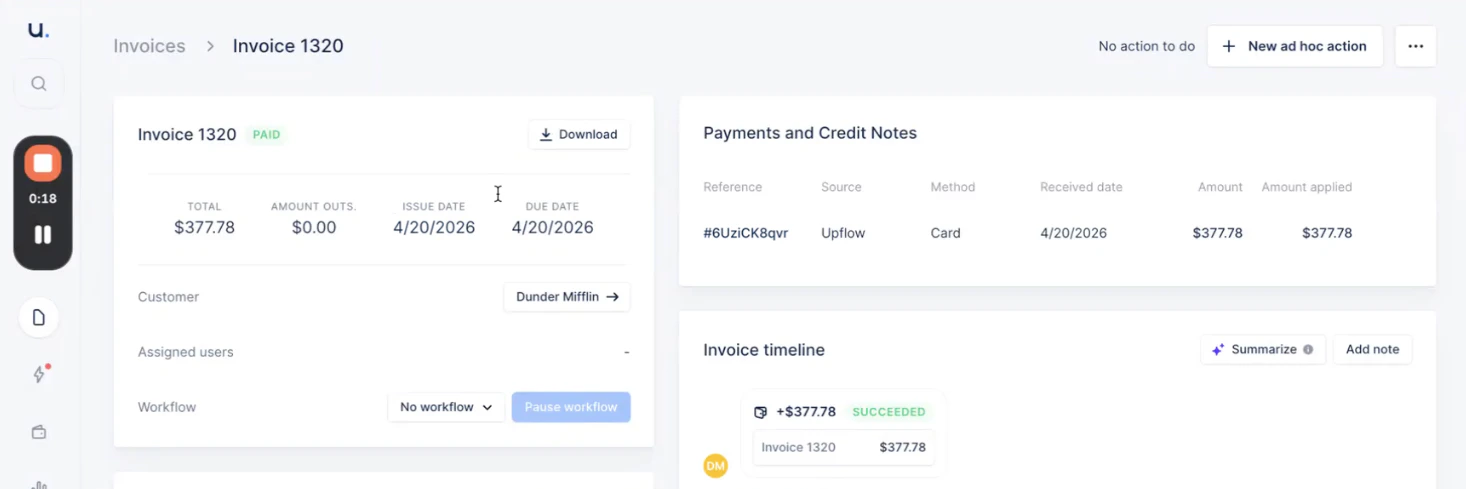
How a successful write-back appears in QuickBooks
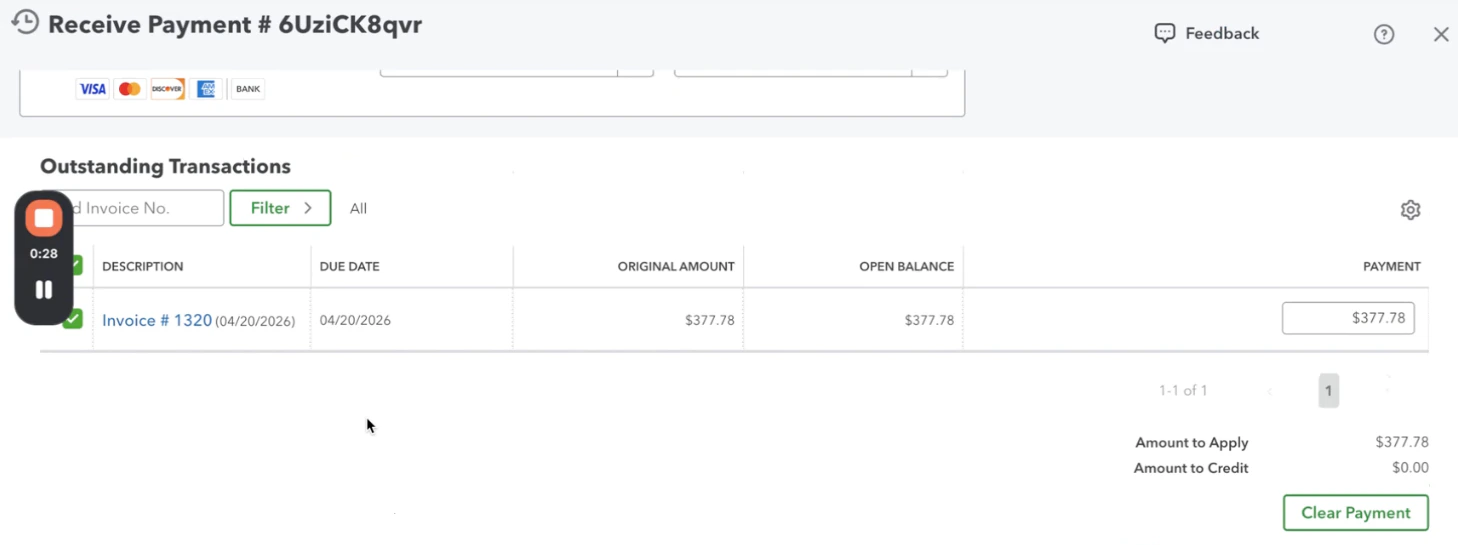
For each successful Upflow payment, we create a Receive Payment in QuickBooks Online, applied to the corresponding invoice(s) for the same amount and on the same received date. The Upflow payment reference (the one shown on the invoice’s Payments and Credit Notes card in Upflow, e.g.#6UziCK8qvr) is reused as the Receive Payment number in QuickBooks. You can use it to jump between the two systems with no ambiguity.
Handling a failed write-back
If a payment can’t be exported to QuickBooks, it appears with an Error status on the Payments list. Hover over the status to see the underlying QuickBooks error message. To see the message without hovering, add the QuickBooks message column to the Payments list view.Closed accounting period
The most common cause is a closed accounting period in QuickBooks: the payment’s date falls before the QuickBooks close date, so QuickBooks refuses to post the transaction. To resolve:- In QuickBooks Online, reopen the period (or move the close date) to allow new entries on the payment date.
- Back in Upflow, open the three-dot menu next to the payment on the Payments list and click Export back to QuickBooks.
- Within a few seconds the status should switch to Succeeded, with a green confirmation at the bottom of the screen.