

Activating call recording & transcripts
To activate that feature, head to the calls settings and toggle on Call recordings. It will automatically include the transcripts. We recommend you also toggle on the Start recording option when the call starts, so you never forget about it.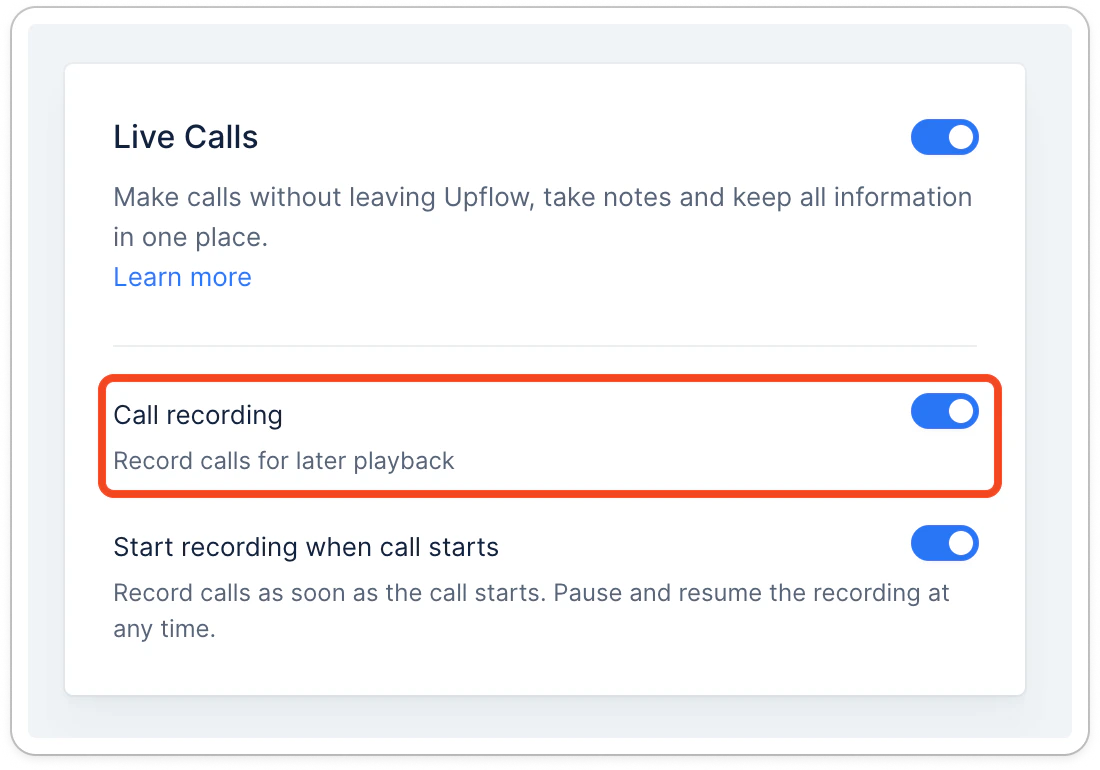
Recording and transcripts add a per-minute fee on top of the call itself — see Live calls pricing.
Recording a call
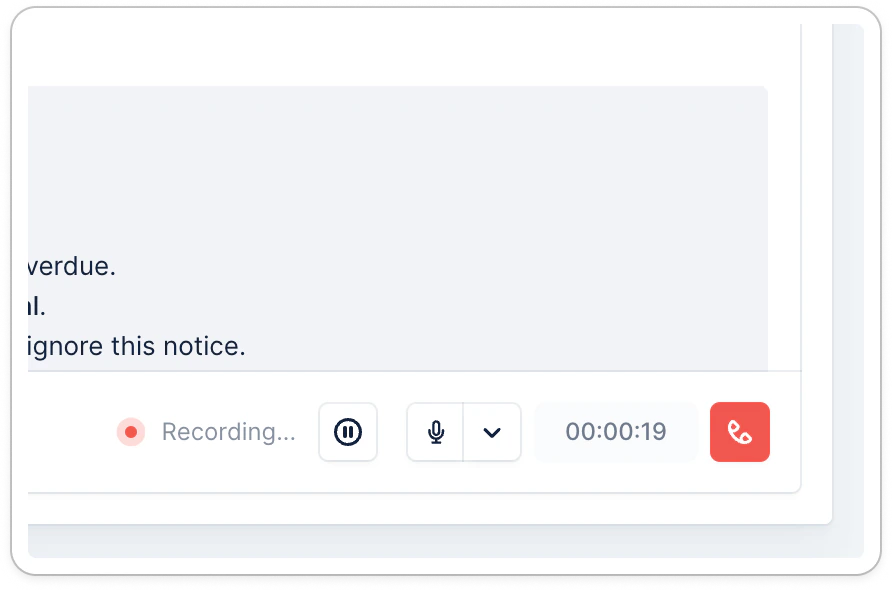
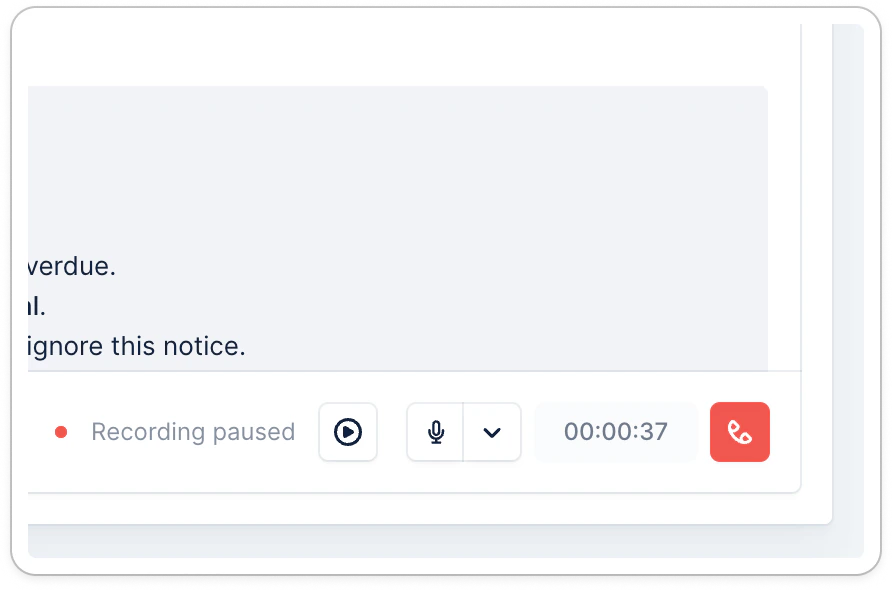
If you haven’t activated the call recording by default, you can do so right after the call starts.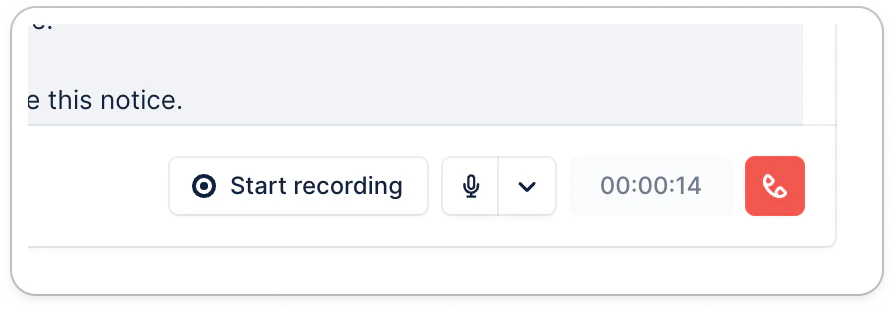
Listening to call recordings
You can listen to the call recording a few seconds after the call. Head to your customer’s timeline to access it. Simply use the player to listen to each conversation: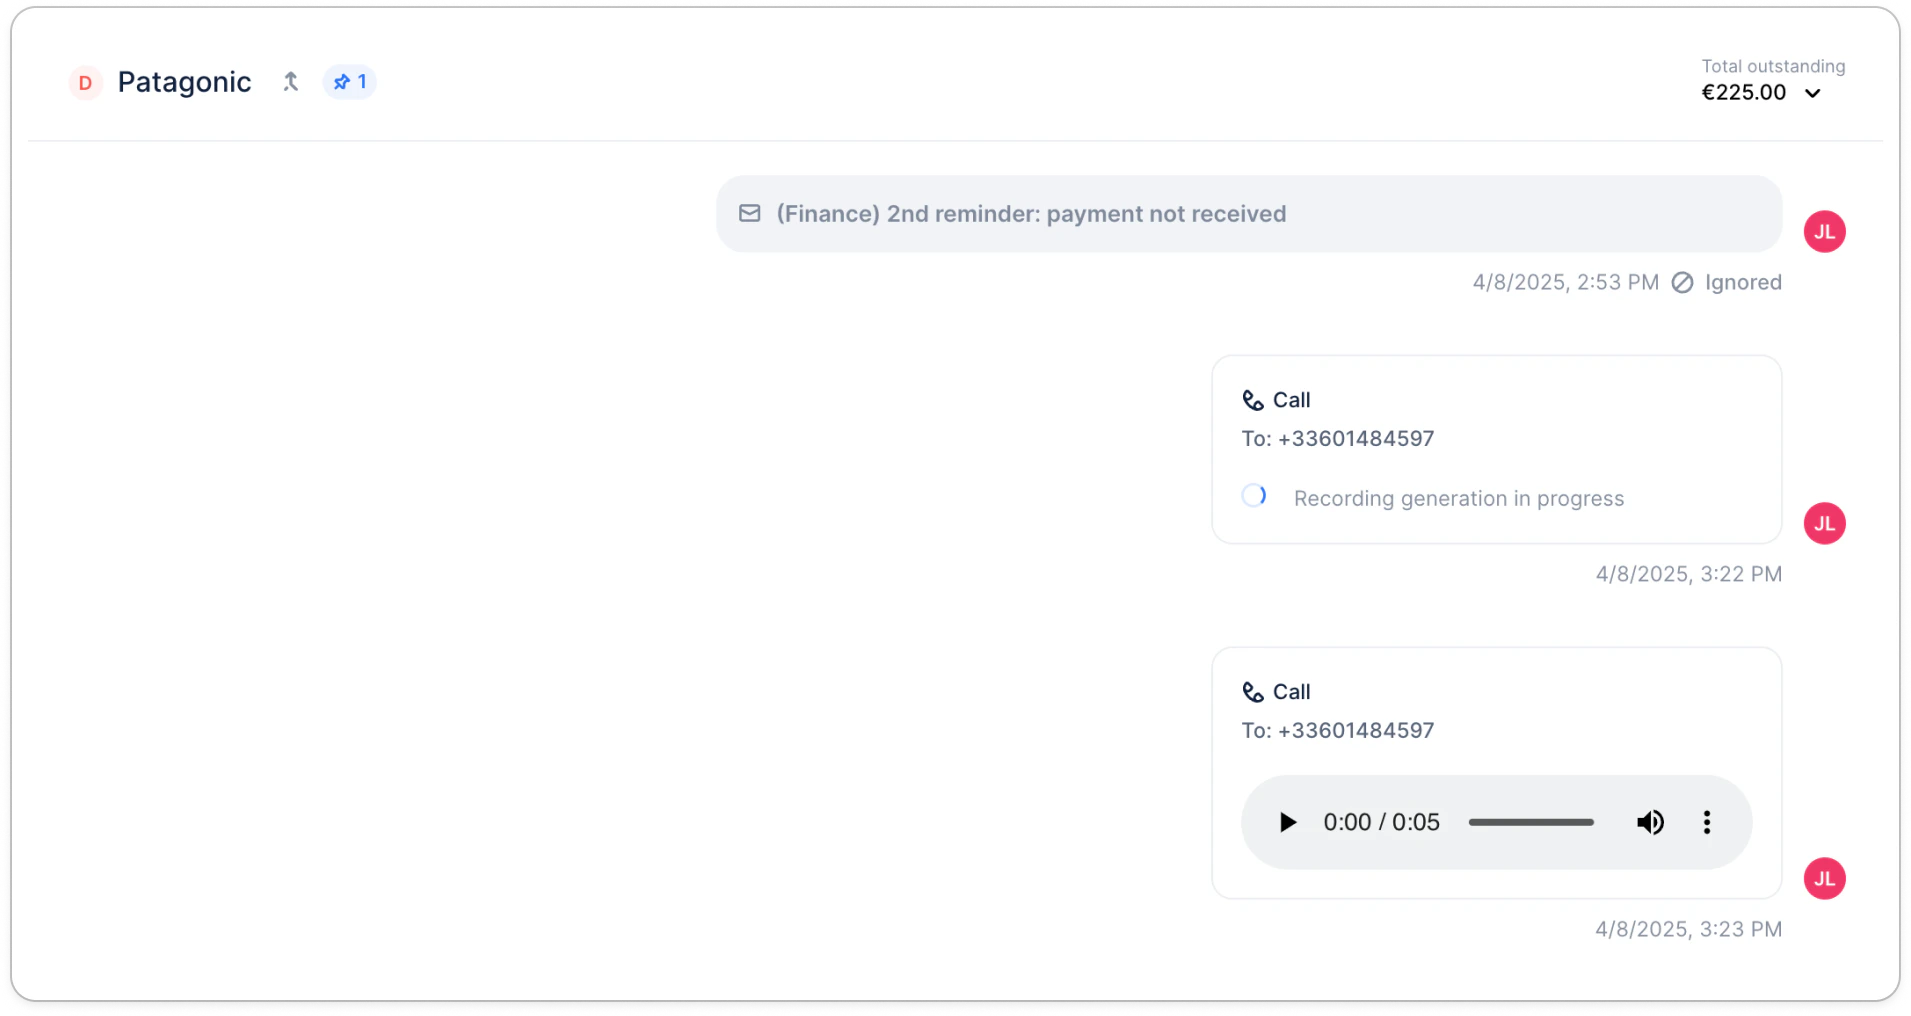
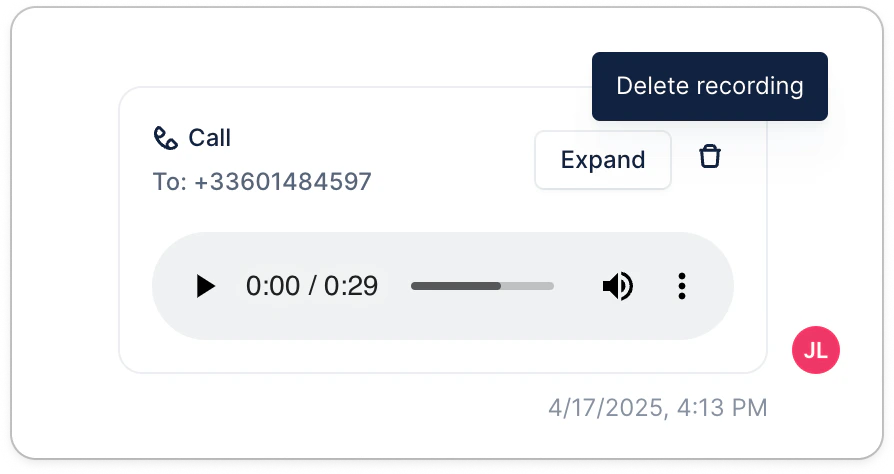
Reading call transcripts
Click on the expand button to see the transcript of the call. You will be able to see what each speaker said as well as when they said it.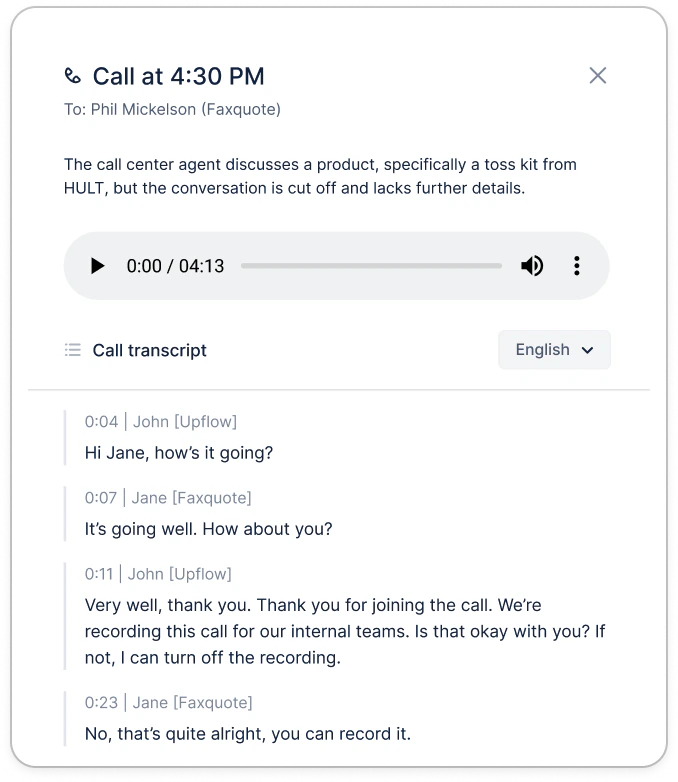
Transcripts are only available in English today.