Important
Ensure your contacts have a phone number in Upflow. If they are synced from your accounting tool or Salesforce, ensure to update the phone number there. If the contact was created in Upflow, you can update their phone number manually or via CSV. Ensure your customers’ contacts have a valid phone number, with the accurate country/area code (+33 for France, +44 for the UK, etc.). The phone format can contain hyphens, dashes, spaces, or none, as long as the +/country/code area are there.Set your outbound caller ID
By default, calls are placed from a shared Upflow number. To make your calls more recognizable, you can call from your own verified business number instead — customers are far more likely to answer a number they know. From your Settings > Calls section, open Set outbound phone numbers and enable Custom Caller ID.Verify a number you own
- Add the phone number you want to call from.
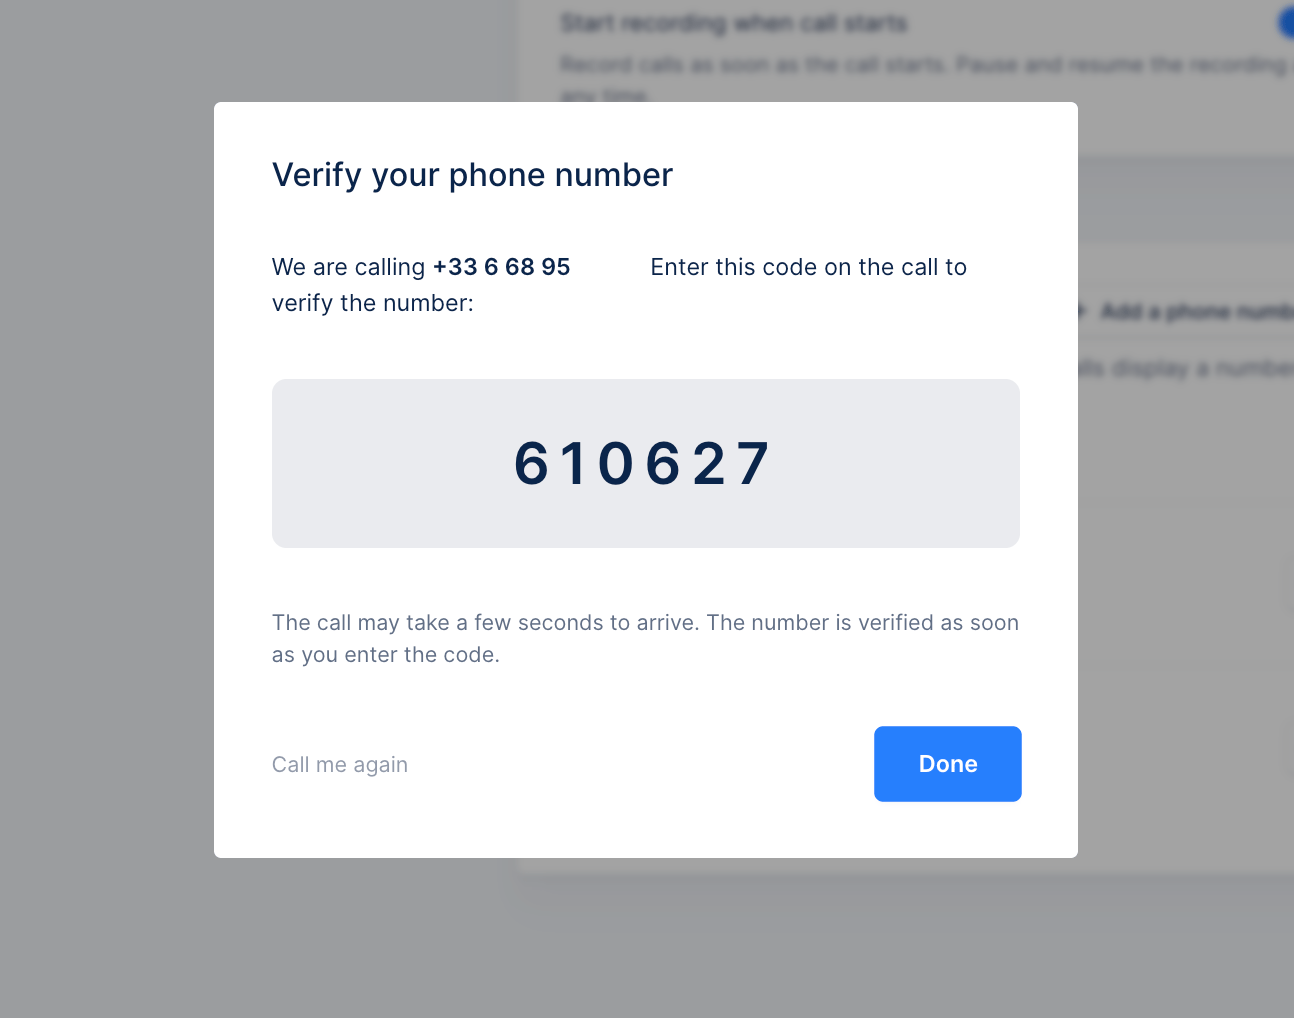
- Upflow shows a verification code on screen.
- You’ll receive a call on that number — answer it and enter the code on your phone’s keypad when prompted.
- Once confirmed, the number is verified and ready to use.
Choose a default number
Set one of your verified numbers as your organization’s default. It applies to everyone on your team.Pick a number for a specific call
When you start a call, the number it will go out from is shown, pre-filled with your organization’s default. You can change it for that call before dialing — useful when a customer is more likely to answer a local number.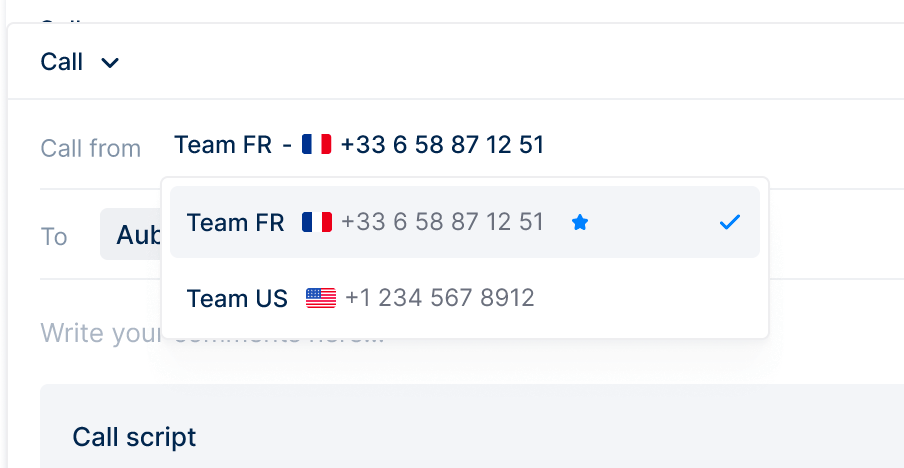
Configuration & Usage
From your Settings > Calls section, enable the following option: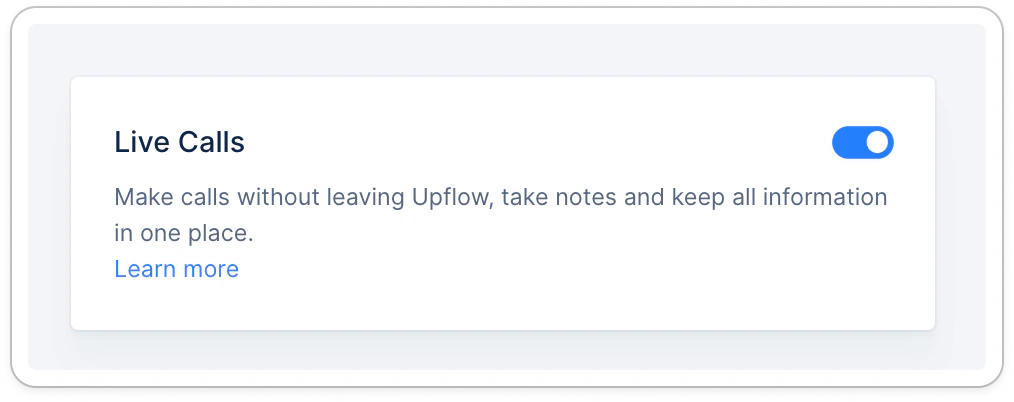
Configure your call actions
From your workflow(s), add call actions and configure them based on your needs. Note that our default workflows already contain a call action.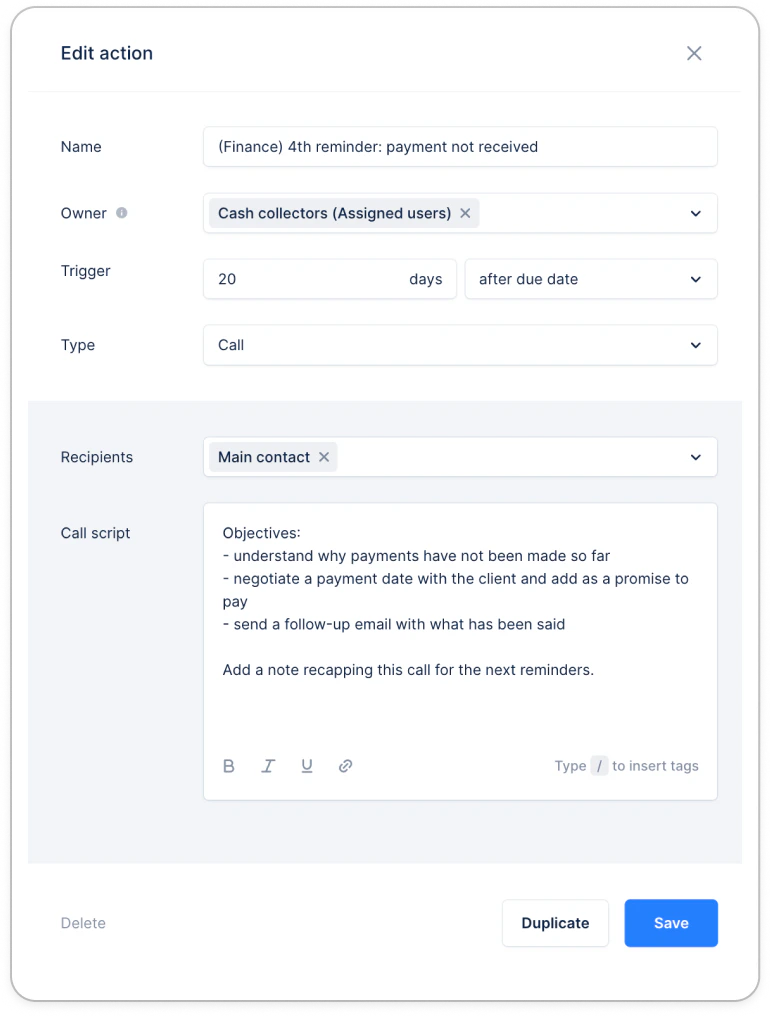
Call your customers
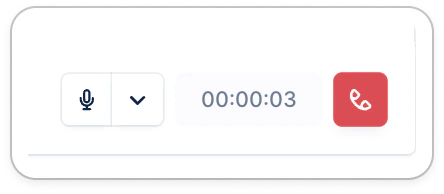
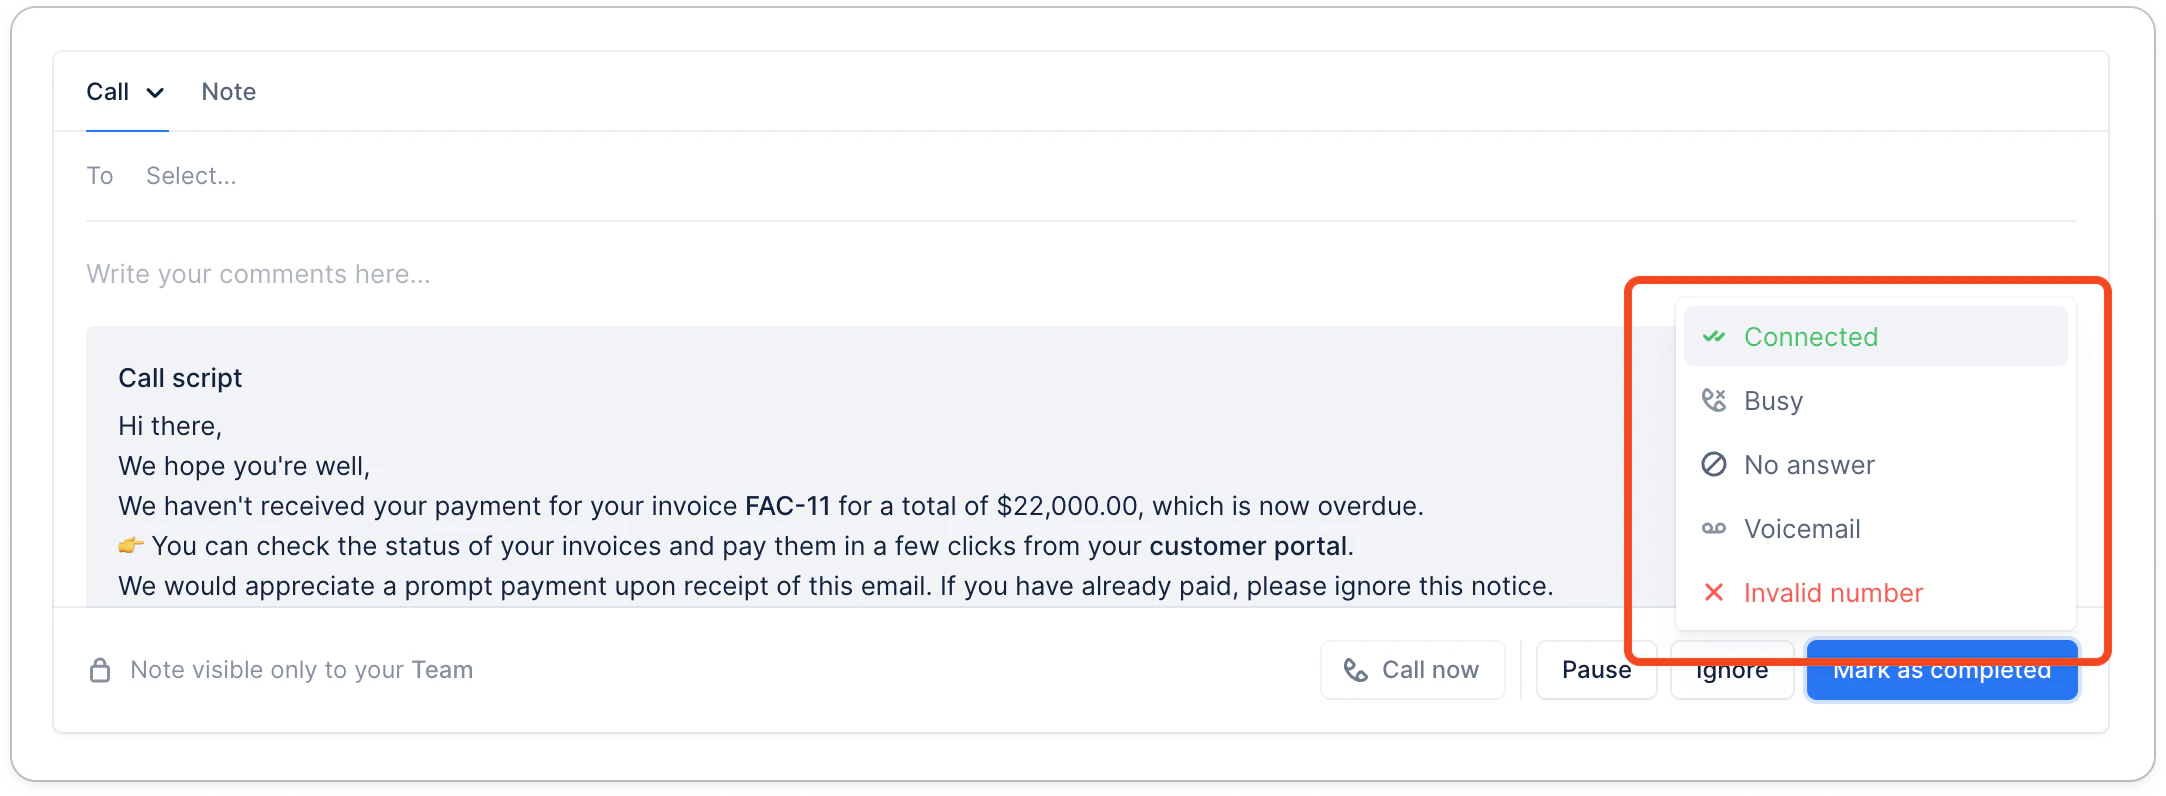
Within a call action, you will see the “Call now” button, hit it, and get started.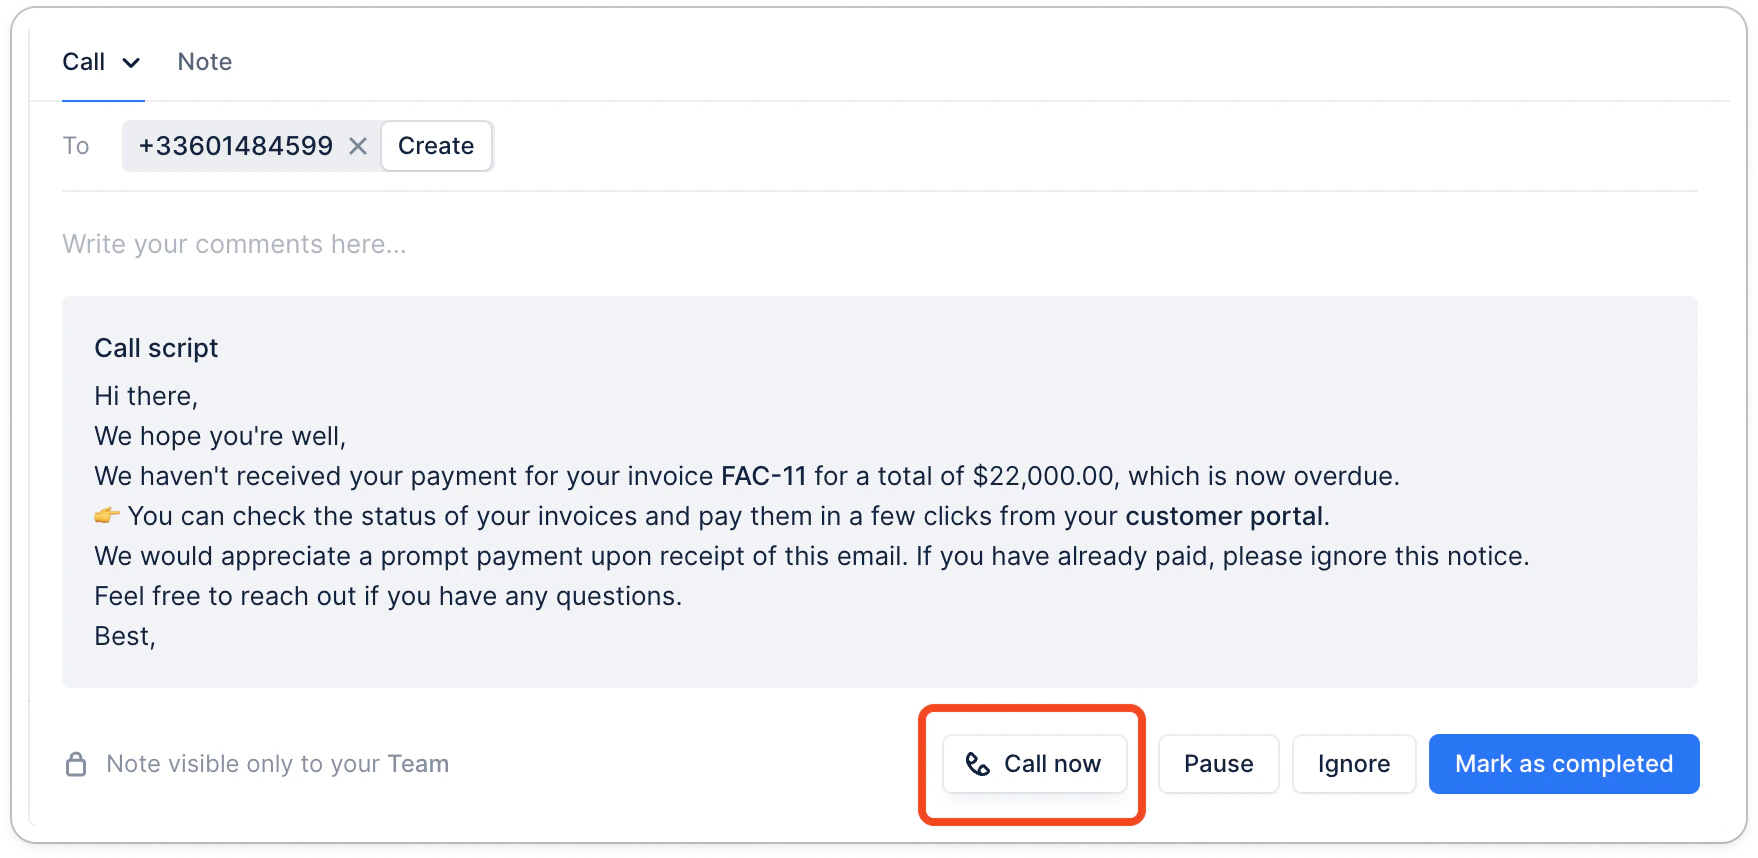
Navigate phone menus with the dial pad
Some customers route calls through a phone menu (IVR) or ask you to dial an extension. Use the in-call dial pad to send those digits without leaving Upflow. Once your call is answered, click the dial pad button in the call controls to open the keypad. The button is unavailable while the call is still ringing. From the dial pad, you can:- Click any key (0–9, *, #) to send the corresponding tone.
- Type the digits on your keyboard while the pad is open.
- See the digits you’ve entered so far during the call, displayed above the keys.
Call recording & transcript
Thanks to call recording and transcripts, you can gain visibility into previous calls and understand how they went. Once activated, all your calls can be recorded, and you are no longer left wondering how it went for your team.Activating call recording & transcripts
To activate that feature, head to the calls settings and toggle on Call recordings. It will automatically include the transcripts. We recommend you also toggle on the Start recording option when the call starts, so you never forget about it.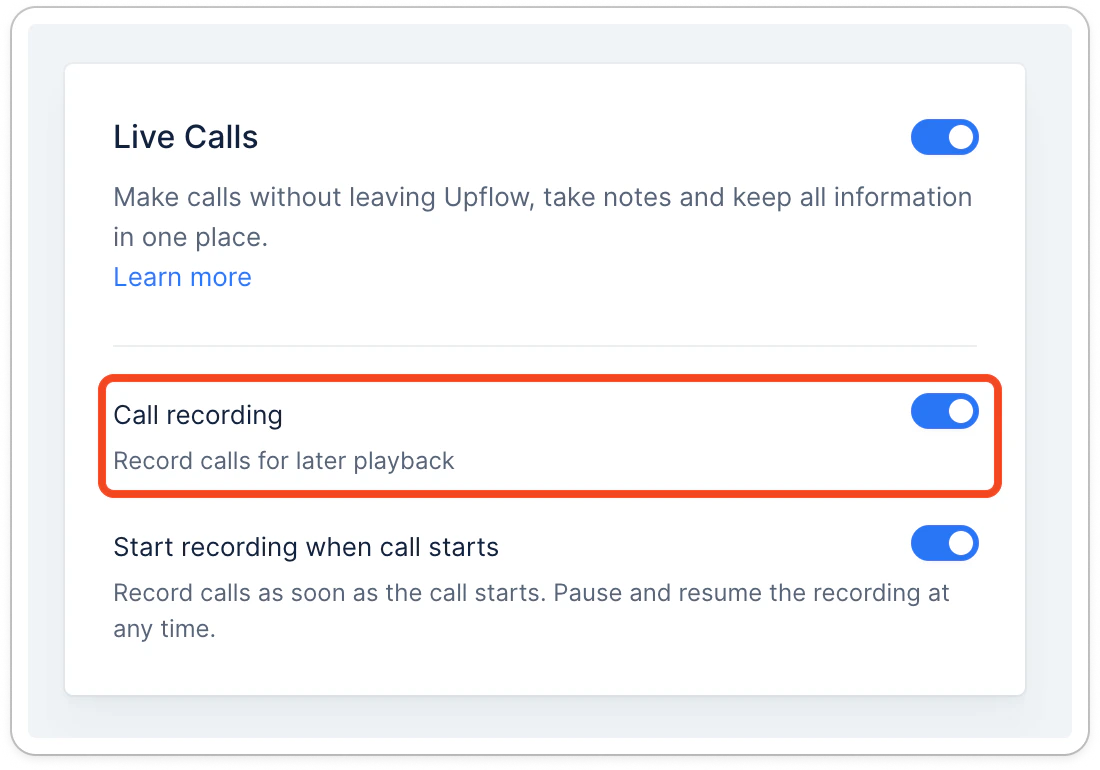
Recording a call
If you haven’t activated the call recording by default, you can do so right after the call starts.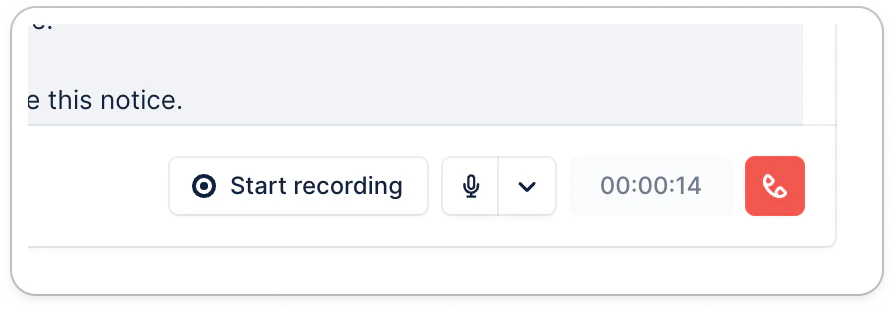
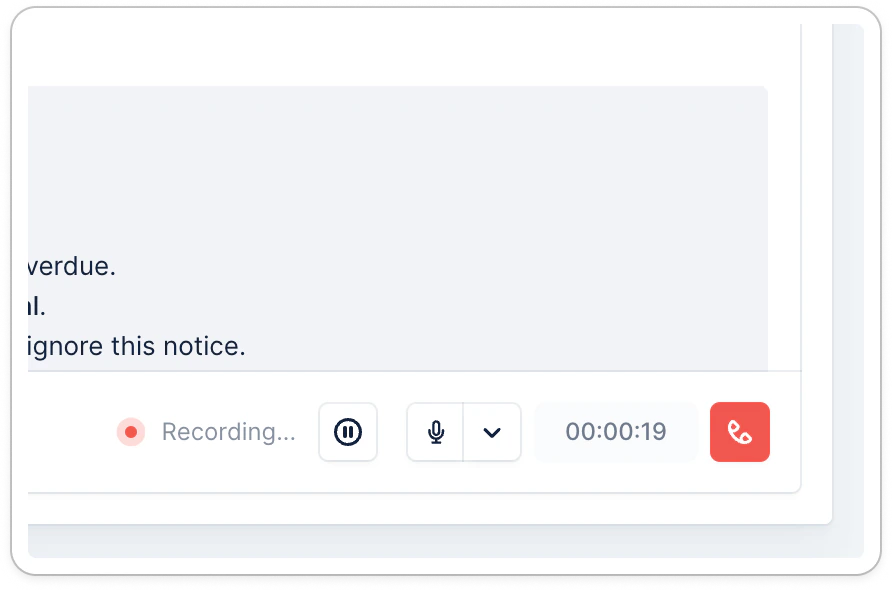
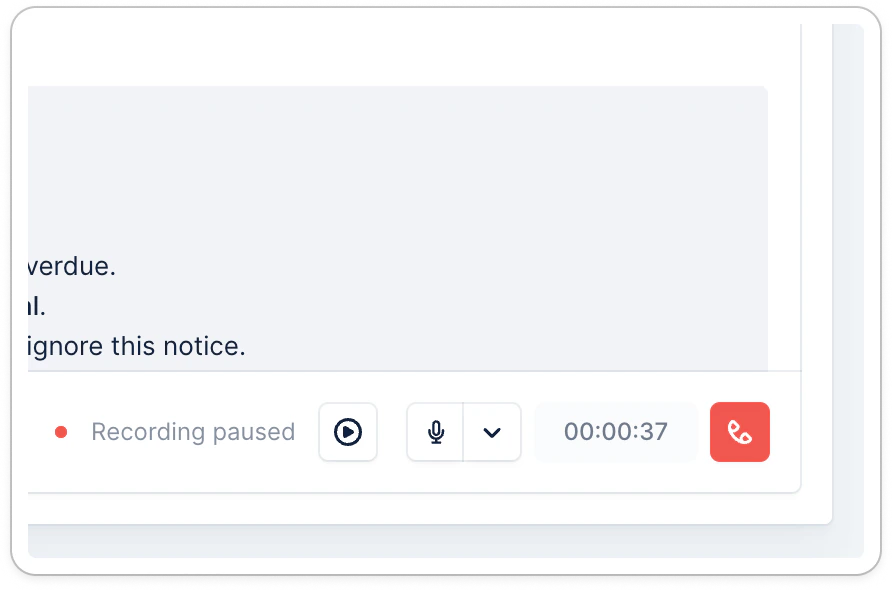
Listening to call recordings
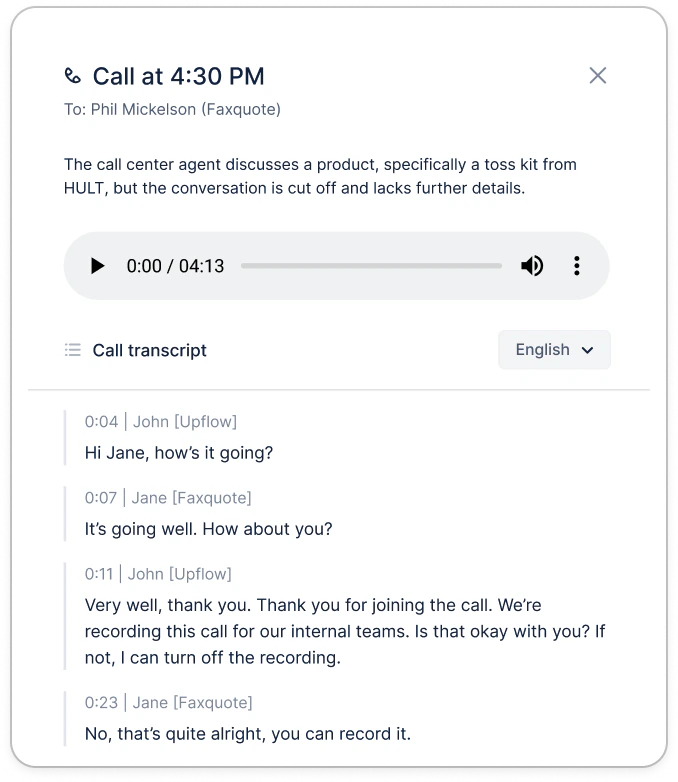
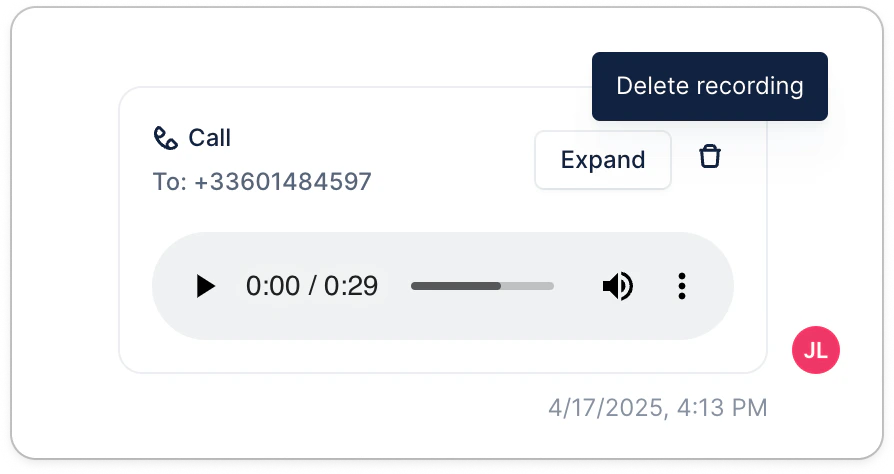
You can listen to the call recording a few seconds after the call. Head to your customer’s timeline to access it. Simply use the player to listen to each conversation: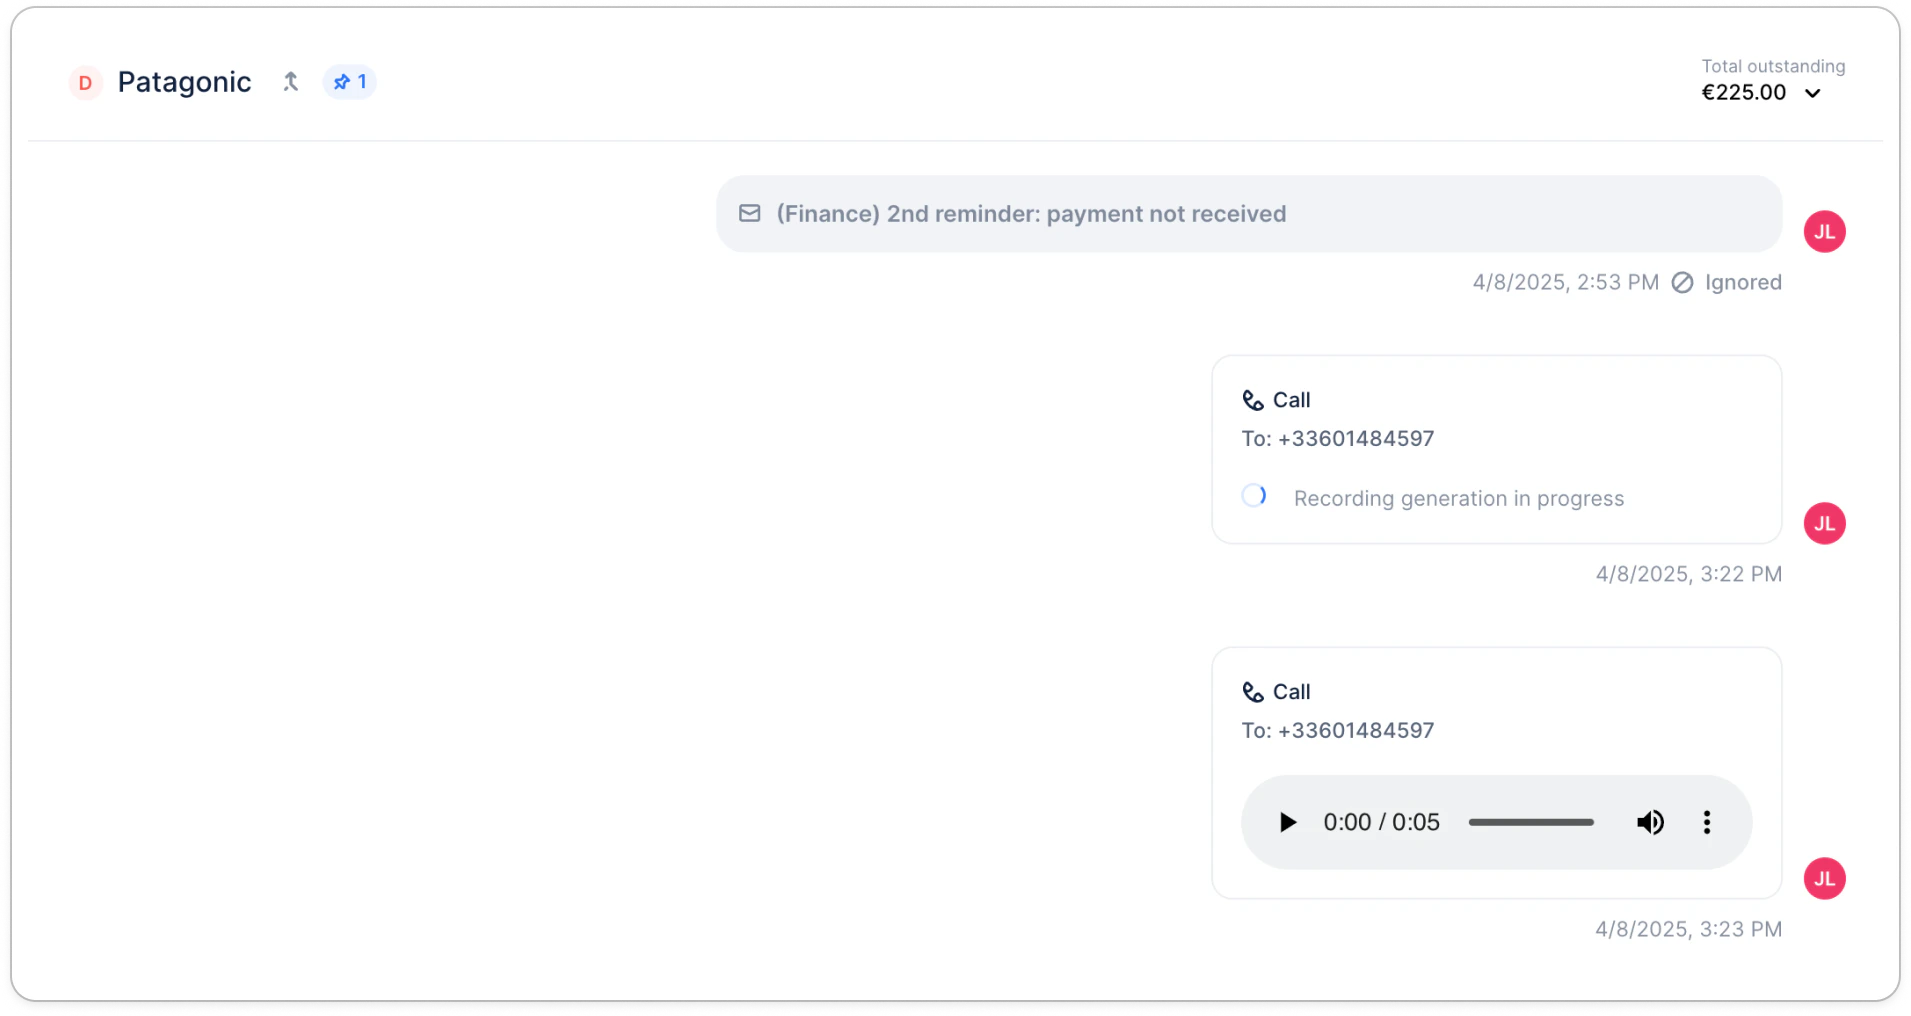
Reading call transcripts