Before you start
You need at least one bank account set up in Upflow to receive the imported transactions. You can review and add bank accounts from Settings > Cash Application. When you start an import, you’ll choose which of these accounts the transactions belong to.Prepare your CSV file
Export your transactions from your bank as a CSV file, then make sure it includes the columns Upflow needs. Each row is one transaction. Required columns| Column | Details | Example |
|---|---|---|
| External ID | A unique identifier for each transaction. Upflow uses it to recognize transactions and avoid creating duplicates. Free text. If there is none in your bank export, you will need to create one (e.g. concatenate transaction date and amount). | TXN-10024 |
| Transaction date | The date the transaction occurred. Use the YYYY-MM-DD format. | 2026-06-02 |
| Amount | The transaction amount. Use a period (.) for decimals, with no currency symbol and no thousands separator. | 1250.00 |
| Column | Details | Example |
|---|---|---|
| Posted date | The date the transaction was posted to your account. Use the YYYY-MM-DD format. | 2026-06-03 |
| Currency | The transaction currency, as a three-letter ISO code. If omitted, the currency of the selected bank account is used. | EUR |
| Description | The transaction description from your bank. Helps you and the Cash App agent match it to an invoice. Free text. | Invoice INV-4471 payment |
| Counterparty name | The name of the payer as provided by your bank. Free text. | ACME Corp |
Your file must be a
.csv and smaller than 20MB.Import your file
-
From the Bank transactions page, click Import bank transactions in the top-right corner and select Import transactions (.CSV file).

-
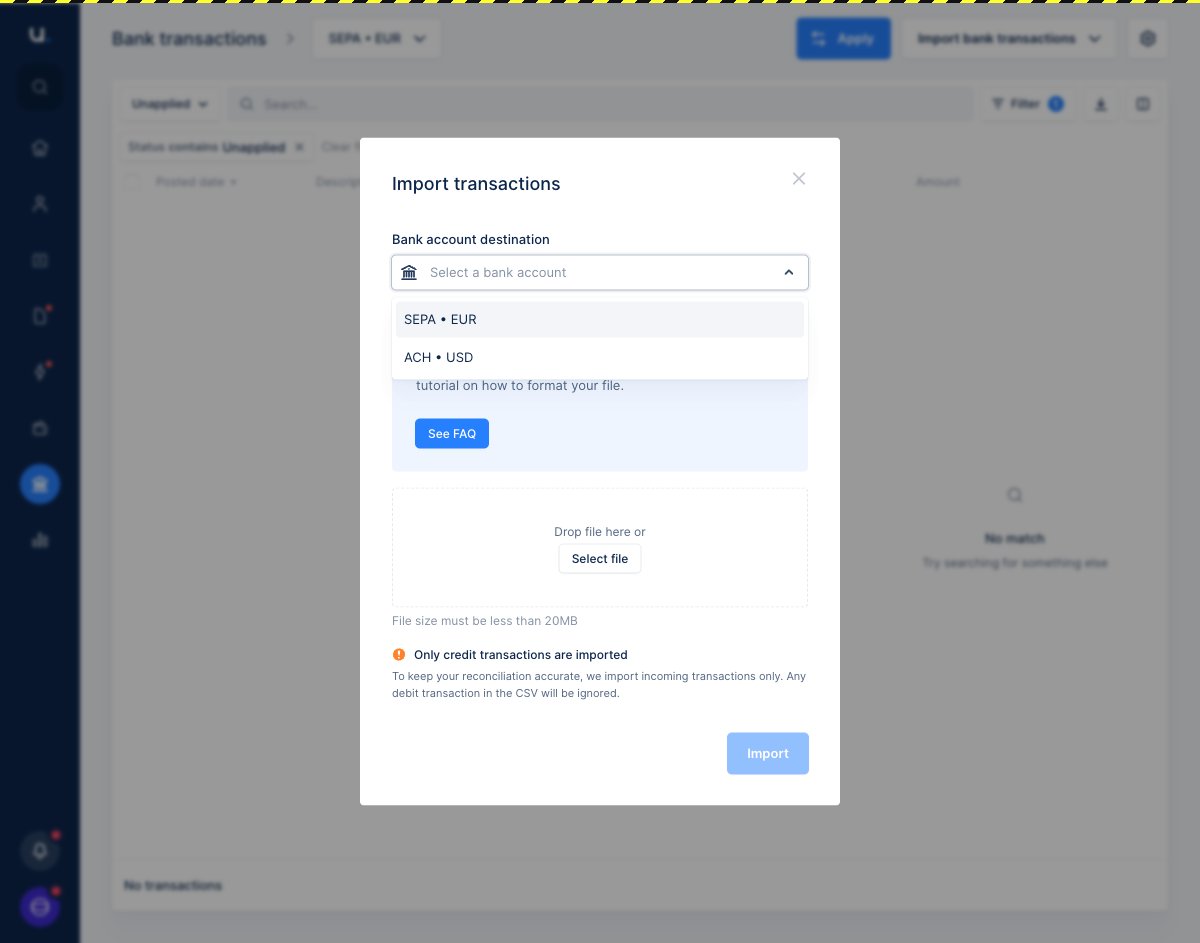
In the Import transactions window, choose the Bank account destination — the account these transactions belong to.
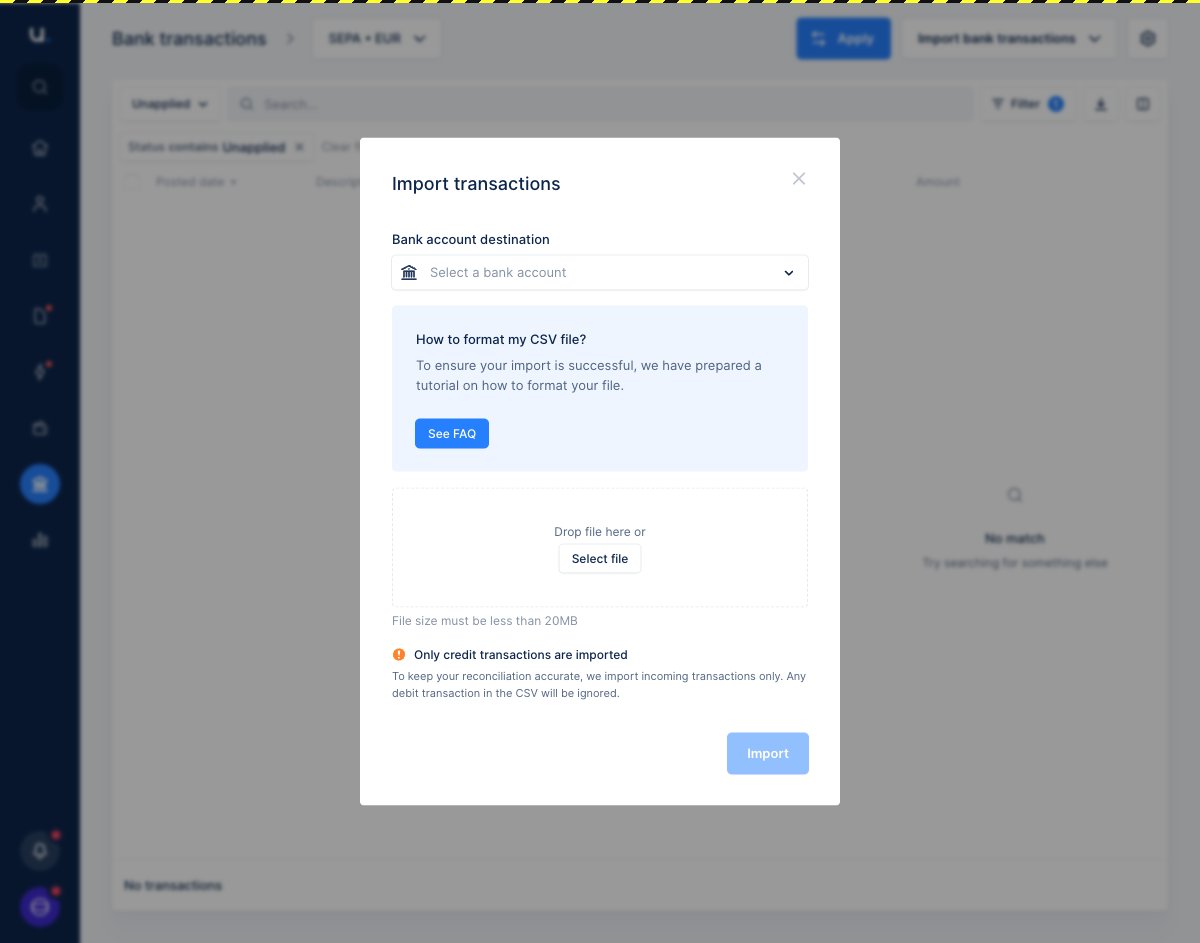
-
Open the dropdown to pick the relevant bank account.
- Drop your CSV into the upload zone or click Select file to choose it from your computer, then click Import.
Map your columns
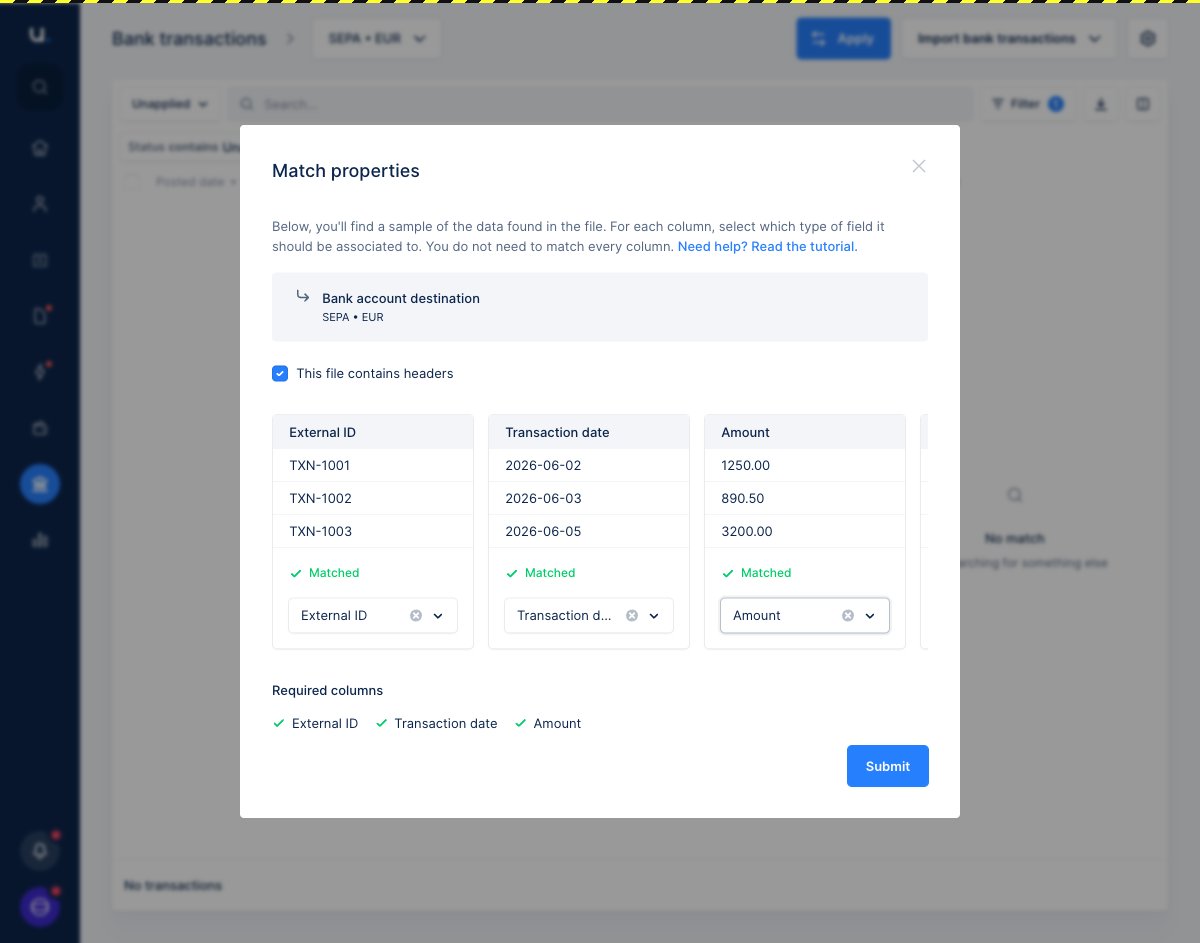
After uploading, the Match properties step shows a sample of your file. For each column, choose which Upflow field it corresponds to — you don’t need to map every column, only the ones you want to import.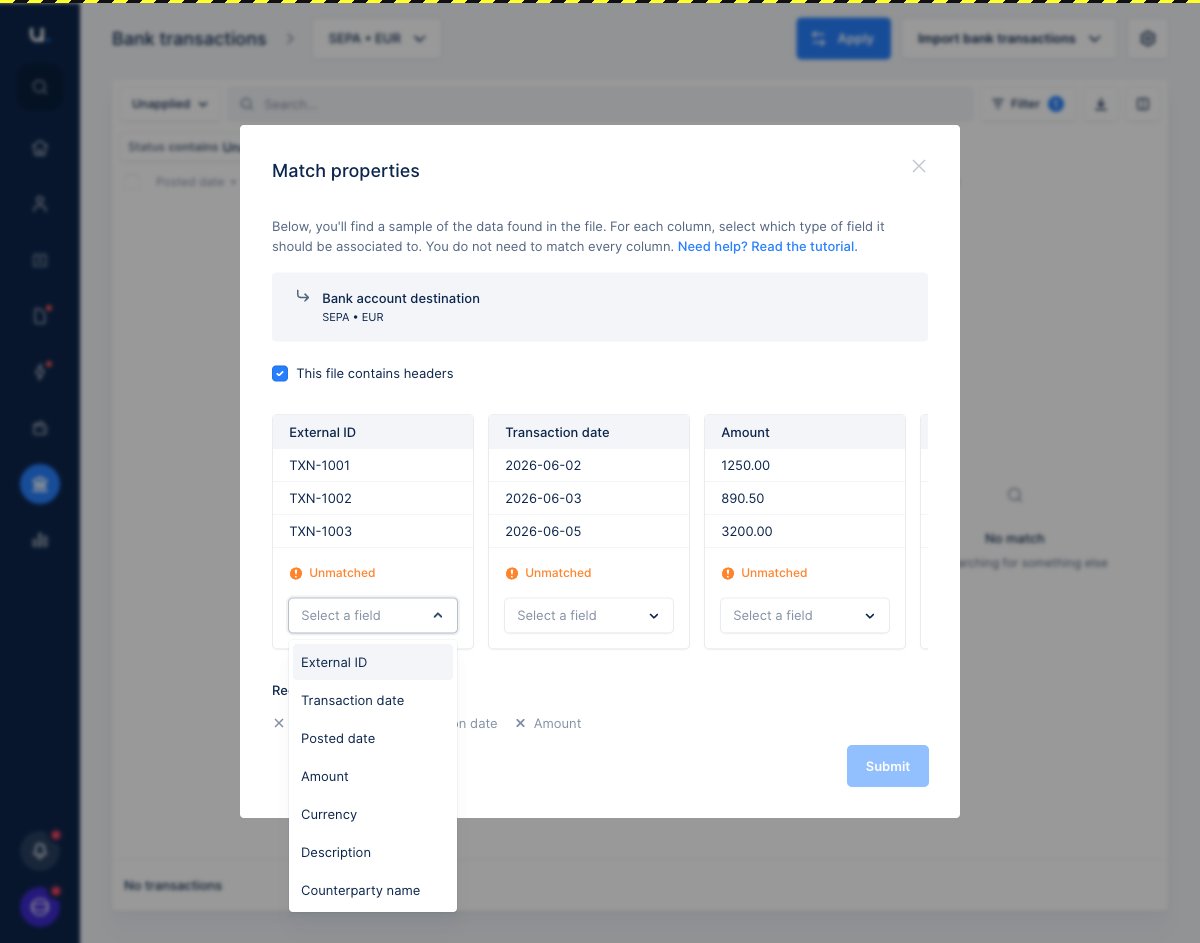
- Keep This file contains headers checked if your CSV’s first row contains column titles.
- The External ID, Transaction date and Amount fields are required. They appear under Required columns and must each be matched before you can continue.
- Once your required columns show Matched, click Submit.
Check your import history
To review your past uploads, click Import bank transactions and select Import history. This list shows every file you’ve uploaded, who imported it, and the result.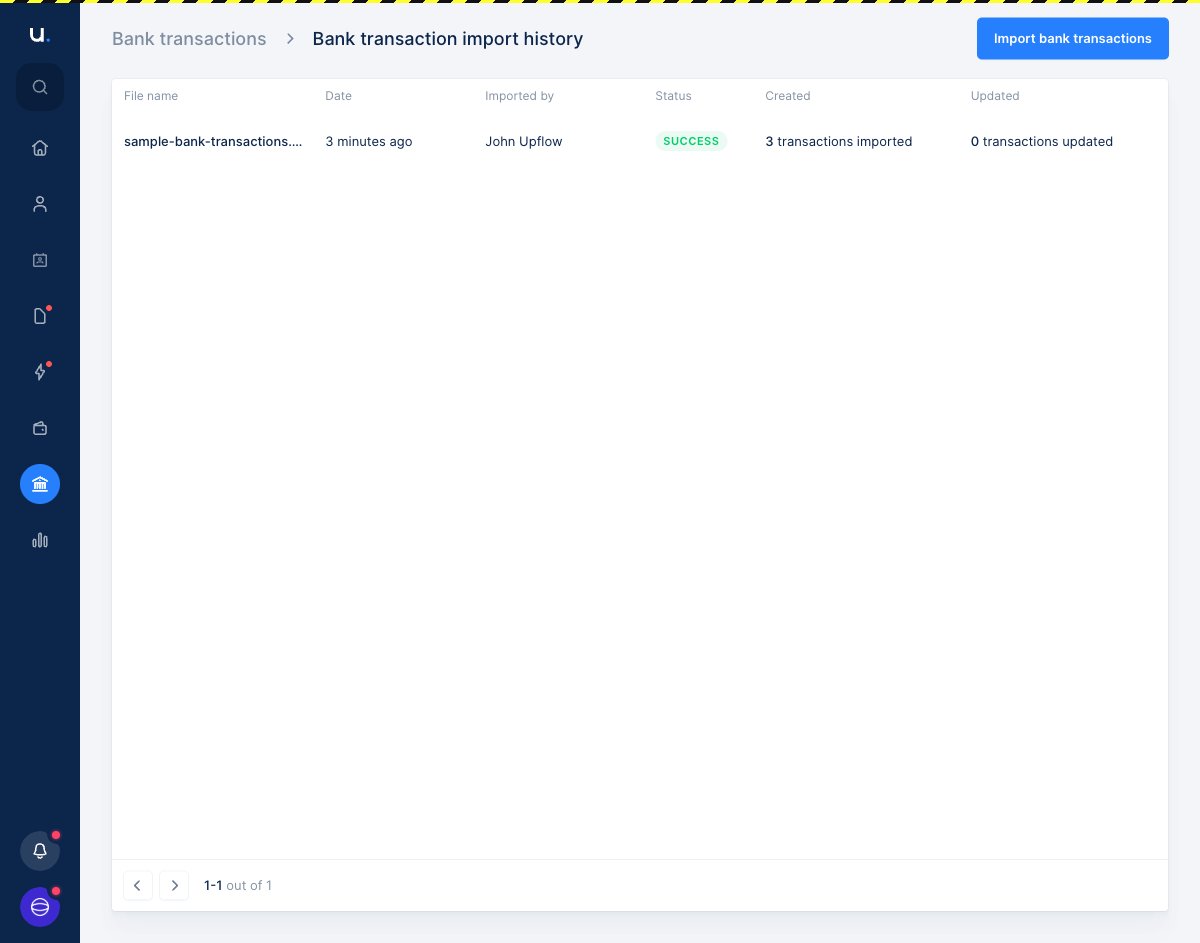
- Success — the file was processed and its transactions imported.
- Failure — the file couldn’t be processed. Review the error, correct your file, and upload it again.
Need a hand with a failed import or your file format? Reach out to support@upflow.io.