> ## Documentation Index
> Fetch the complete documentation index at: https://docs.upflow.io/llms.txt
> Use this file to discover all available pages before exploring further.
# Synchronize Upflow with Sage Intacct
> Step-by-step guide to connecting Sage Intacct to Upflow: authorize the Sender ID, configure Web Services, and sync invoices, customers, and payments.
Managing your accounting with Sage Intacct? Easily synchronize its data with Upflow and keep your invoice information up to date for a top-notch cash collection thanks to our native integration.
You need 10 minutes, and both solutions—Upflow and Sage Intacct—to run as you’ll be navigating from one to the other.
Before you create your Upflow and Sage Intacct integration, there are several important steps to take to ensure that Upflow has the correct authorization and permissions to access your Sage Intacct data and information.
# Step 1: Authorize Upflow’s Sender ID to use the Web Services
As a first step, you need to give Upflow’s **Sender ID** permission to use Web Services in Sage Intacct.
Start by subscribing to Web Services. Web Services enable you to exchange Sage Intacct information with external applications and integrations like Upflow.
* Go to Company > Admin tab > Subscriptions
Scroll down to Web Services and enable the toggle to subscribe.
Once you’ve subscribed to Web Services, you need to authorize Upflow to use those services by adding Upflow’s Sender ID to the Web Services authorizations list:
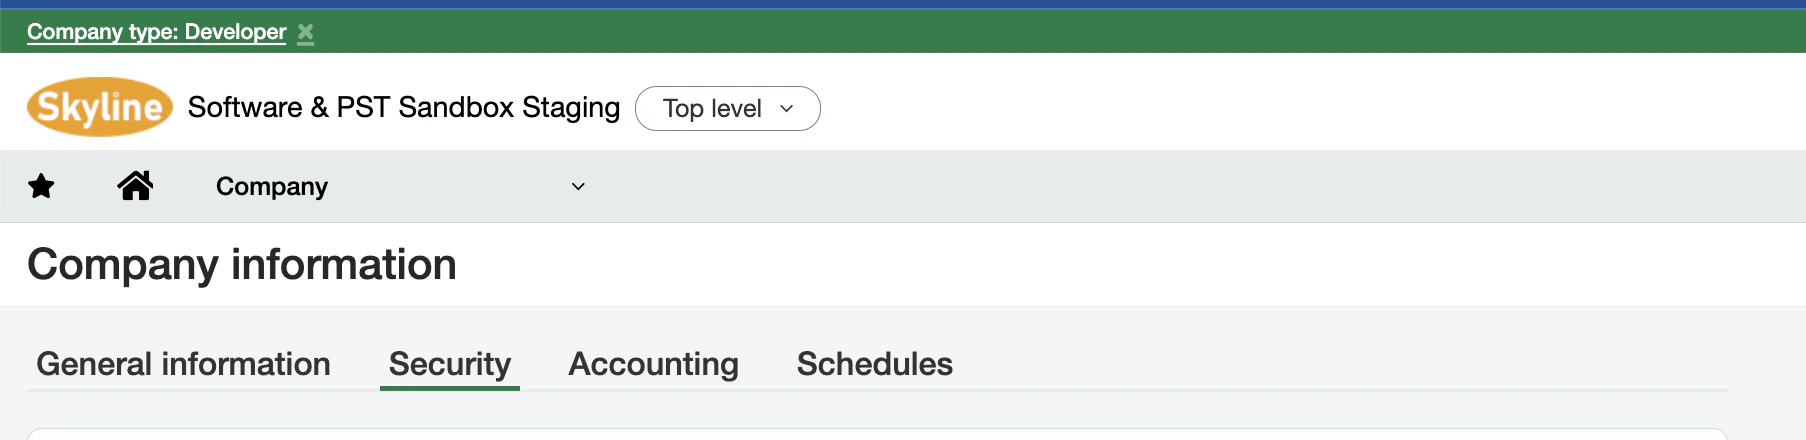
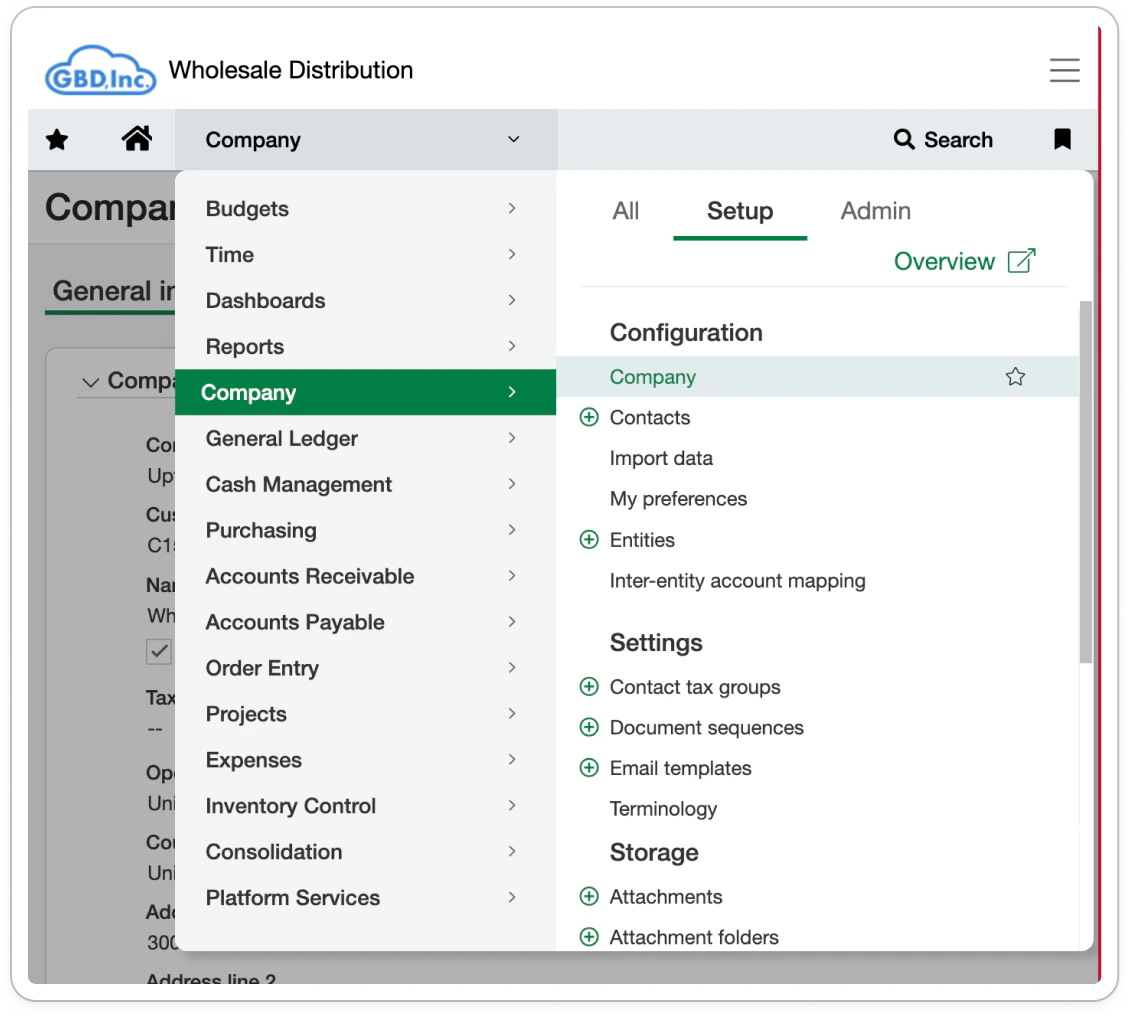
* Go to Company > Setup tab > Company to access the **Company information**
* Click **Edit** in the top right corner
* Go to the **Security** section
 * Scroll down to the **Web Services authorizations** section
* Click **Add** and enter a **Sender ID** for Upflow (**UpflowMPP**).
* **Save** the Sender ID.
# Step 2: Create a Web Services user
Next, you must create a Web Services user in Sage Intacct since the Web Services user ID and password are needed to connect Sage Intacct and Upflow.
This Web Services user is used solely for integration purposes. It exchanges information programmatically with Sage Intacct via Web Services API calls. It isn’t allowed to log into the user interface.
* Scroll down to the **Web Services authorizations** section
* Click **Add** and enter a **Sender ID** for Upflow (**UpflowMPP**).
* **Save** the Sender ID.
# Step 2: Create a Web Services user
Next, you must create a Web Services user in Sage Intacct since the Web Services user ID and password are needed to connect Sage Intacct and Upflow.
This Web Services user is used solely for integration purposes. It exchanges information programmatically with Sage Intacct via Web Services API calls. It isn’t allowed to log into the user interface.
*You can read more about the purpose and the management of Web Services users* *[here](https://www.intacct.com/ia/docs/en_US/help_action/Administration/Users/web-services-only-users.htm?cshid=Web_services_users).*
To obtain the Web Services user ID and password for the integration, you need to:
1. Create a new role with the required permissions
2. Create a new Web Services user and link it with that role
 ## 1. Create a new role and assign permissions
To create a new role:
1. Go to Company > Admin tab > Roles
2. Add a new role and give it a name; for example: Web Services user – Upflow.
3. Save the role.
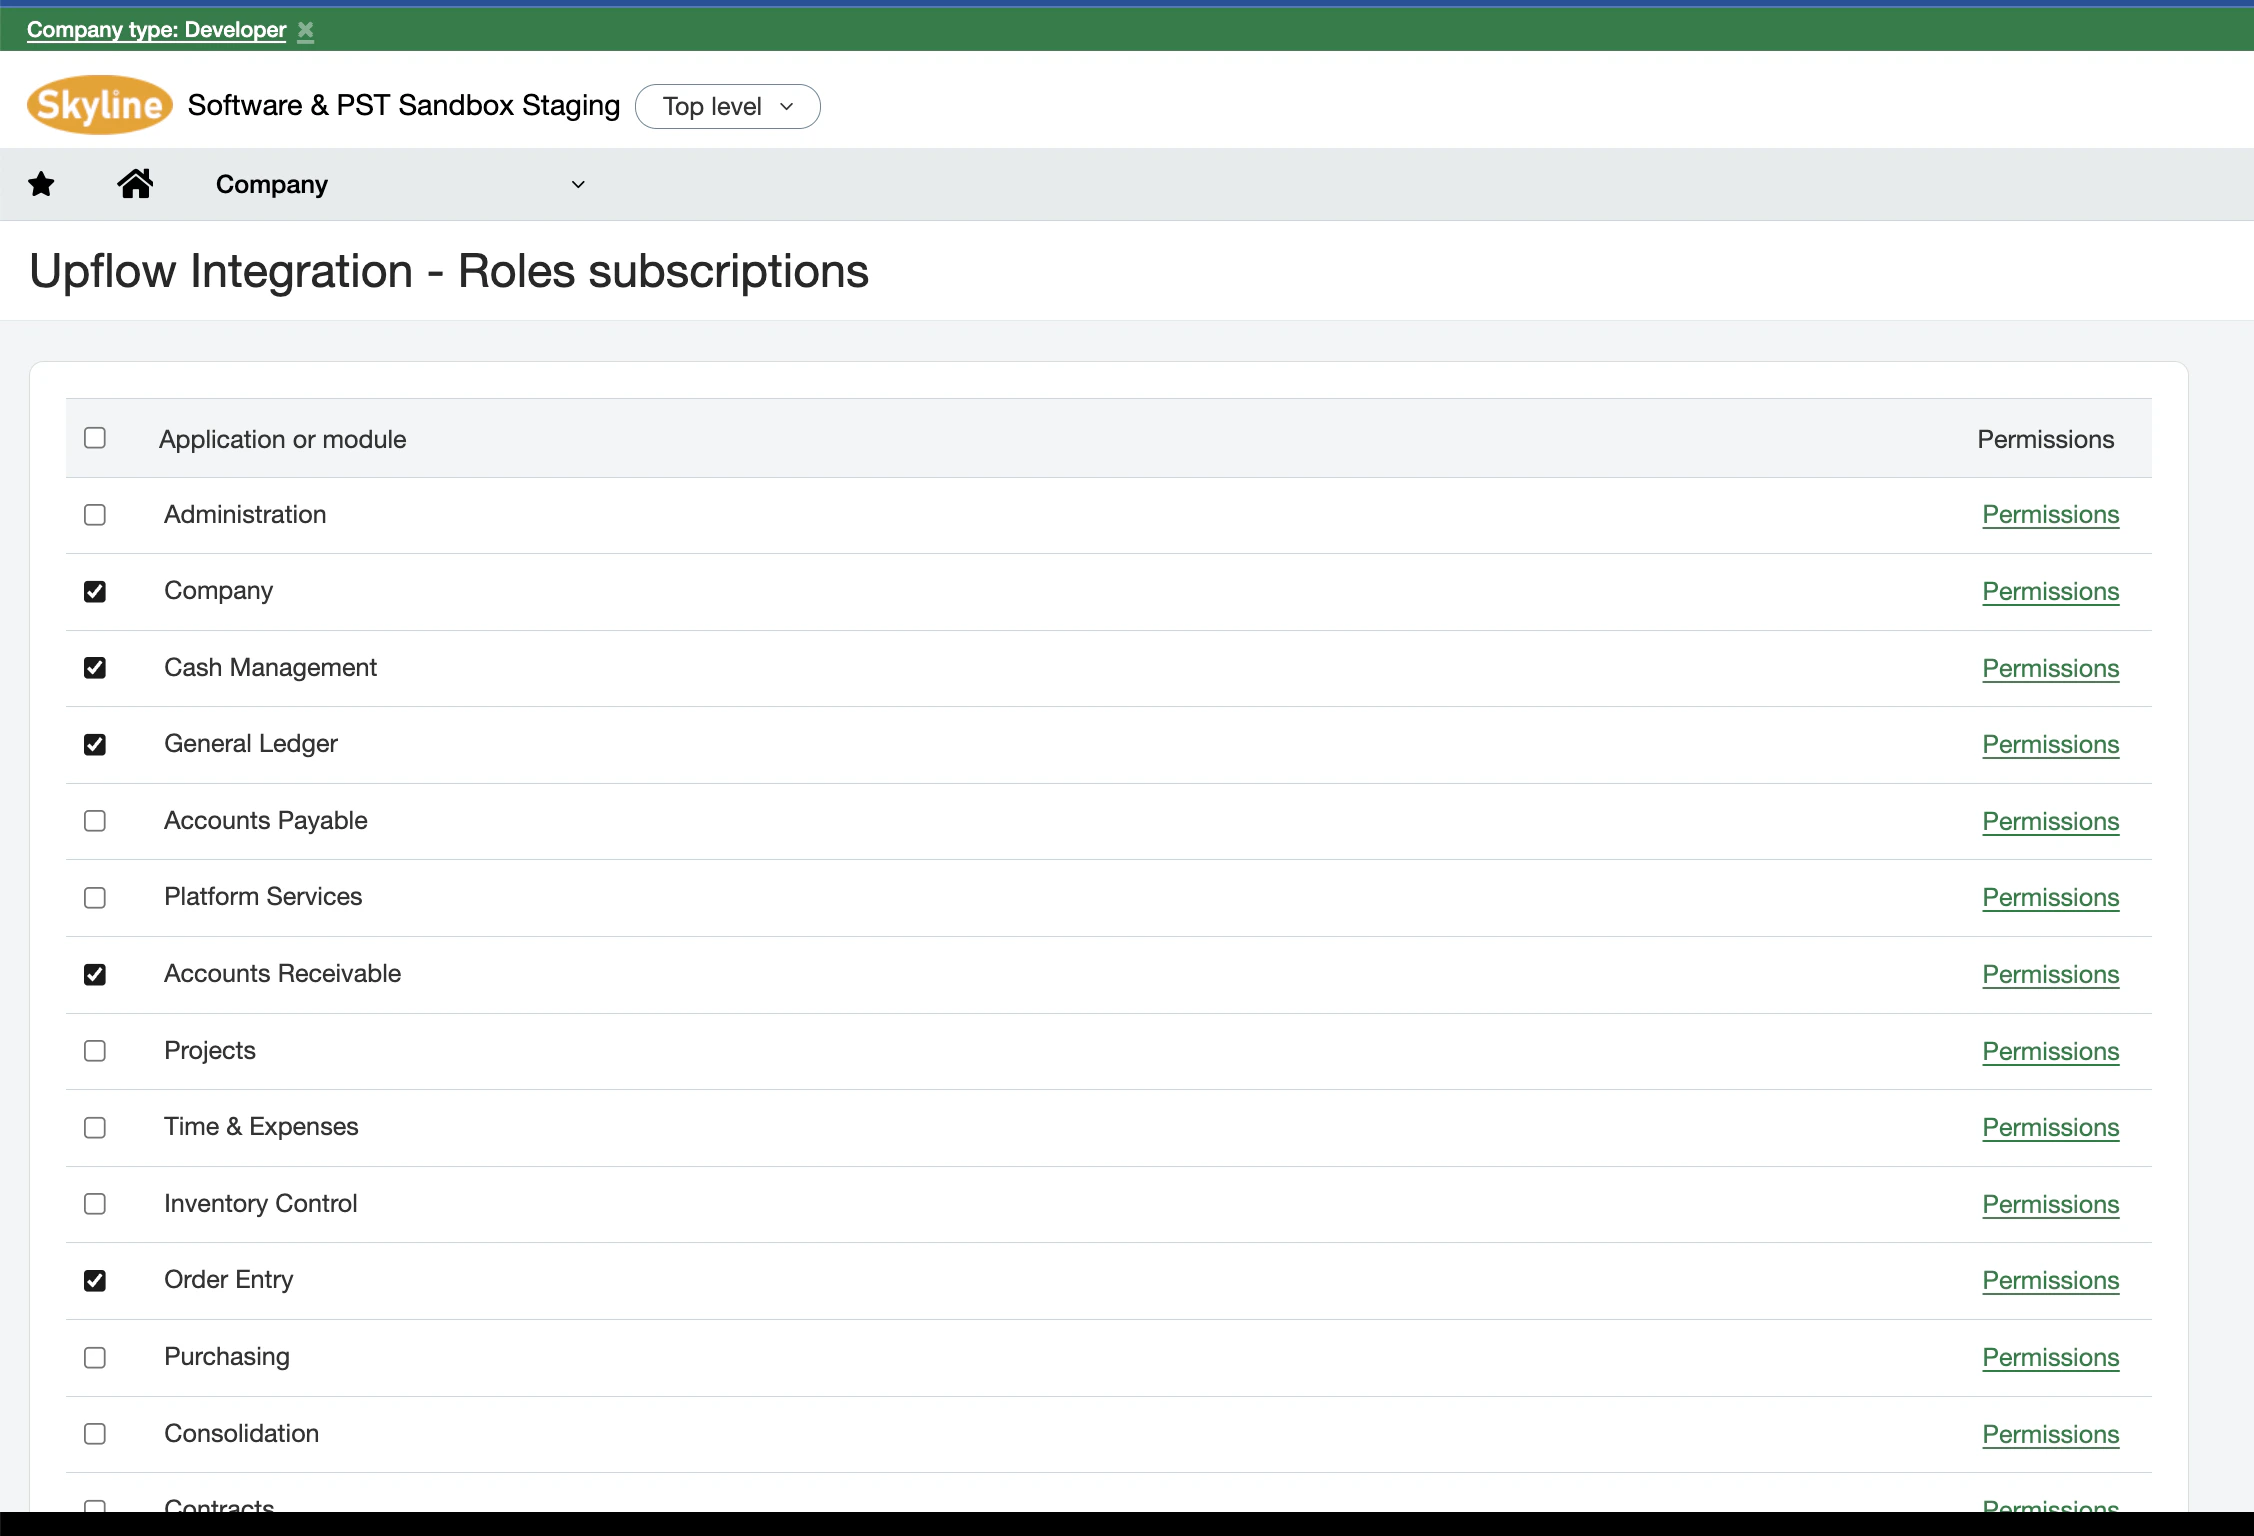
Next, you will be asked to subscribe the created role to modules and applications. Subscribe the role to the following modules and give it the permissions outlined below.
### Permissions
The following permissions are essential to ensure that Upflow can access the correct information in your Sage Intacct account.
* Company - Read only or All
* General Ledger - All
* Accounts Payable - All
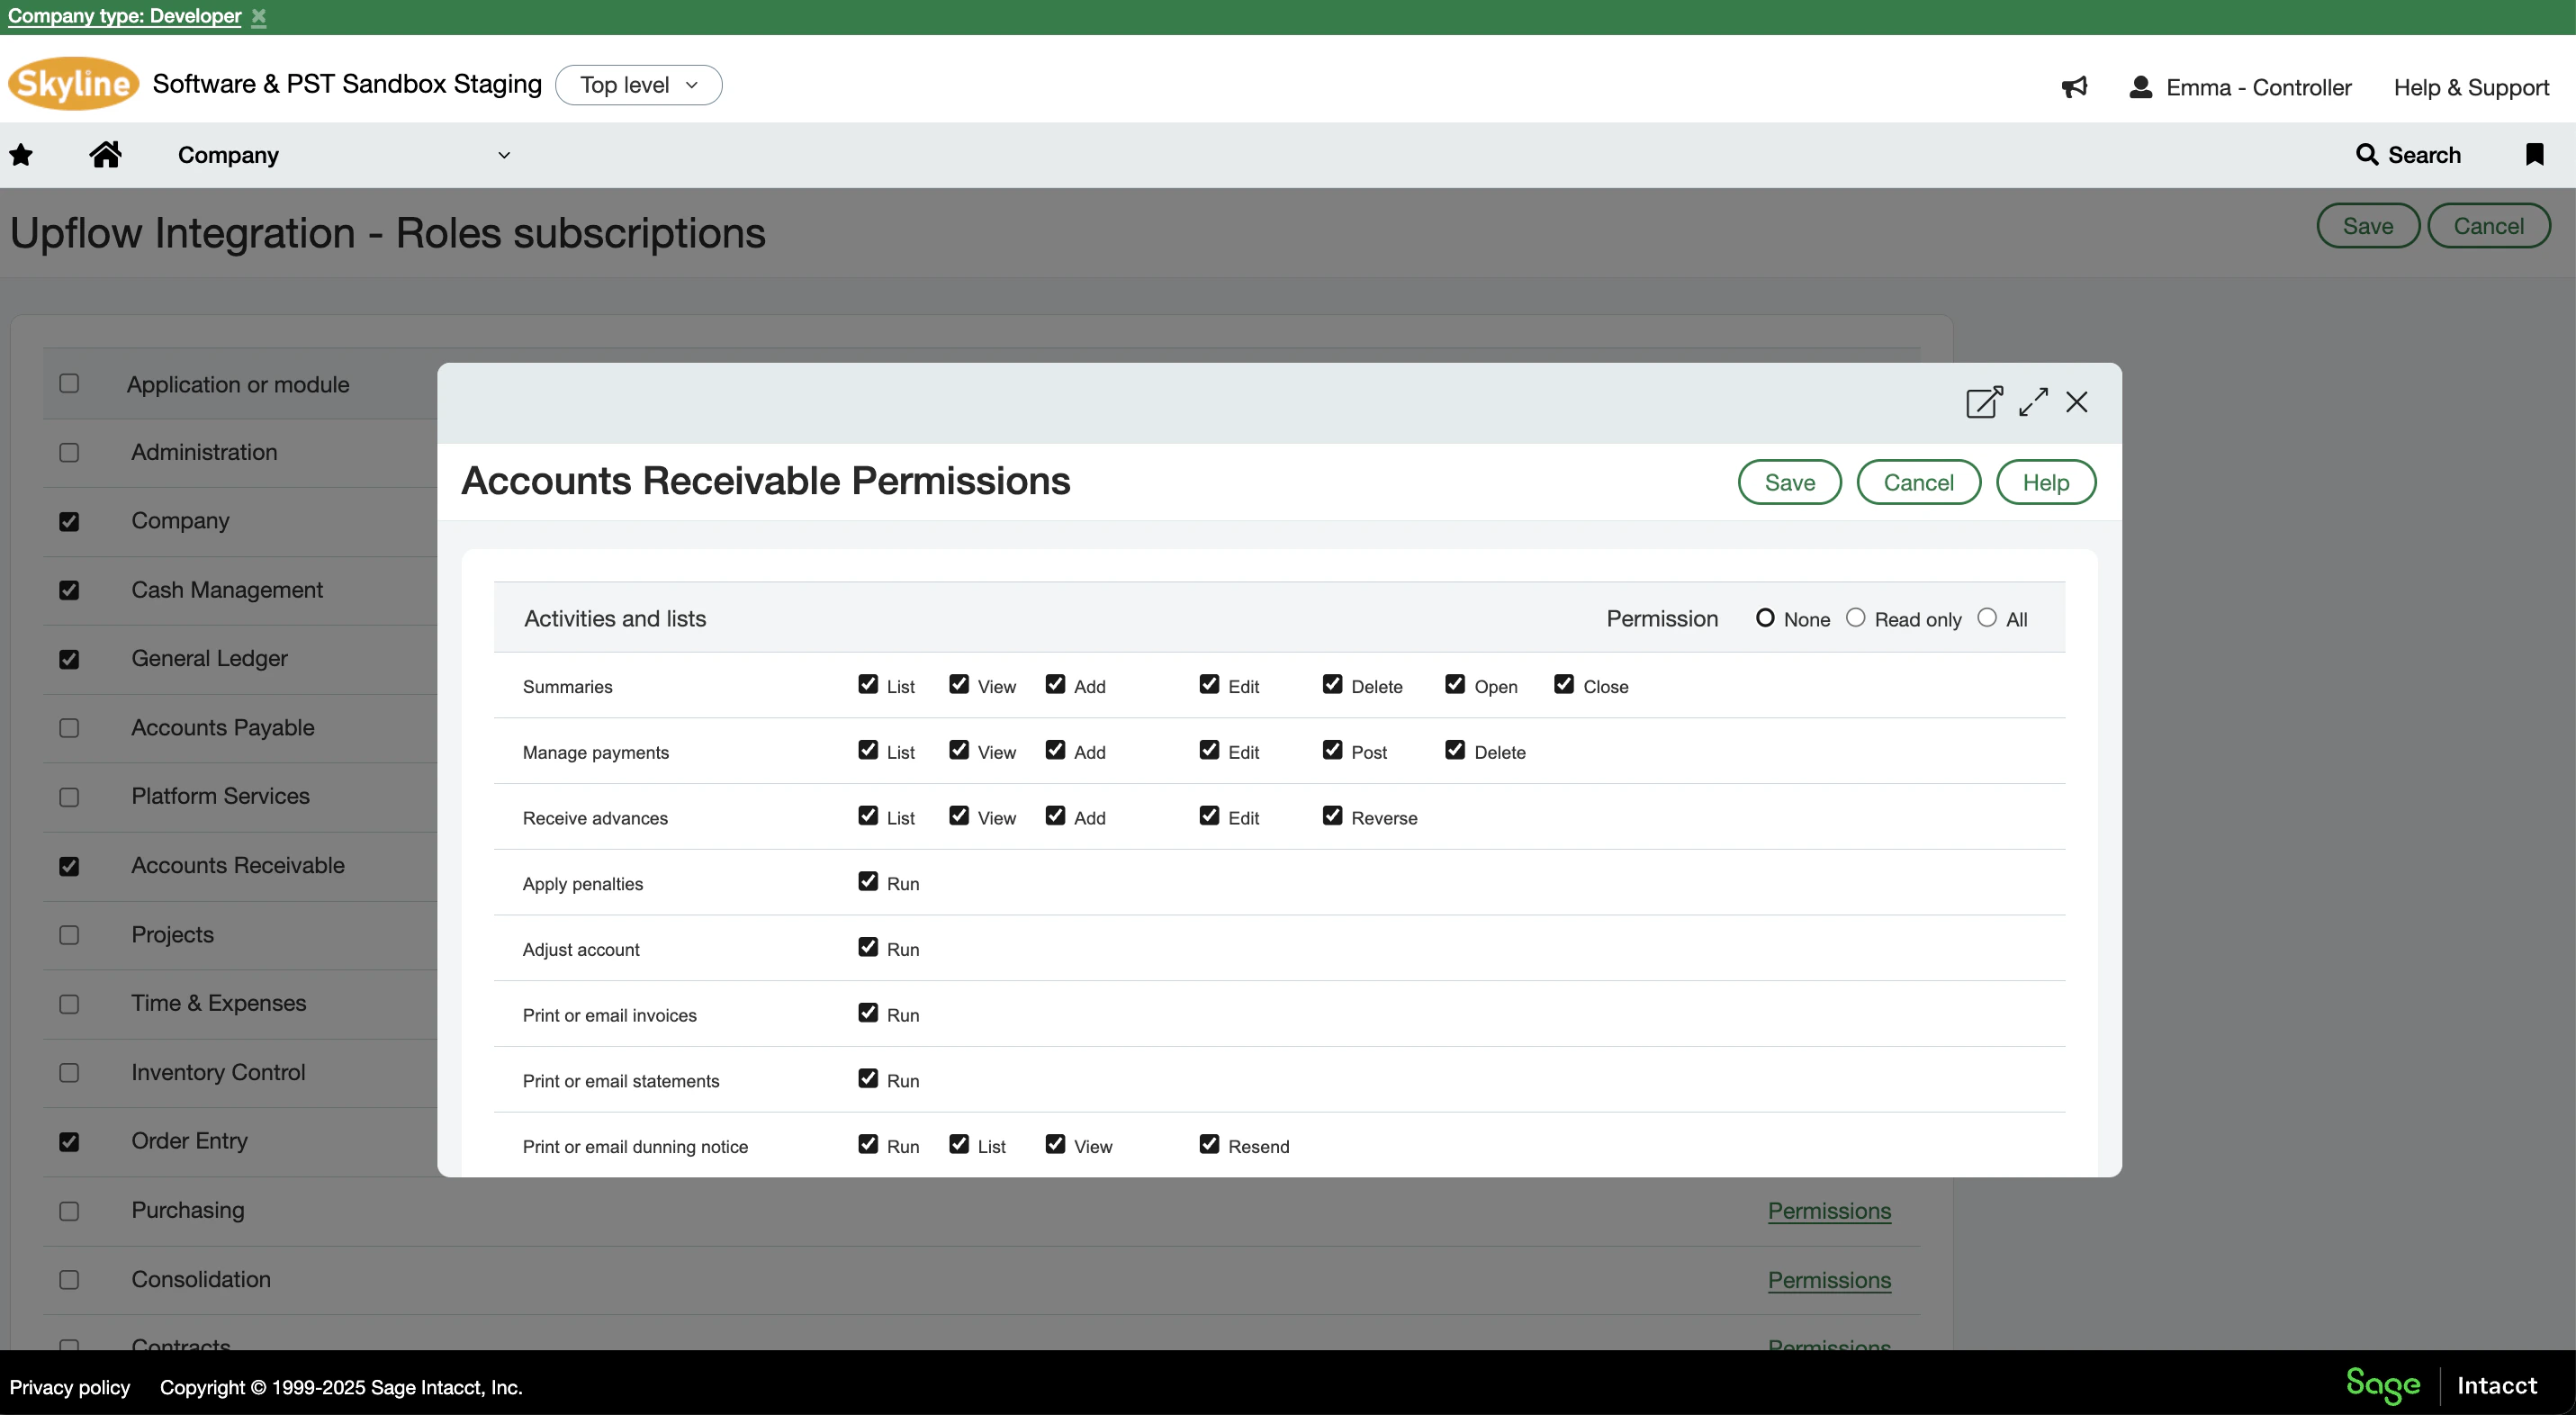
* Accounts Receivable - All
* Reports - All *(be sure to scroll down to select this permission under Accounts Receivable - it's easy to miss!)*
* Cash Management - All
* Order Entry - All
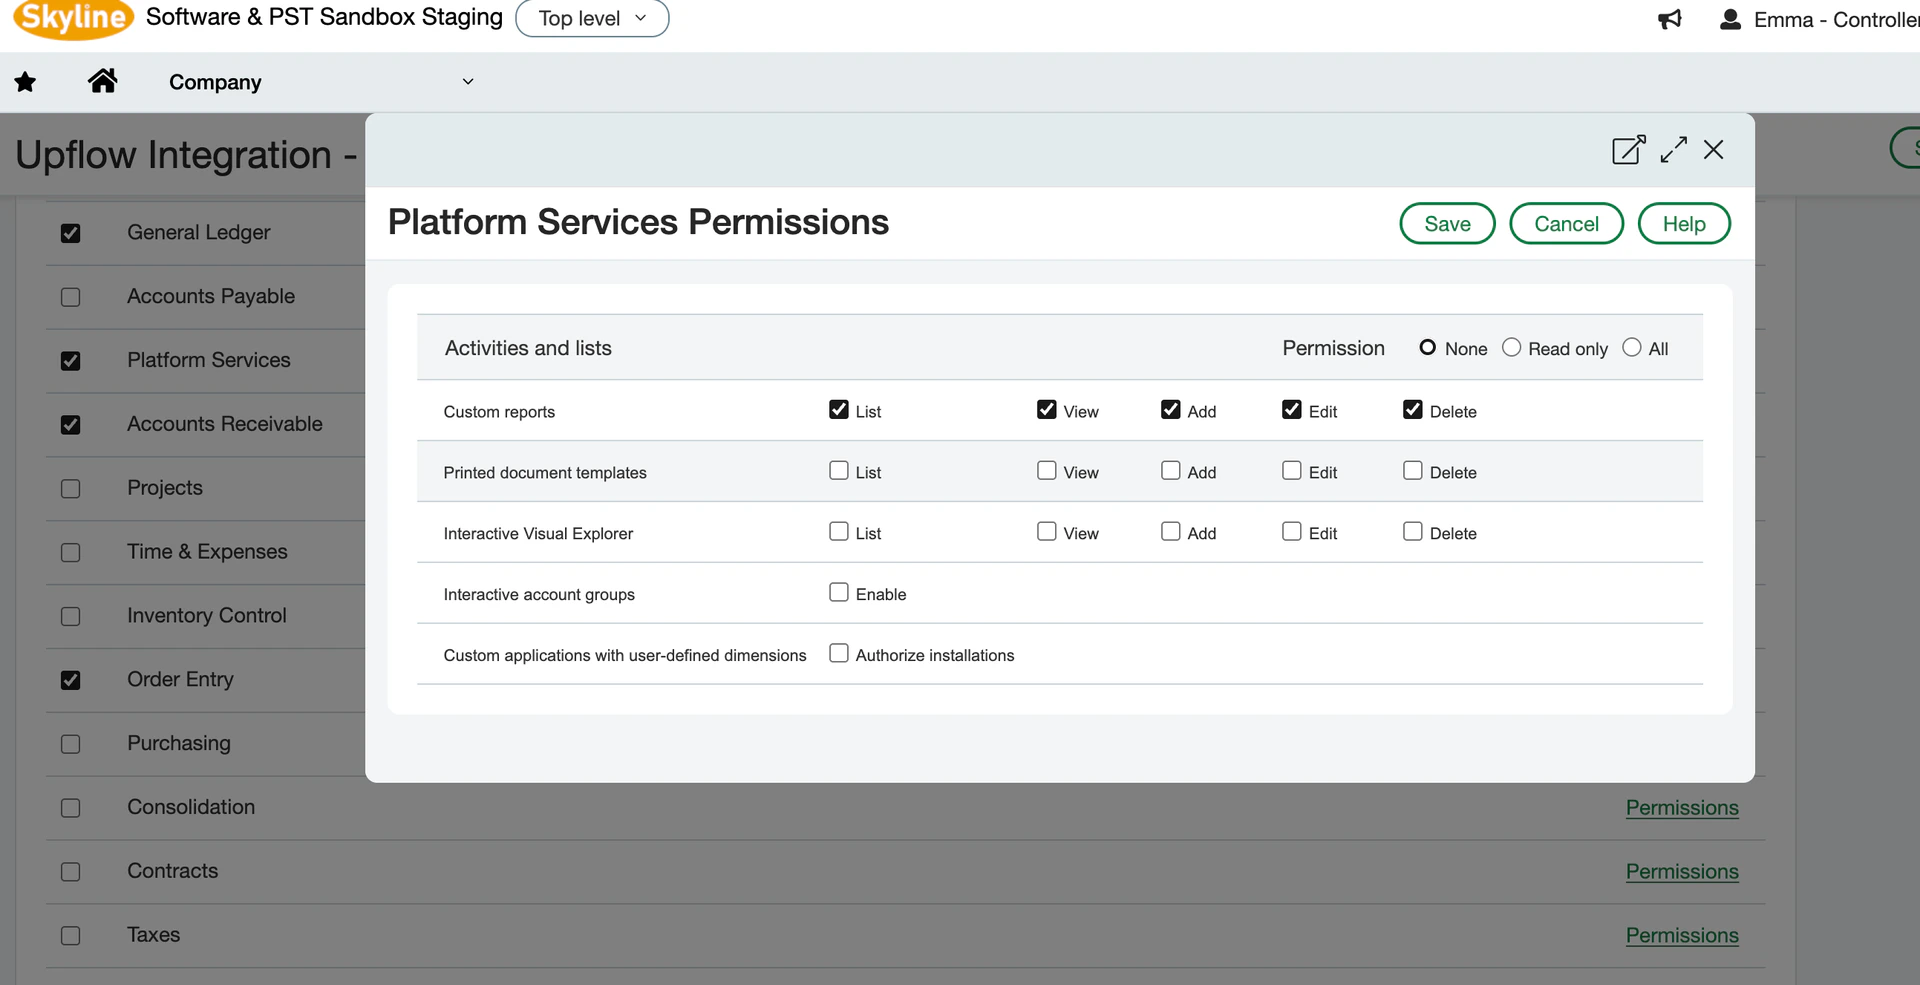
* Platform Services: Custom Reports - List, View
You can control the permissions for each module by clicking on the Permissions link.
## 1. Create a new role and assign permissions
To create a new role:
1. Go to Company > Admin tab > Roles
2. Add a new role and give it a name; for example: Web Services user – Upflow.
3. Save the role.
Next, you will be asked to subscribe the created role to modules and applications. Subscribe the role to the following modules and give it the permissions outlined below.
### Permissions
The following permissions are essential to ensure that Upflow can access the correct information in your Sage Intacct account.
* Company - Read only or All
* General Ledger - All
* Accounts Payable - All
* Accounts Receivable - All
* Reports - All *(be sure to scroll down to select this permission under Accounts Receivable - it's easy to miss!)*
* Cash Management - All
* Order Entry - All
* Platform Services: Custom Reports - List, View
You can control the permissions for each module by clicking on the Permissions link.
 Don’t forget to save your changes!
## 2. Create a new Web Services user
Next, you will need to create a new Web Services user and assign it to the role you’ve created.
1. Go to Company > Admin tab > Web Services Users.
2. Add a new user and fill in the following fields:
* User ID
* Last name
* First name
* Email address
* [User type](https://www.intacct.com/ia/docs/en_US/help_action/Administration/Users/user-types.htm): **Business**
* Admin privileges: **Limited**
3. Click on the Roles information tab and select the role you created in the previous step.
4. Save the changes.
After creating the Web Services user, you will receive an email from Sage Intacct with the following credentials:
* Password
* Sage Intacct Company ID
* User ID
Please save this information as you will need it to connect Sage Intacct with Upflow.
# Step 3: Create your Upflow organization
Initiate your organization creation process by following the steps outlined in Upflow.
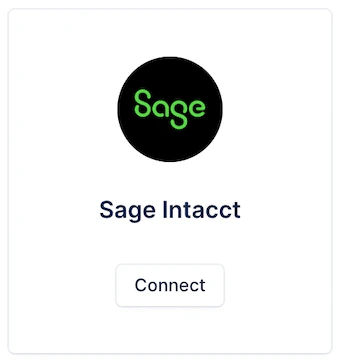
Name your organization, click on the ***Connect*** button on the Sage Intacct integration icon, and let us guide you through the integration process.
Don’t forget to save your changes!
## 2. Create a new Web Services user
Next, you will need to create a new Web Services user and assign it to the role you’ve created.
1. Go to Company > Admin tab > Web Services Users.
2. Add a new user and fill in the following fields:
* User ID
* Last name
* First name
* Email address
* [User type](https://www.intacct.com/ia/docs/en_US/help_action/Administration/Users/user-types.htm): **Business**
* Admin privileges: **Limited**
3. Click on the Roles information tab and select the role you created in the previous step.
4. Save the changes.
After creating the Web Services user, you will receive an email from Sage Intacct with the following credentials:
* Password
* Sage Intacct Company ID
* User ID
Please save this information as you will need it to connect Sage Intacct with Upflow.
# Step 3: Create your Upflow organization
Initiate your organization creation process by following the steps outlined in Upflow.
Name your organization, click on the ***Connect*** button on the Sage Intacct integration icon, and let us guide you through the integration process.
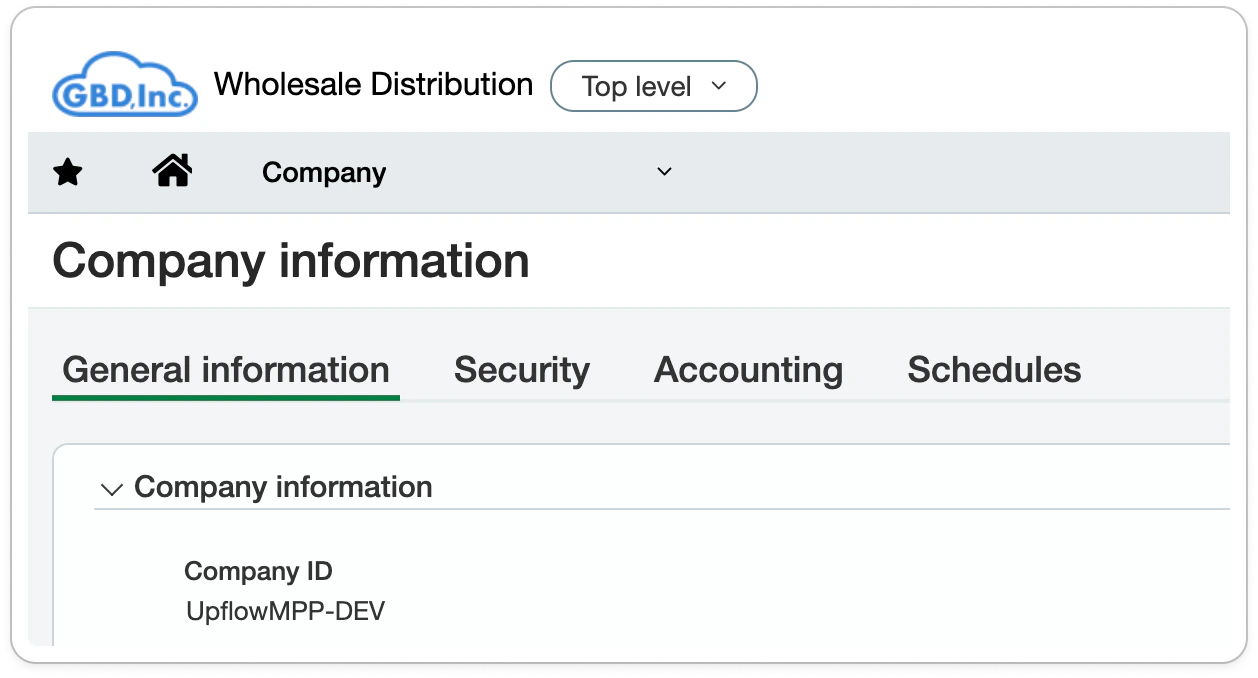
 The information you’ll first be asked for are your Sage Intacct **Company ID** and your default currency, which are located in Company > Setup > Company:
 Use the ID under "Company information":
 Continue through the onboarding form until required to share your **User ID** and **password**.
*Now you're ready to start using Upflow!*
Continue through the onboarding form until required to share your **User ID** and **password**.
*Now you're ready to start using Upflow!*