> ## Documentation Index
> Fetch the complete documentation index at: https://docs.upflow.io/llms.txt
> Use this file to discover all available pages before exploring further.
# Contact custom fields
> Create custom fields on Upflow contacts to capture extra attributes, segment recipients and personalize collection reminders with targeted data.
Contact custom fields let you create specific data points associated with your contacts, enabling better organization and more targeted interactions.
## Creating contact custom fields
Go to **Settings** > **Custom Fields**.
### Add new custom fields
1. Once you're in the dedicated section, select custom fields from NetSuite or Salesforce. This flexibility means you can maintain consistency across your tools.

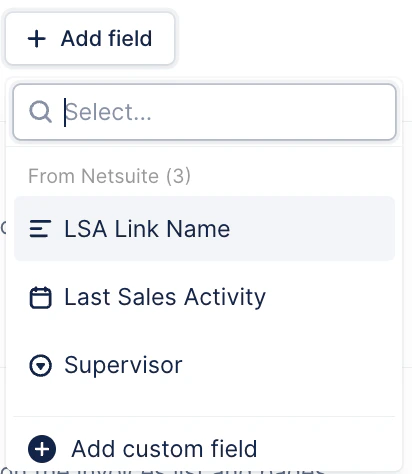 2. If you prefer (or don't use SFDC/NetSuite) you'll find the option to create a new custom field for the Contacts entity.
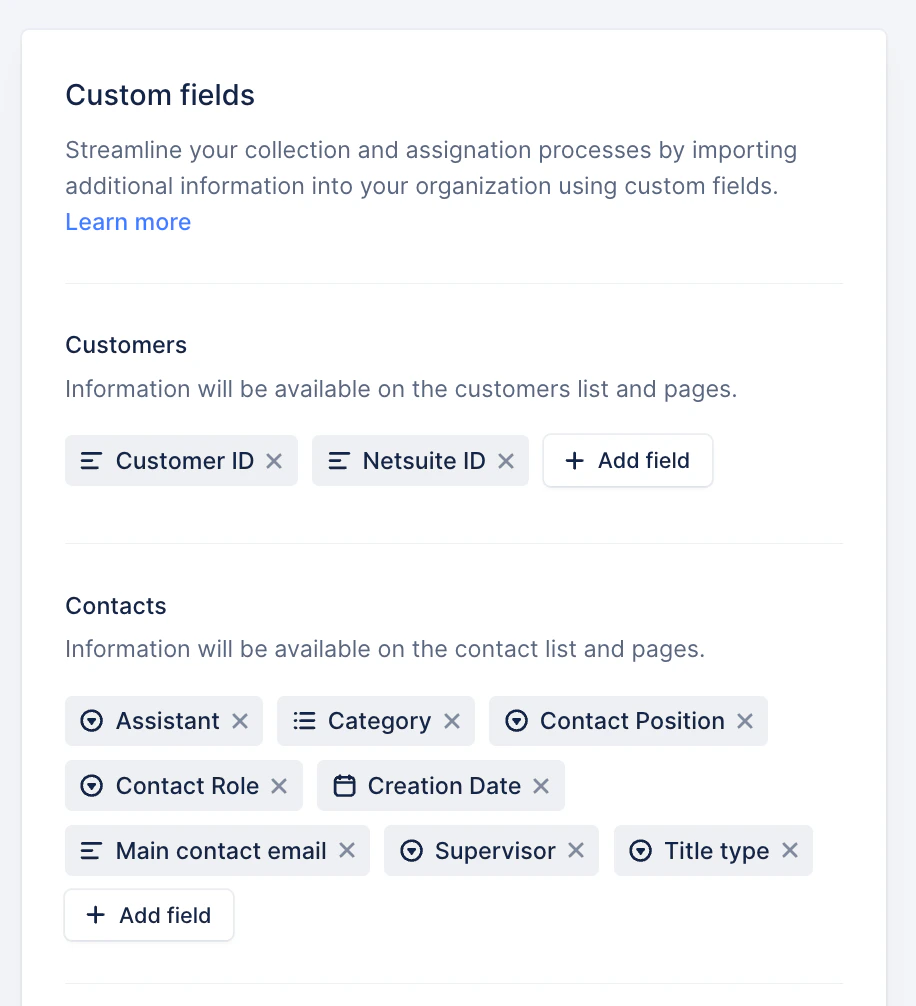 3. You can create fields that are specific to your needs. For example, you might want to add fields for "Billing email" or "Executive contact."
### Visibility of custom fields
After you create these fields, they are visible in both the contact list view and on the customer details page.
3. You can create fields that are specific to your needs. For example, you might want to add fields for "Billing email" or "Executive contact."
### Visibility of custom fields
After you create these fields, they are visible in both the contact list view and on the customer details page.
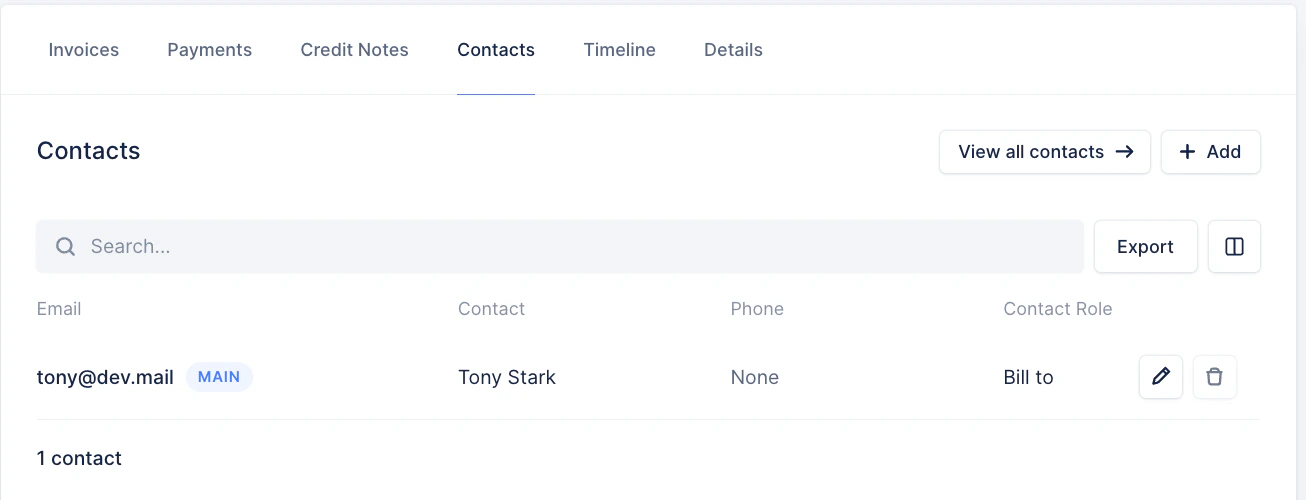
 ## Editing custom fields
To edit a custom field, go to the contact edit modal on the customer page and make your changes.
## Editing custom fields
To edit a custom field, go to the contact edit modal on the customer page and make your changes.
 **Best practice:** If you've imported this information from a third-party source, it cannot be edited in Upflow. Manage those edits in the original system and they'll automatically update in Upflow.
**Good to know:** Bulk editing of contact fields through the list view isn't supported. You'll need to make updates individually.
**Integration note:** Currently, contact custom fields integration is available only with NetSuite and Salesforce. If you want to set up custom fields from other sources, you can configure API settings:
* Create custom field: [API documentation - Create custom fields](https://upflow.docs.apiary.io/#reference/0/custom-fields/create-custom-fields)
* Import contact custom field: [API documentation - Import contact custom fields](https://upflow.docs.apiary.io/#reference/0/contacts/create-customer-contact)
## Managing your contact custom fields
### Exporting data
You can export your custom fields via CSV from the Contacts list view for reporting or further analysis.
## Using custom fields in reminders
* You can use these fields to specify which contacts should receive payment reminders, tailoring your communication to each customer's needs.
* Each field can be filtered, allowing for targeted messages. You cannot combine multiple fields for a single reminder.
### Adding recipients
You can use custom fields to specify which contacts should receive collection reminders. Add tags explicitly when you set them as recipients.
* Look for your contact custom position and select it:
**Best practice:** If you've imported this information from a third-party source, it cannot be edited in Upflow. Manage those edits in the original system and they'll automatically update in Upflow.
**Good to know:** Bulk editing of contact fields through the list view isn't supported. You'll need to make updates individually.
**Integration note:** Currently, contact custom fields integration is available only with NetSuite and Salesforce. If you want to set up custom fields from other sources, you can configure API settings:
* Create custom field: [API documentation - Create custom fields](https://upflow.docs.apiary.io/#reference/0/custom-fields/create-custom-fields)
* Import contact custom field: [API documentation - Import contact custom fields](https://upflow.docs.apiary.io/#reference/0/contacts/create-customer-contact)
## Managing your contact custom fields
### Exporting data
You can export your custom fields via CSV from the Contacts list view for reporting or further analysis.
## Using custom fields in reminders
* You can use these fields to specify which contacts should receive payment reminders, tailoring your communication to each customer's needs.
* Each field can be filtered, allowing for targeted messages. You cannot combine multiple fields for a single reminder.
### Adding recipients
You can use custom fields to specify which contacts should receive collection reminders. Add tags explicitly when you set them as recipients.
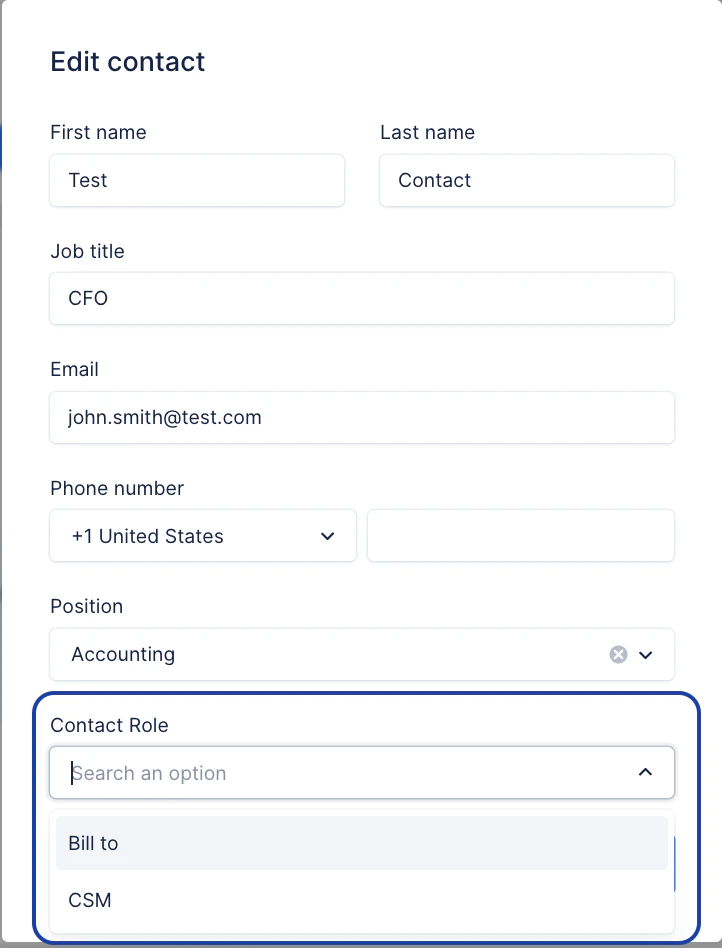
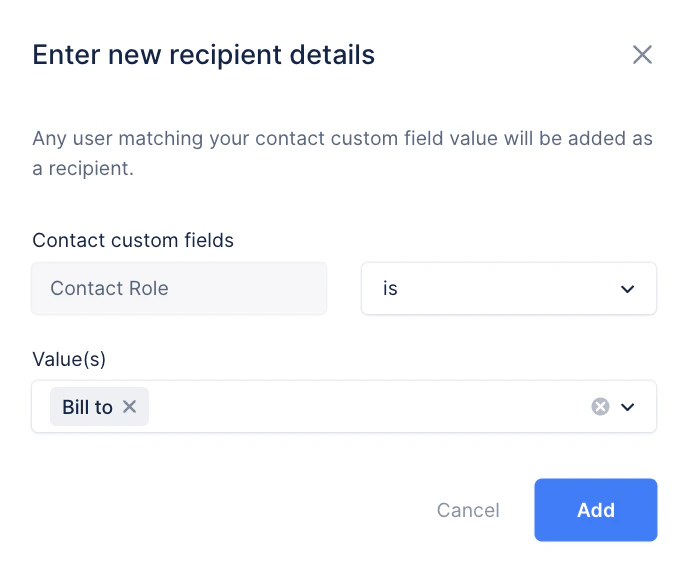
* Look for your contact custom position and select it:
 * Select a value according to the field type:
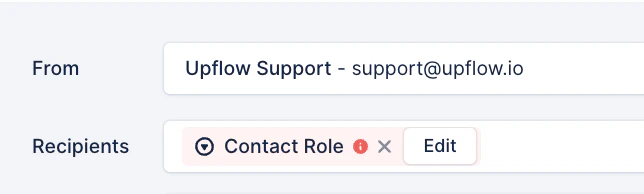
 * If not, you will see the field in red, and it won't be usable. Click **Edit** and add a value:
 **Good to know:** Always double-check your entries for accuracy to ensure the successful addition of tags.
Note that only the selected custom positions will receive this email template. If they are not available at the customer level, the email will fall back to the Main contact.
## Takeaways
* Custom fields are vital for organizing contact information and improving targeted communication in Upflow.
* You can create and manage custom fields easily, importing from tools like NetSuite and Salesforce for consistency.
* Double-check tags for accuracy to avoid communication errors.
* Bulk editing isn't supported — updates must be made individually.
* Integration with other sources requires API configuration.
Have questions? [Contact our support team](/en-us/essentials/get-started/contact-our-support-team).
**Good to know:** Always double-check your entries for accuracy to ensure the successful addition of tags.
Note that only the selected custom positions will receive this email template. If they are not available at the customer level, the email will fall back to the Main contact.
## Takeaways
* Custom fields are vital for organizing contact information and improving targeted communication in Upflow.
* You can create and manage custom fields easily, importing from tools like NetSuite and Salesforce for consistency.
* Double-check tags for accuracy to avoid communication errors.
* Bulk editing isn't supported — updates must be made individually.
* Integration with other sources requires API configuration.
Have questions? [Contact our support team](/en-us/essentials/get-started/contact-our-support-team).